RC Racing Website - Painting
Painting Project - First Project
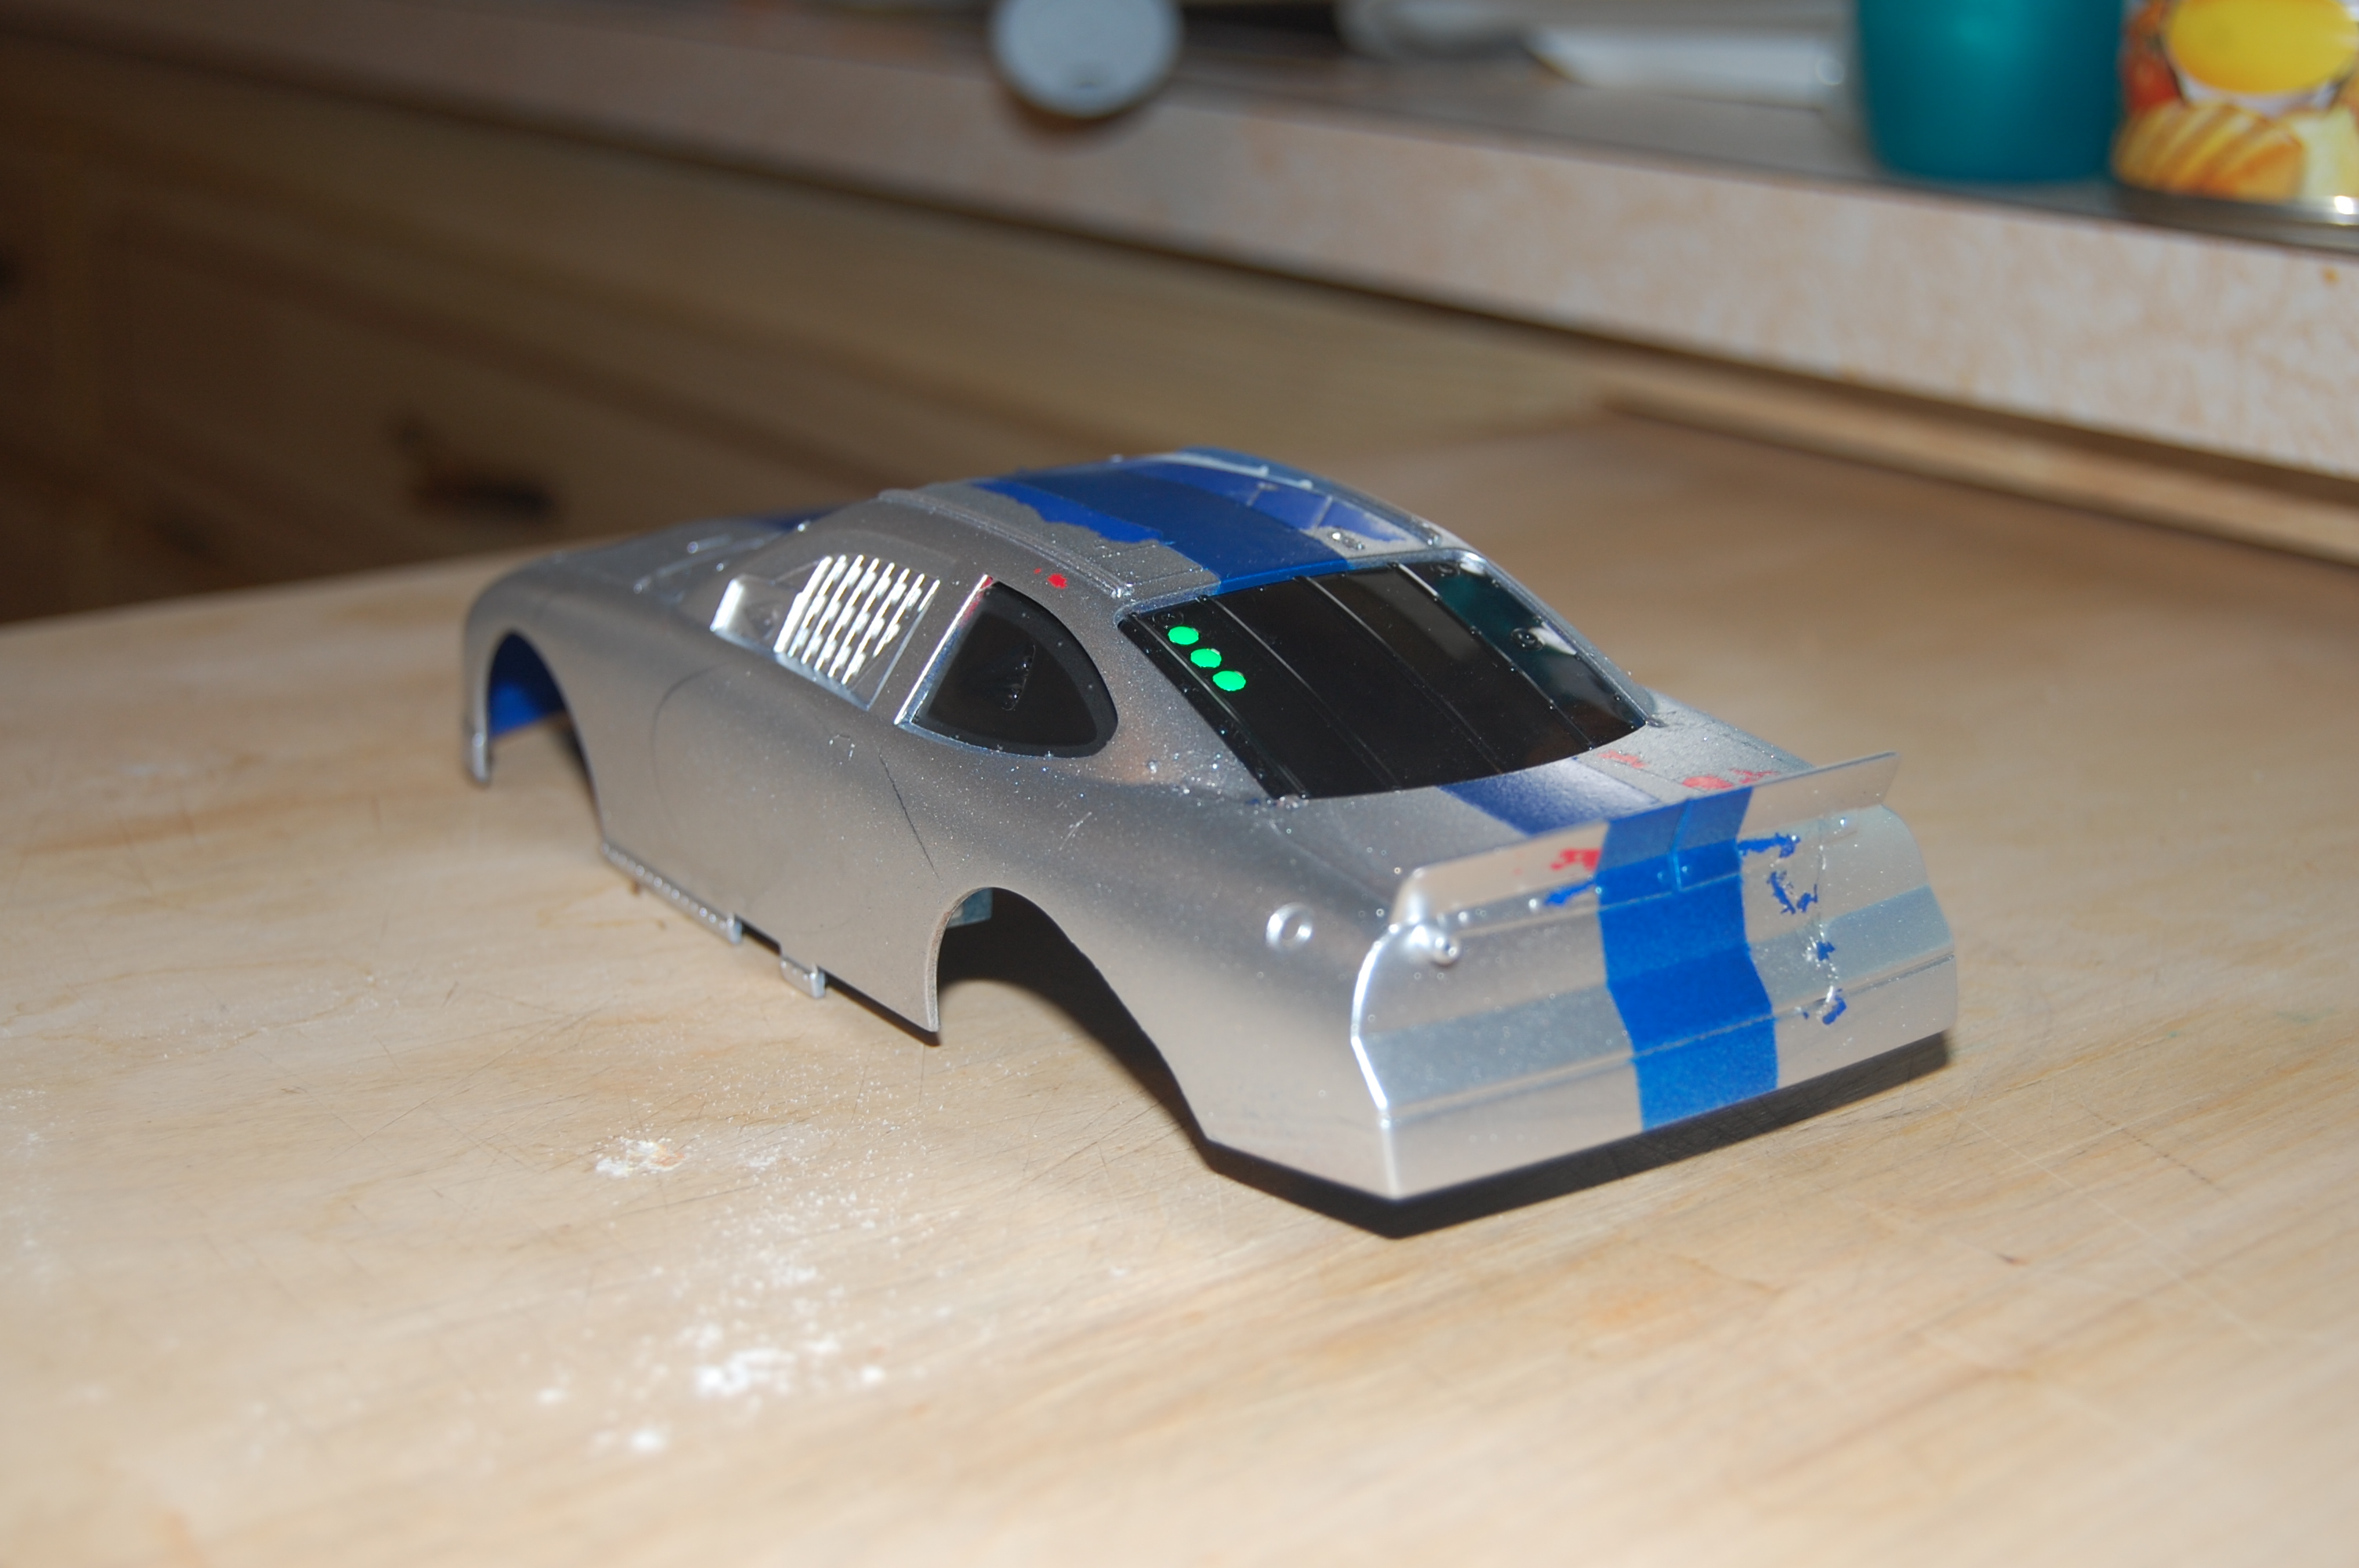
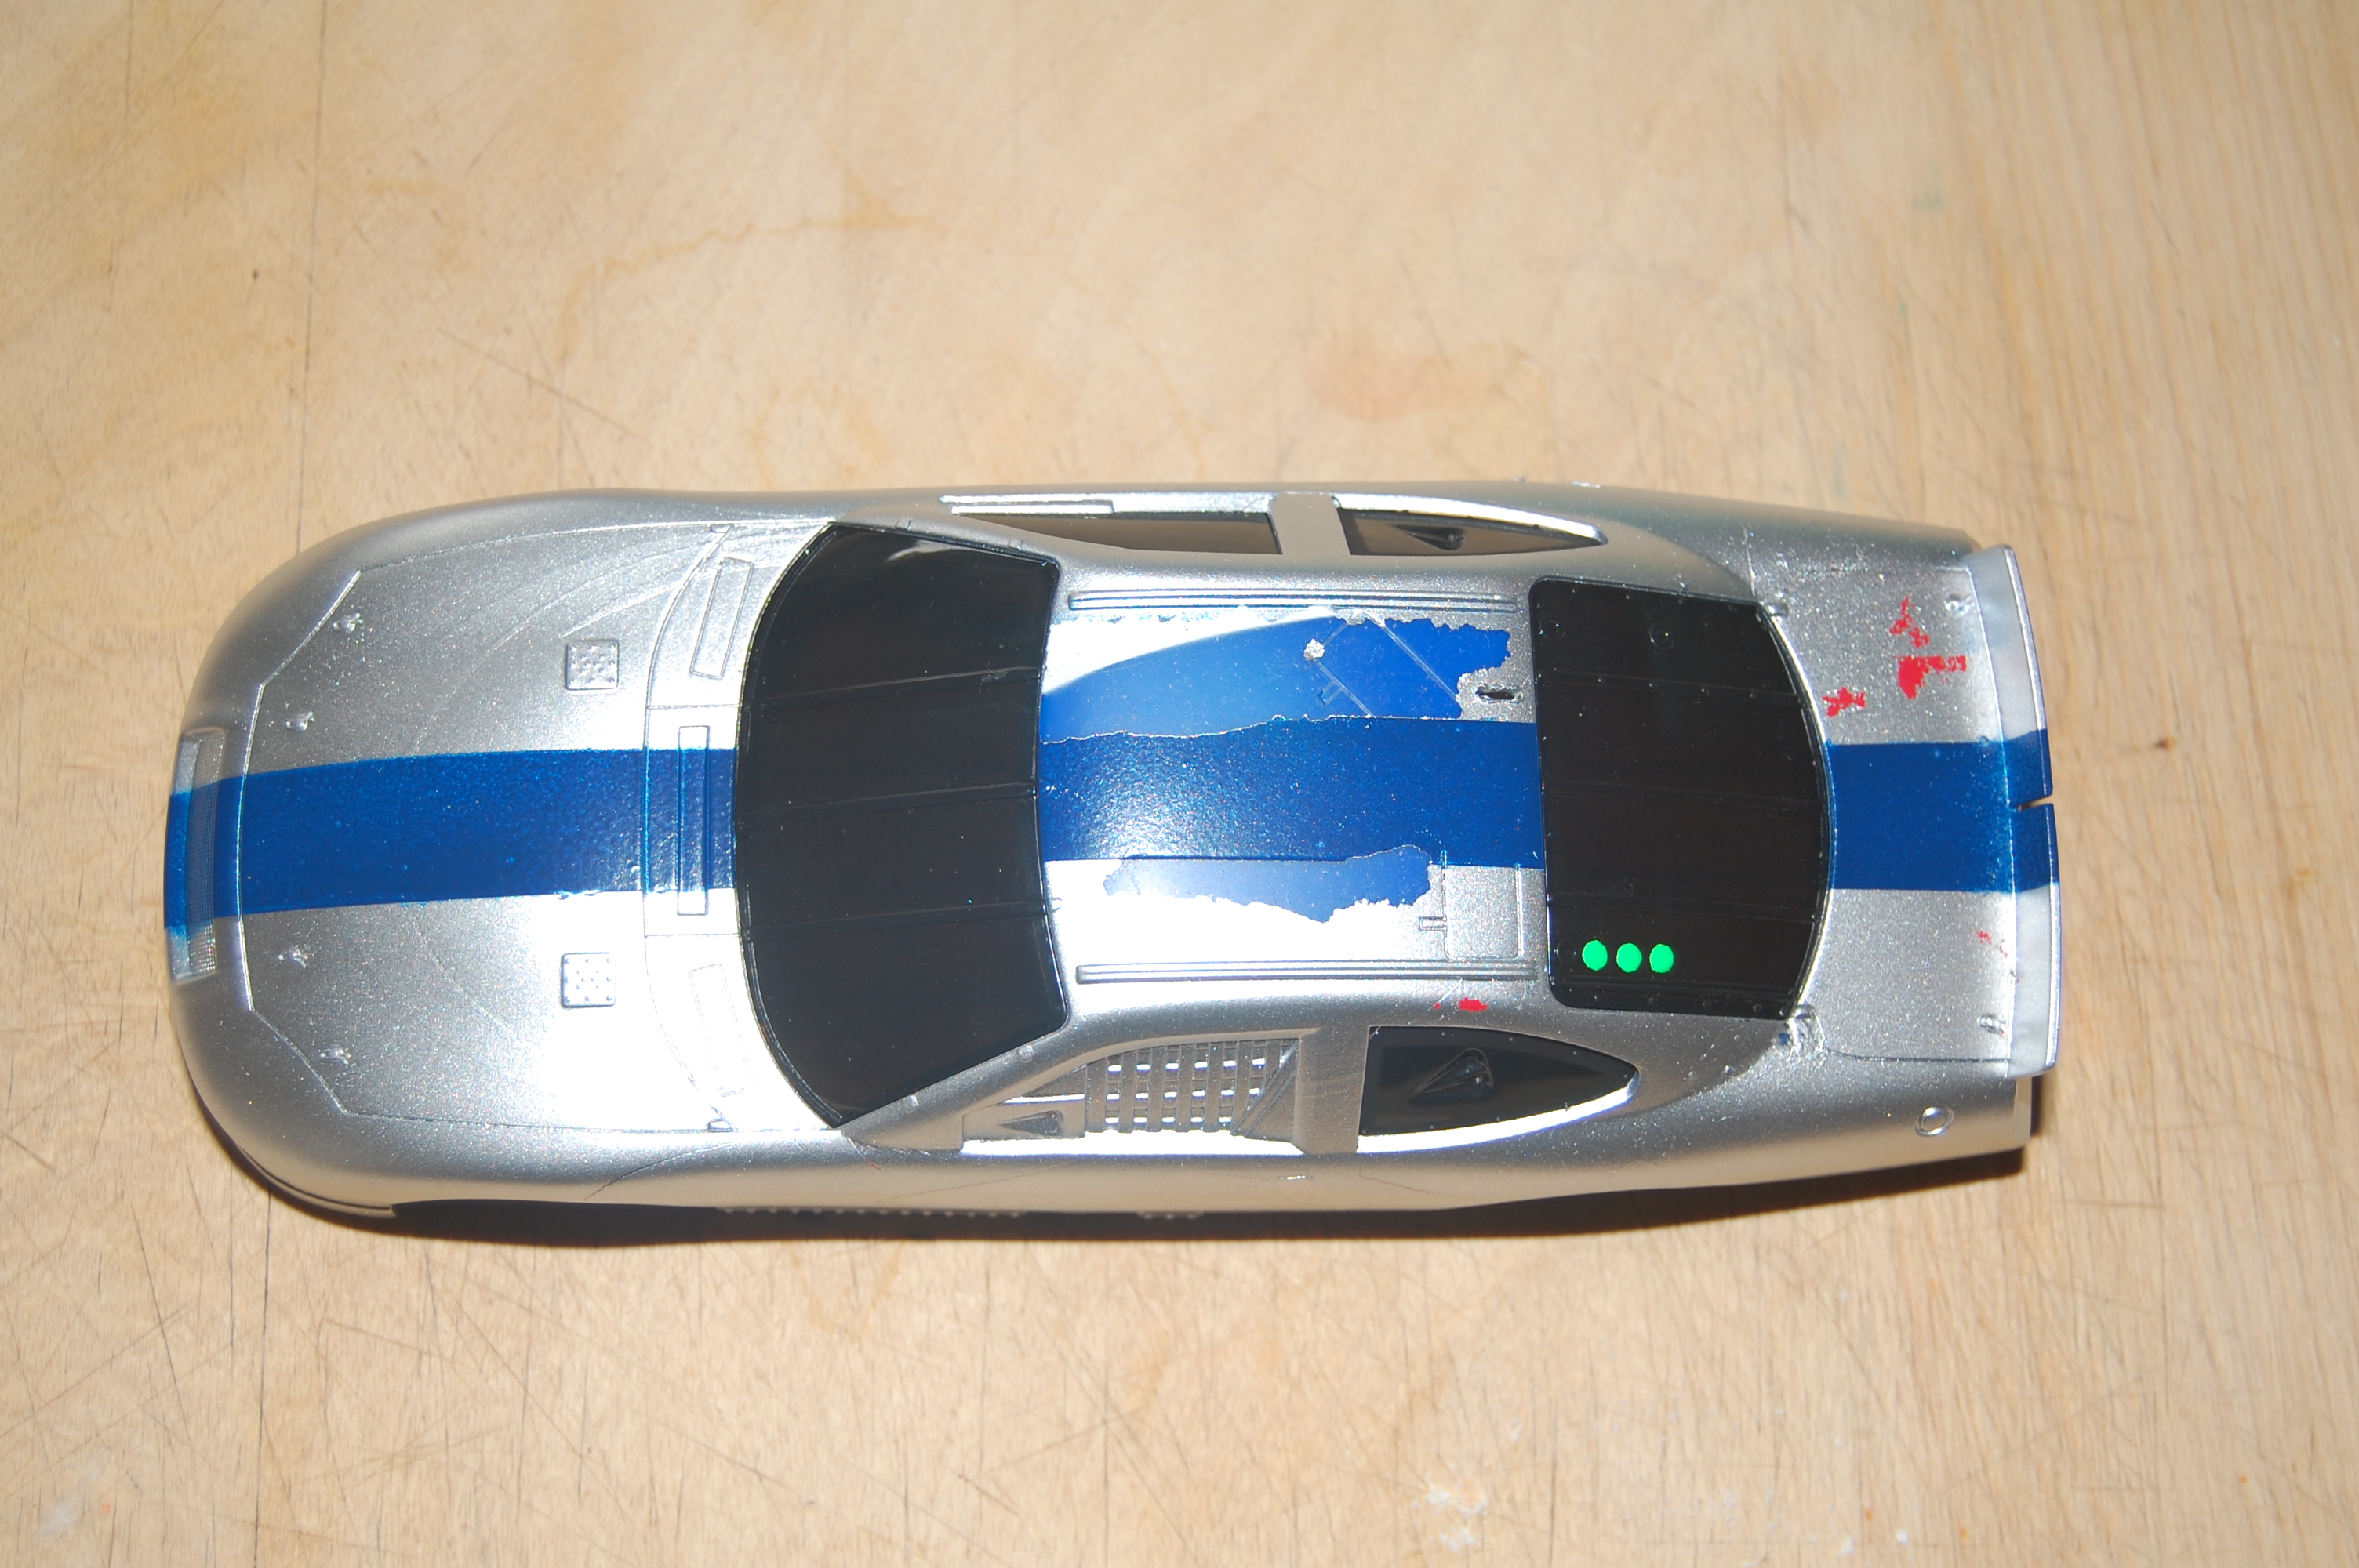
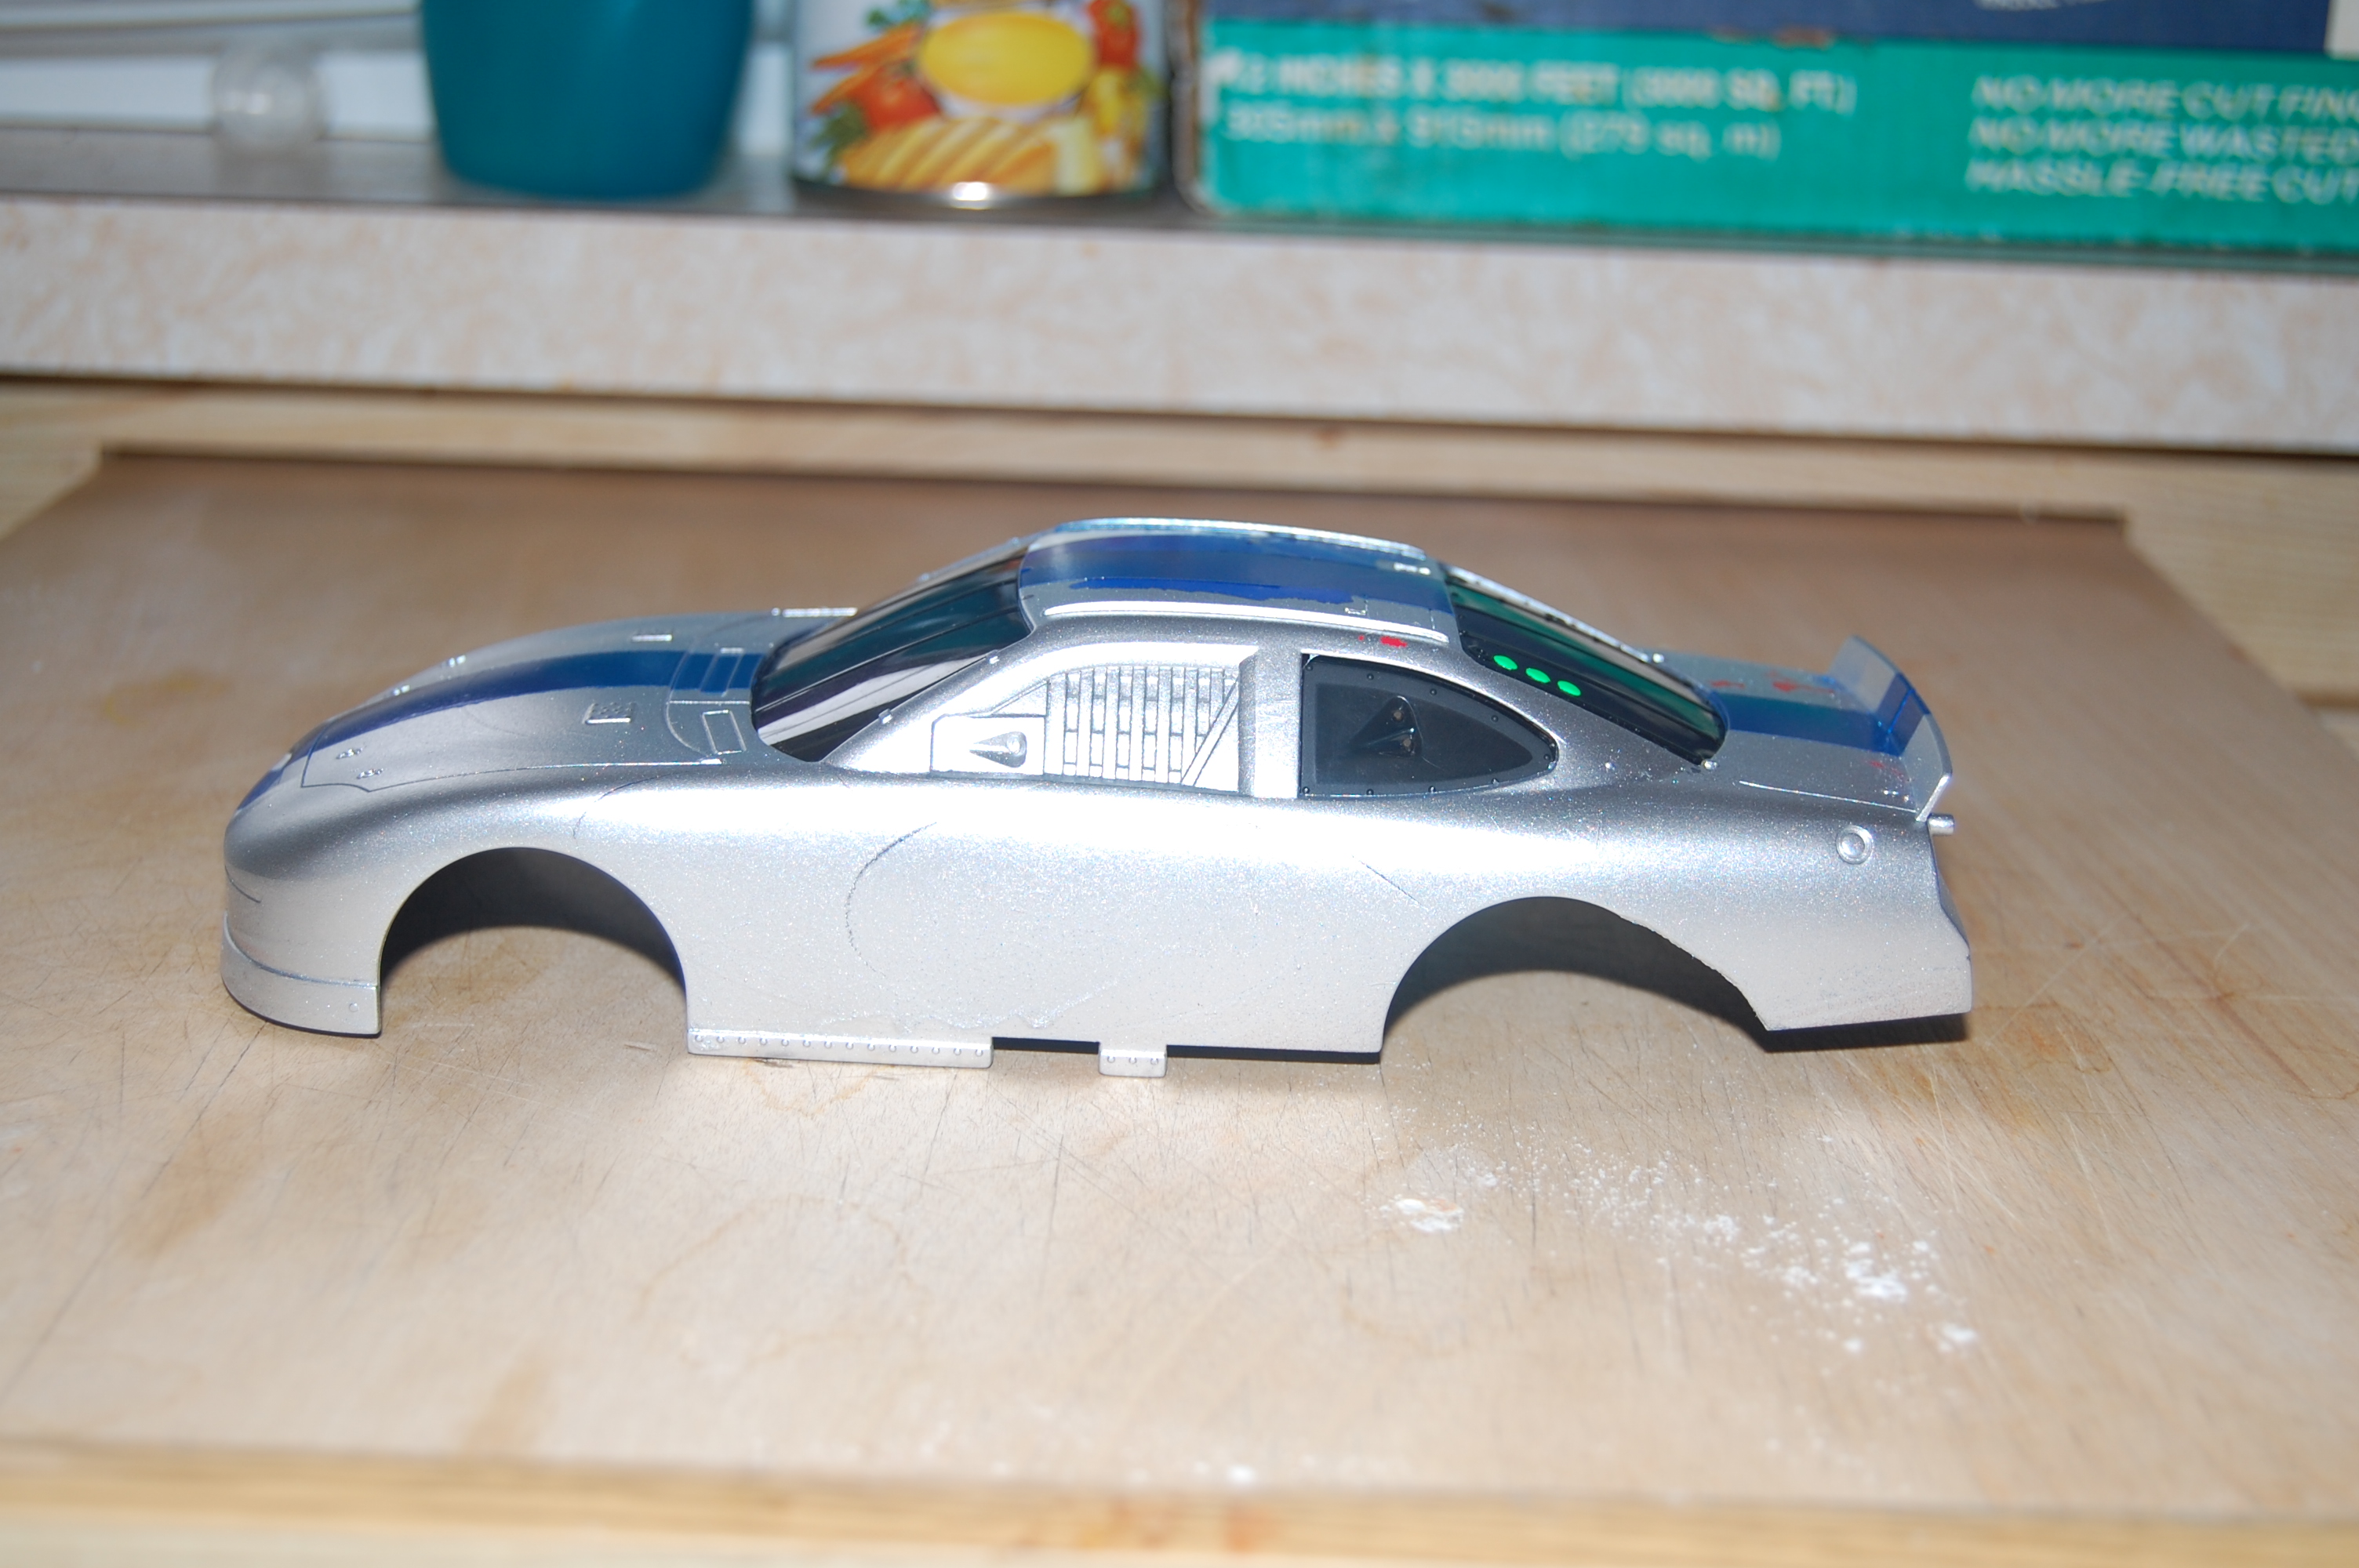
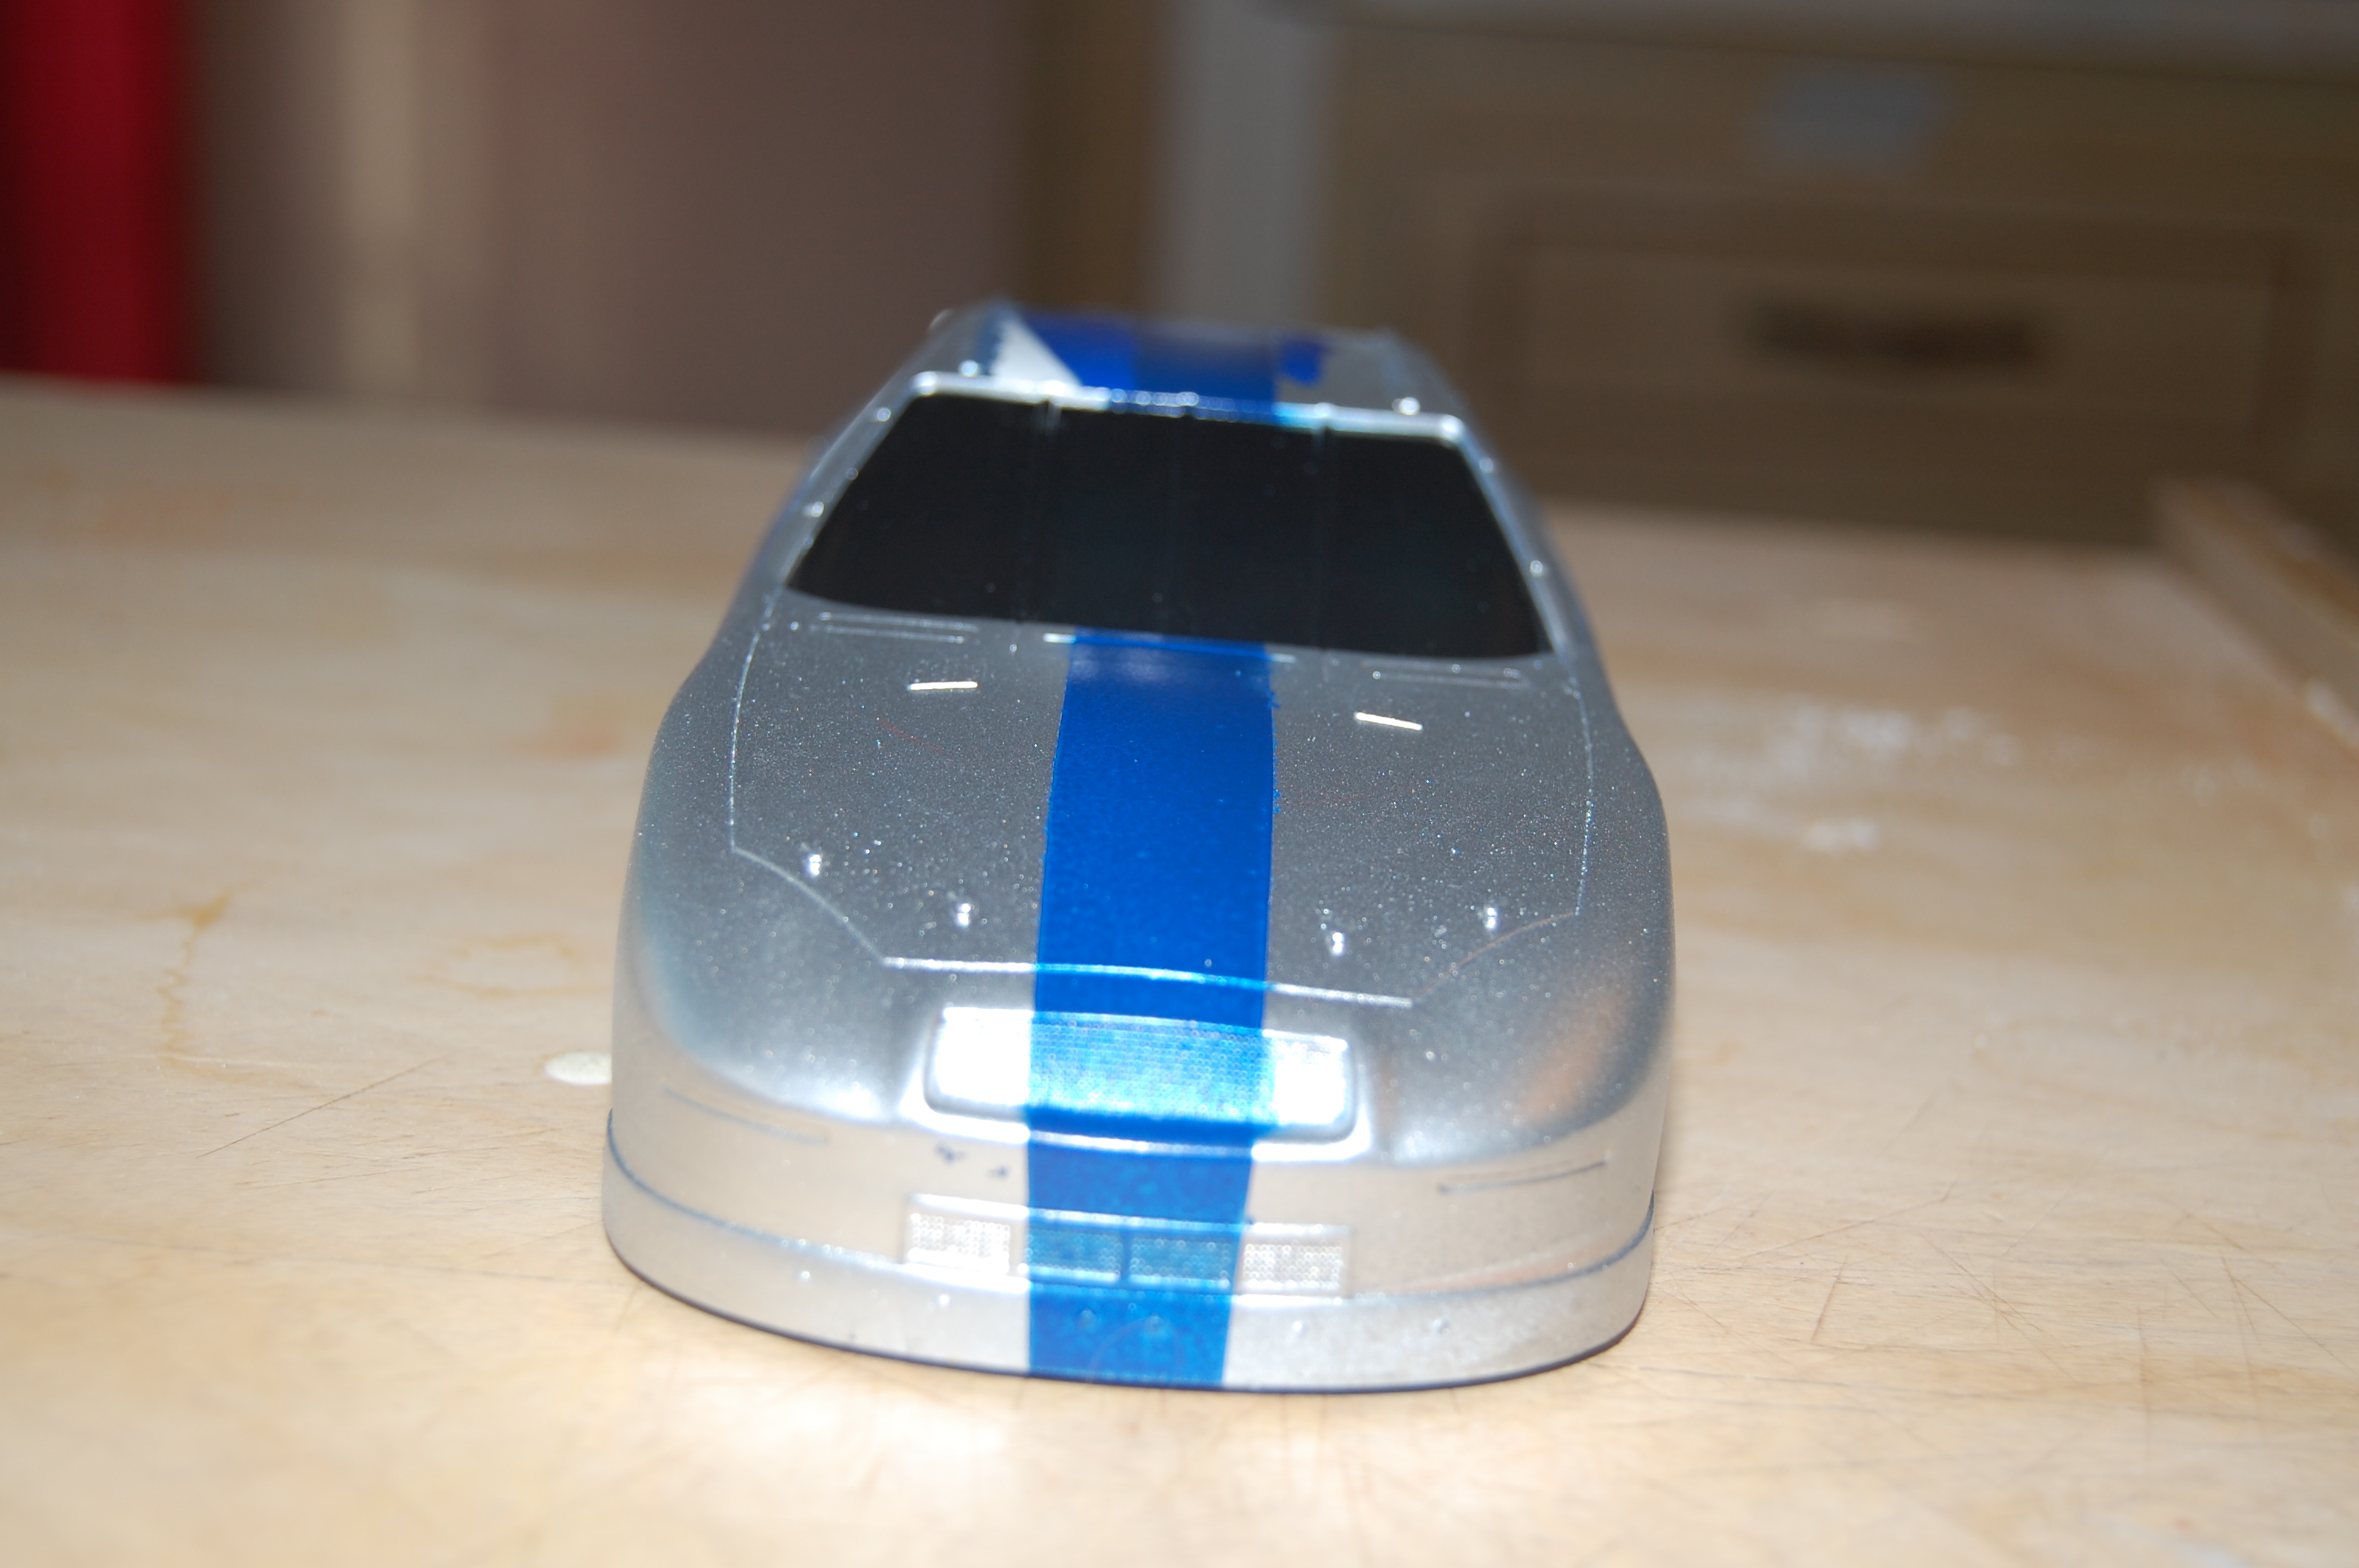
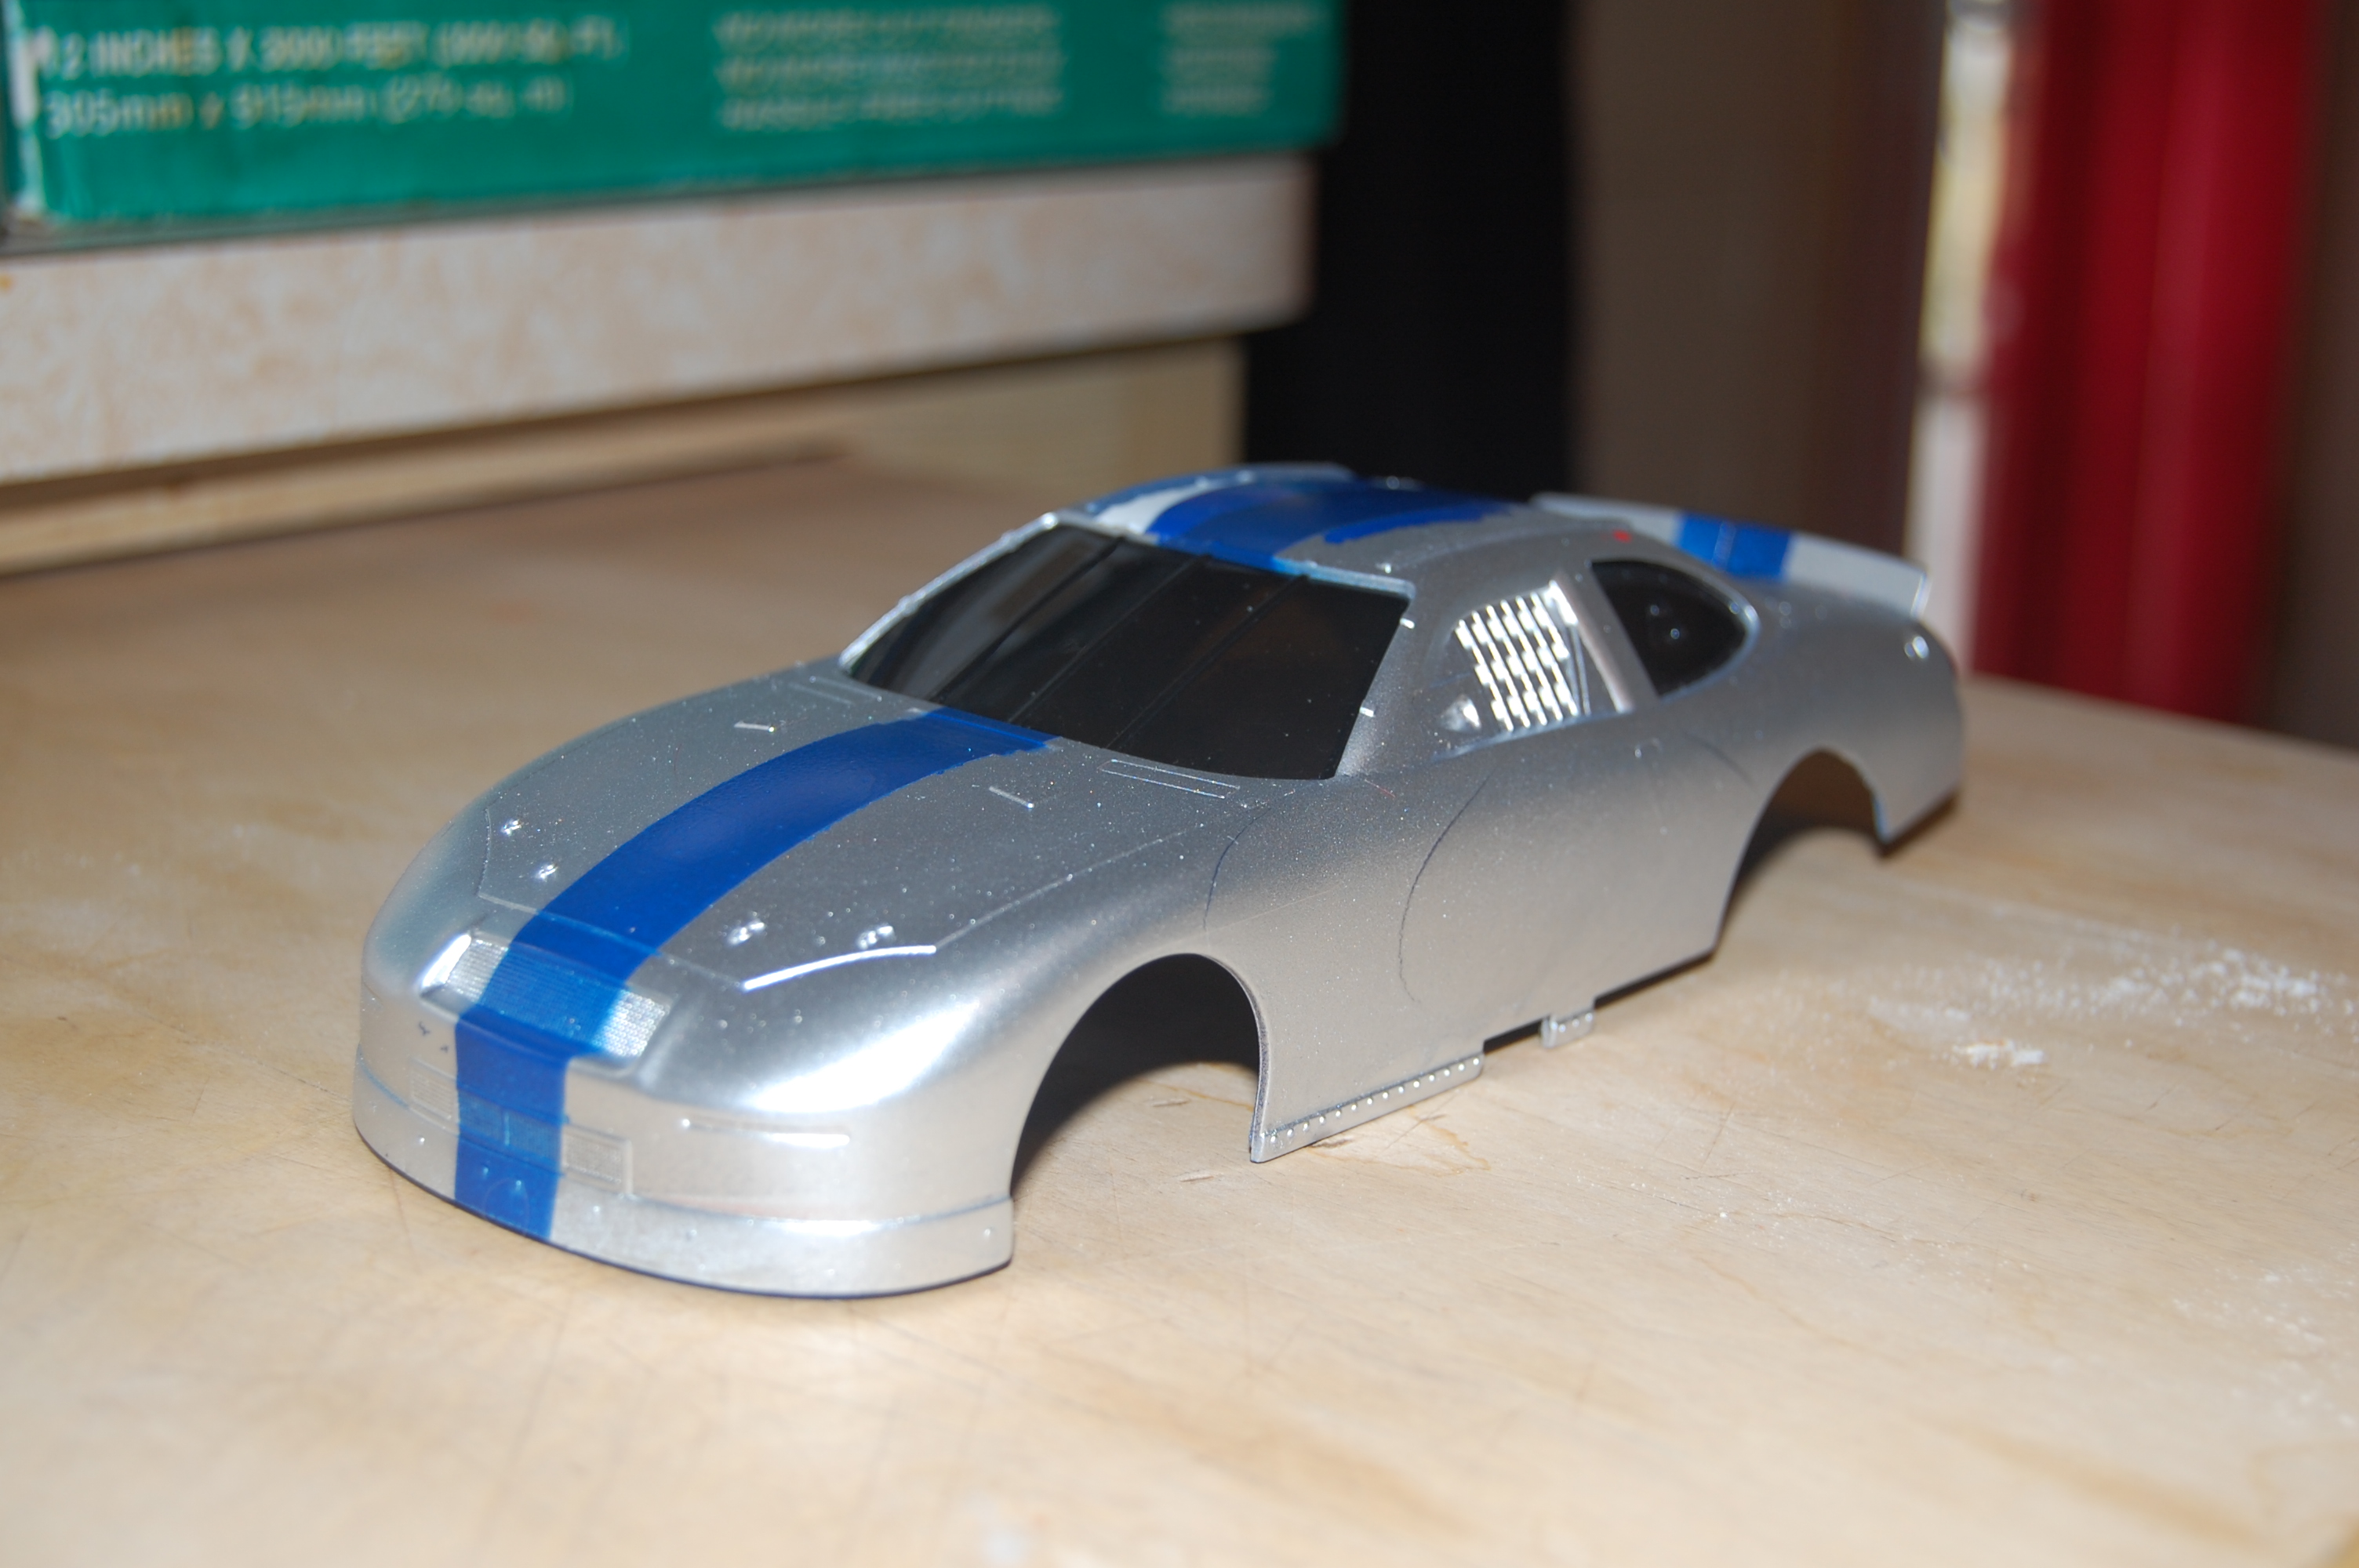
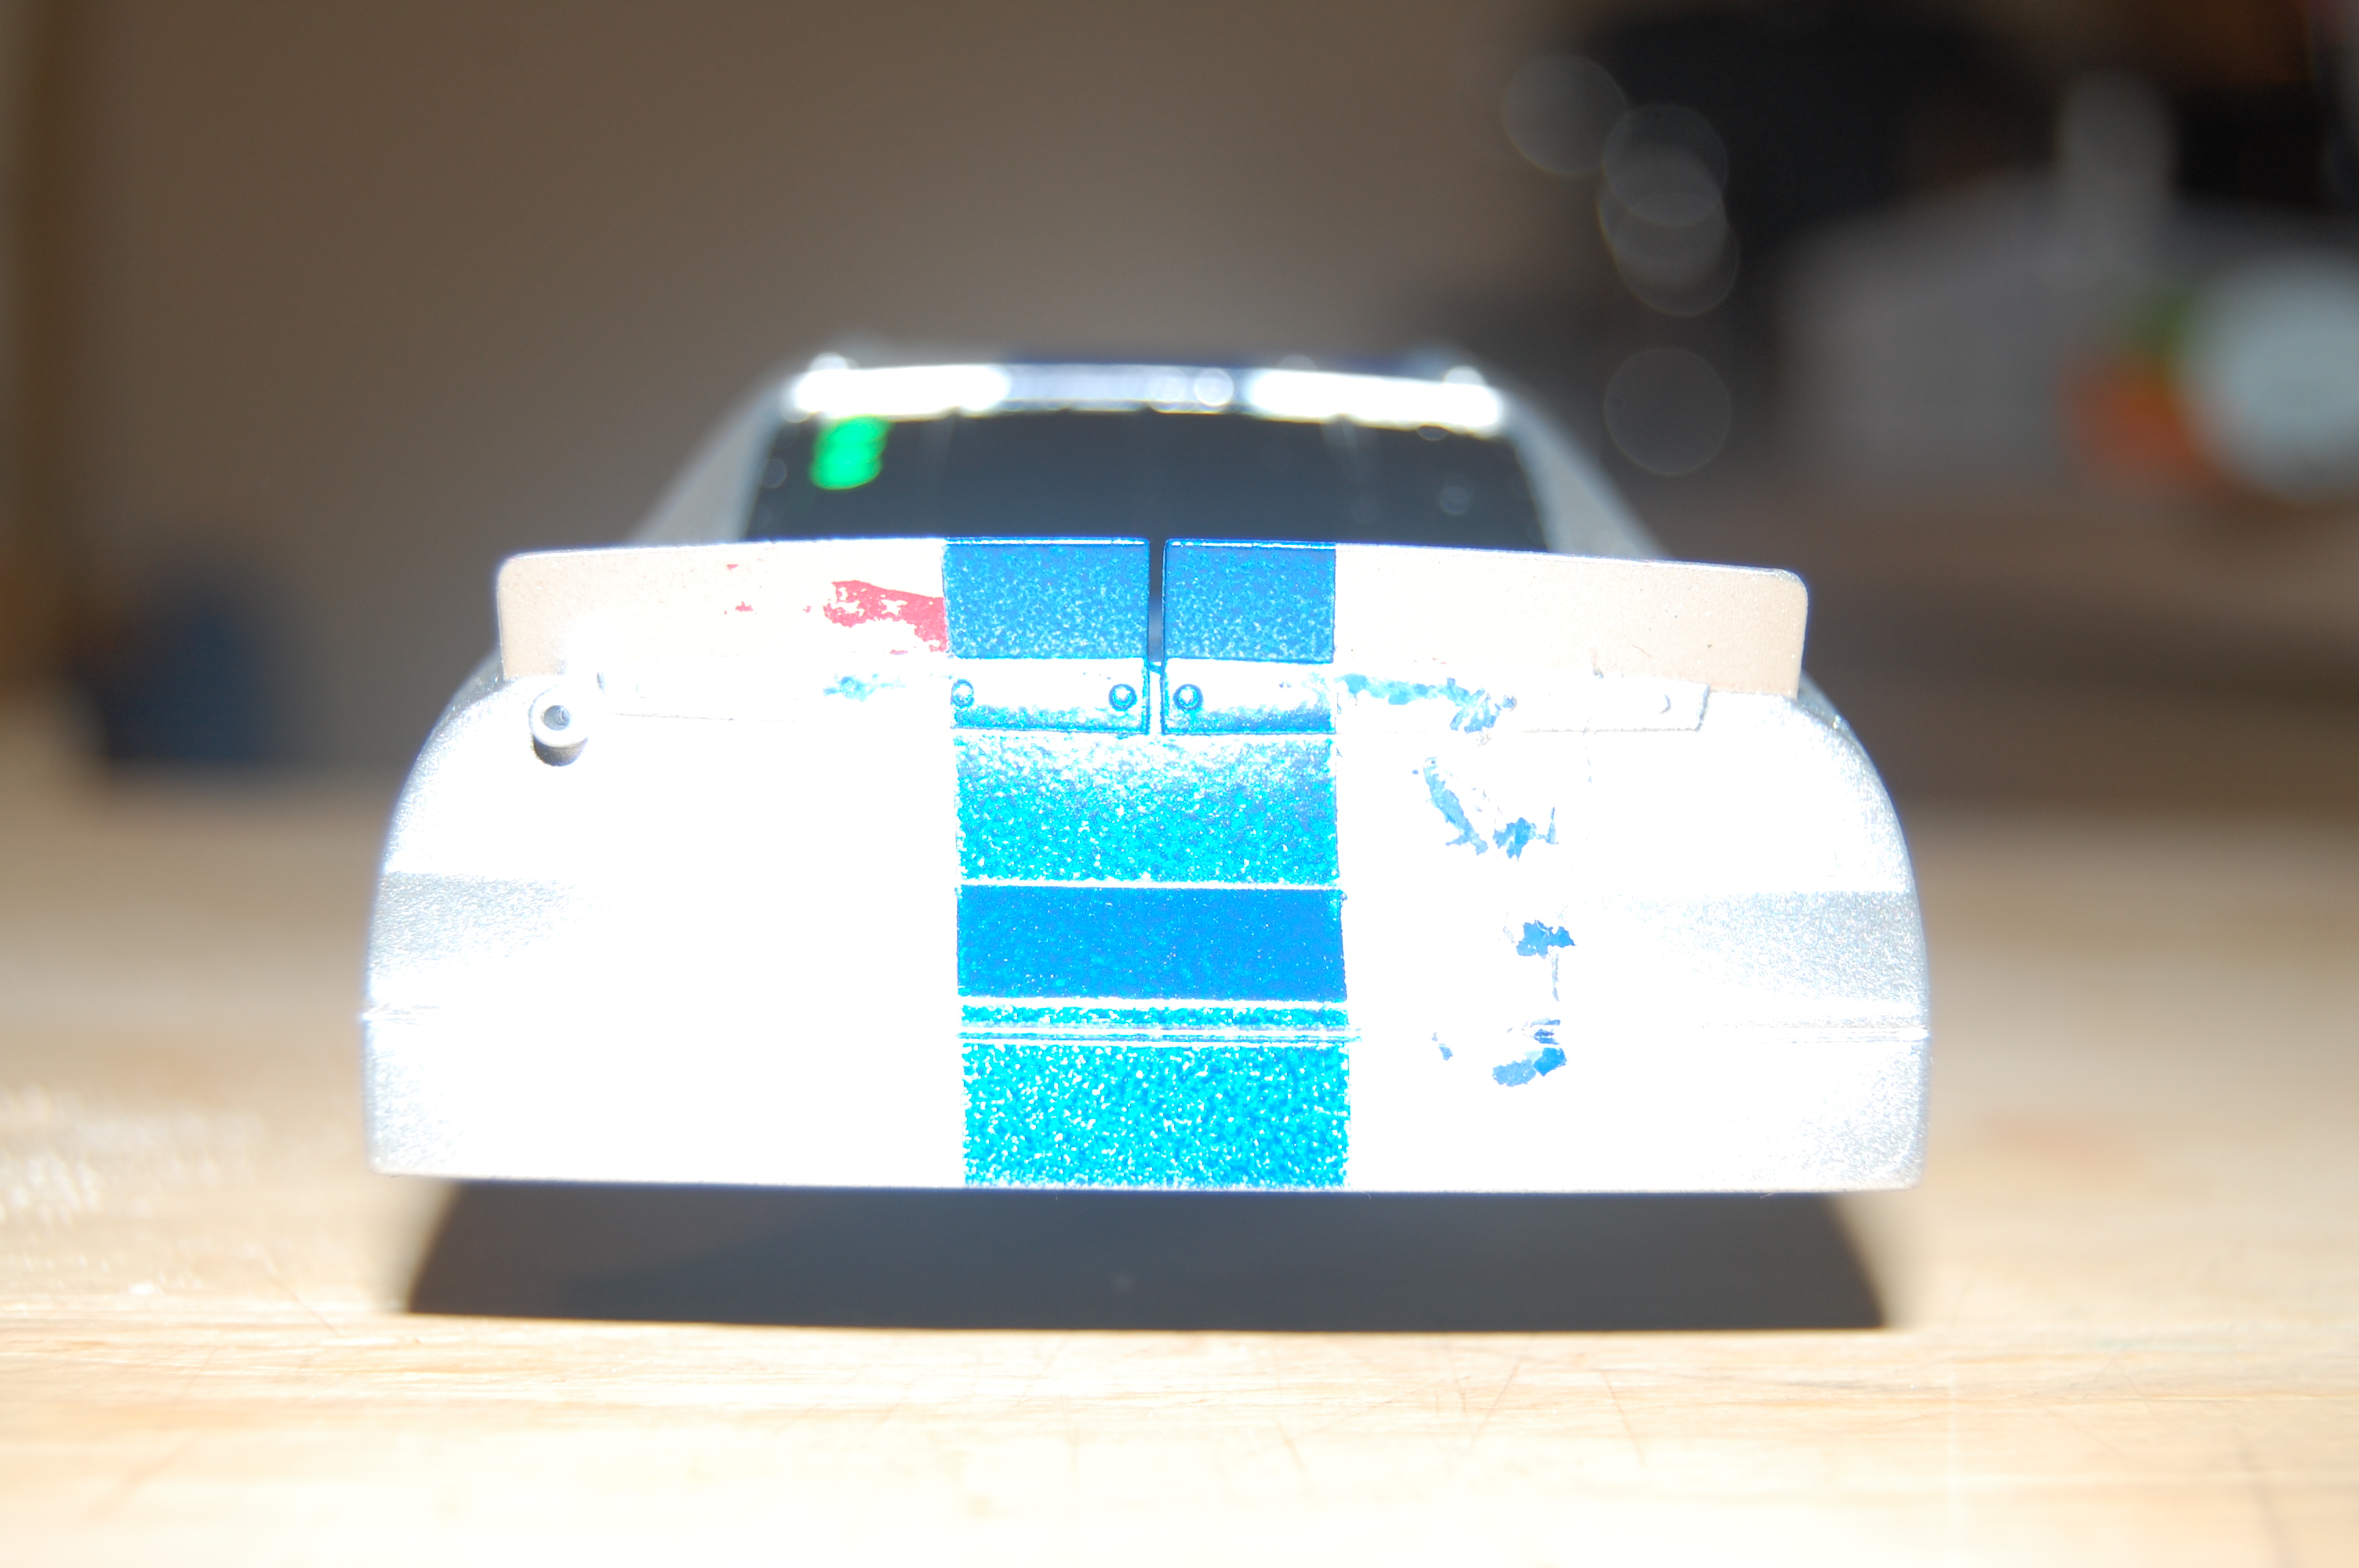
The following are pictures of my first painting attempt. I choose to start with the RPMZ Ford Taurus to see how it went. For the preparation I simply washed the body with a mild soap and water and then began my painting. I choose Krylon Matallic paint that I got from Walmart. It listed that it dries in 15 minutes or less and that it is exceptionally smooth paint, so I thought why not. I used a Brilliant Silver Metallic for the base coat with a dark blue for the accent strip down the center of the car.
 |
 |
| Painting Project 1: Figure 1 | Painting Project 1: Figure 2 |
 |
 |
| Painting Project 1: Figure 3 | Painting Project 1: Figure 4 |
 |
 |
| Painting Project 1: Figure 5 | Painting Project 1: Figure 6 |
I am not very happy with the result that I got from this first attempt, but I believe that my issue has to do with just washing the body and not doing a little more prep. For my second attempt I will prep the body by sanding with a somewhat rough sandpaper followed by a good cleaning. I am then going to use Tamya paint to prime and paint the body. I am considering using a decal in order to get the dark blue strip the way that I would like. As soon as I get this done, I will post the photos.
Painting Project - Second Project
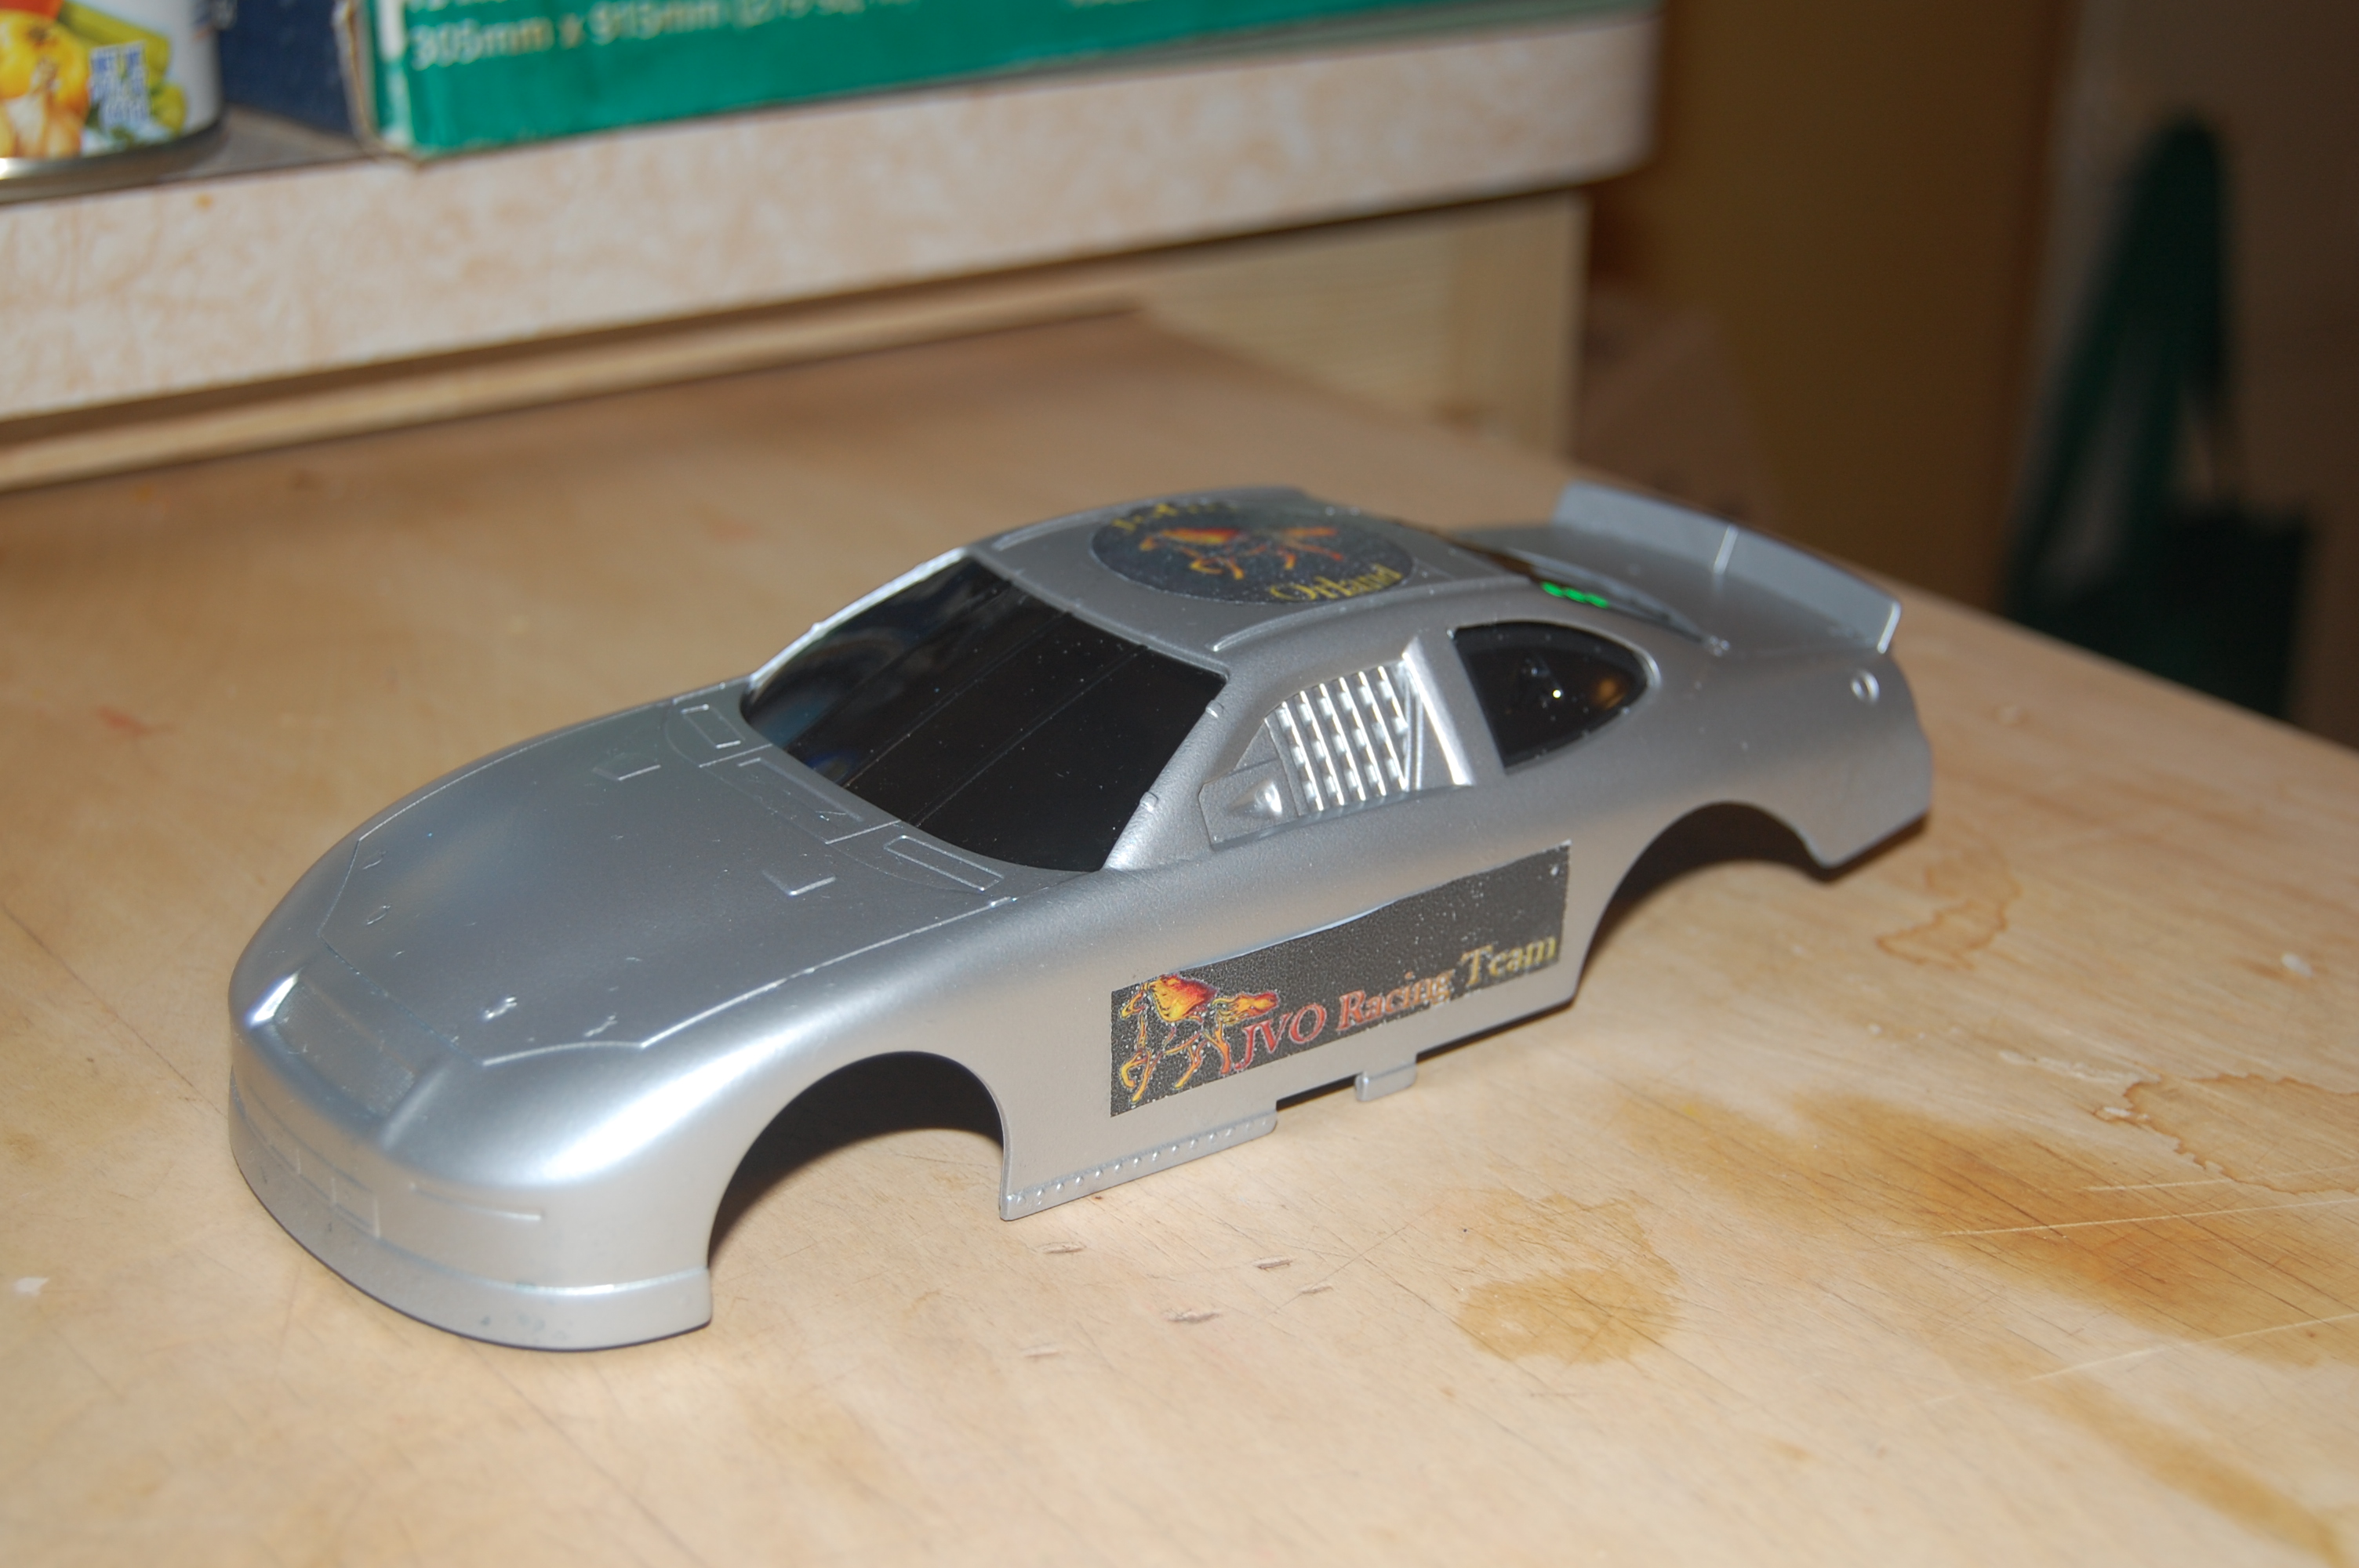
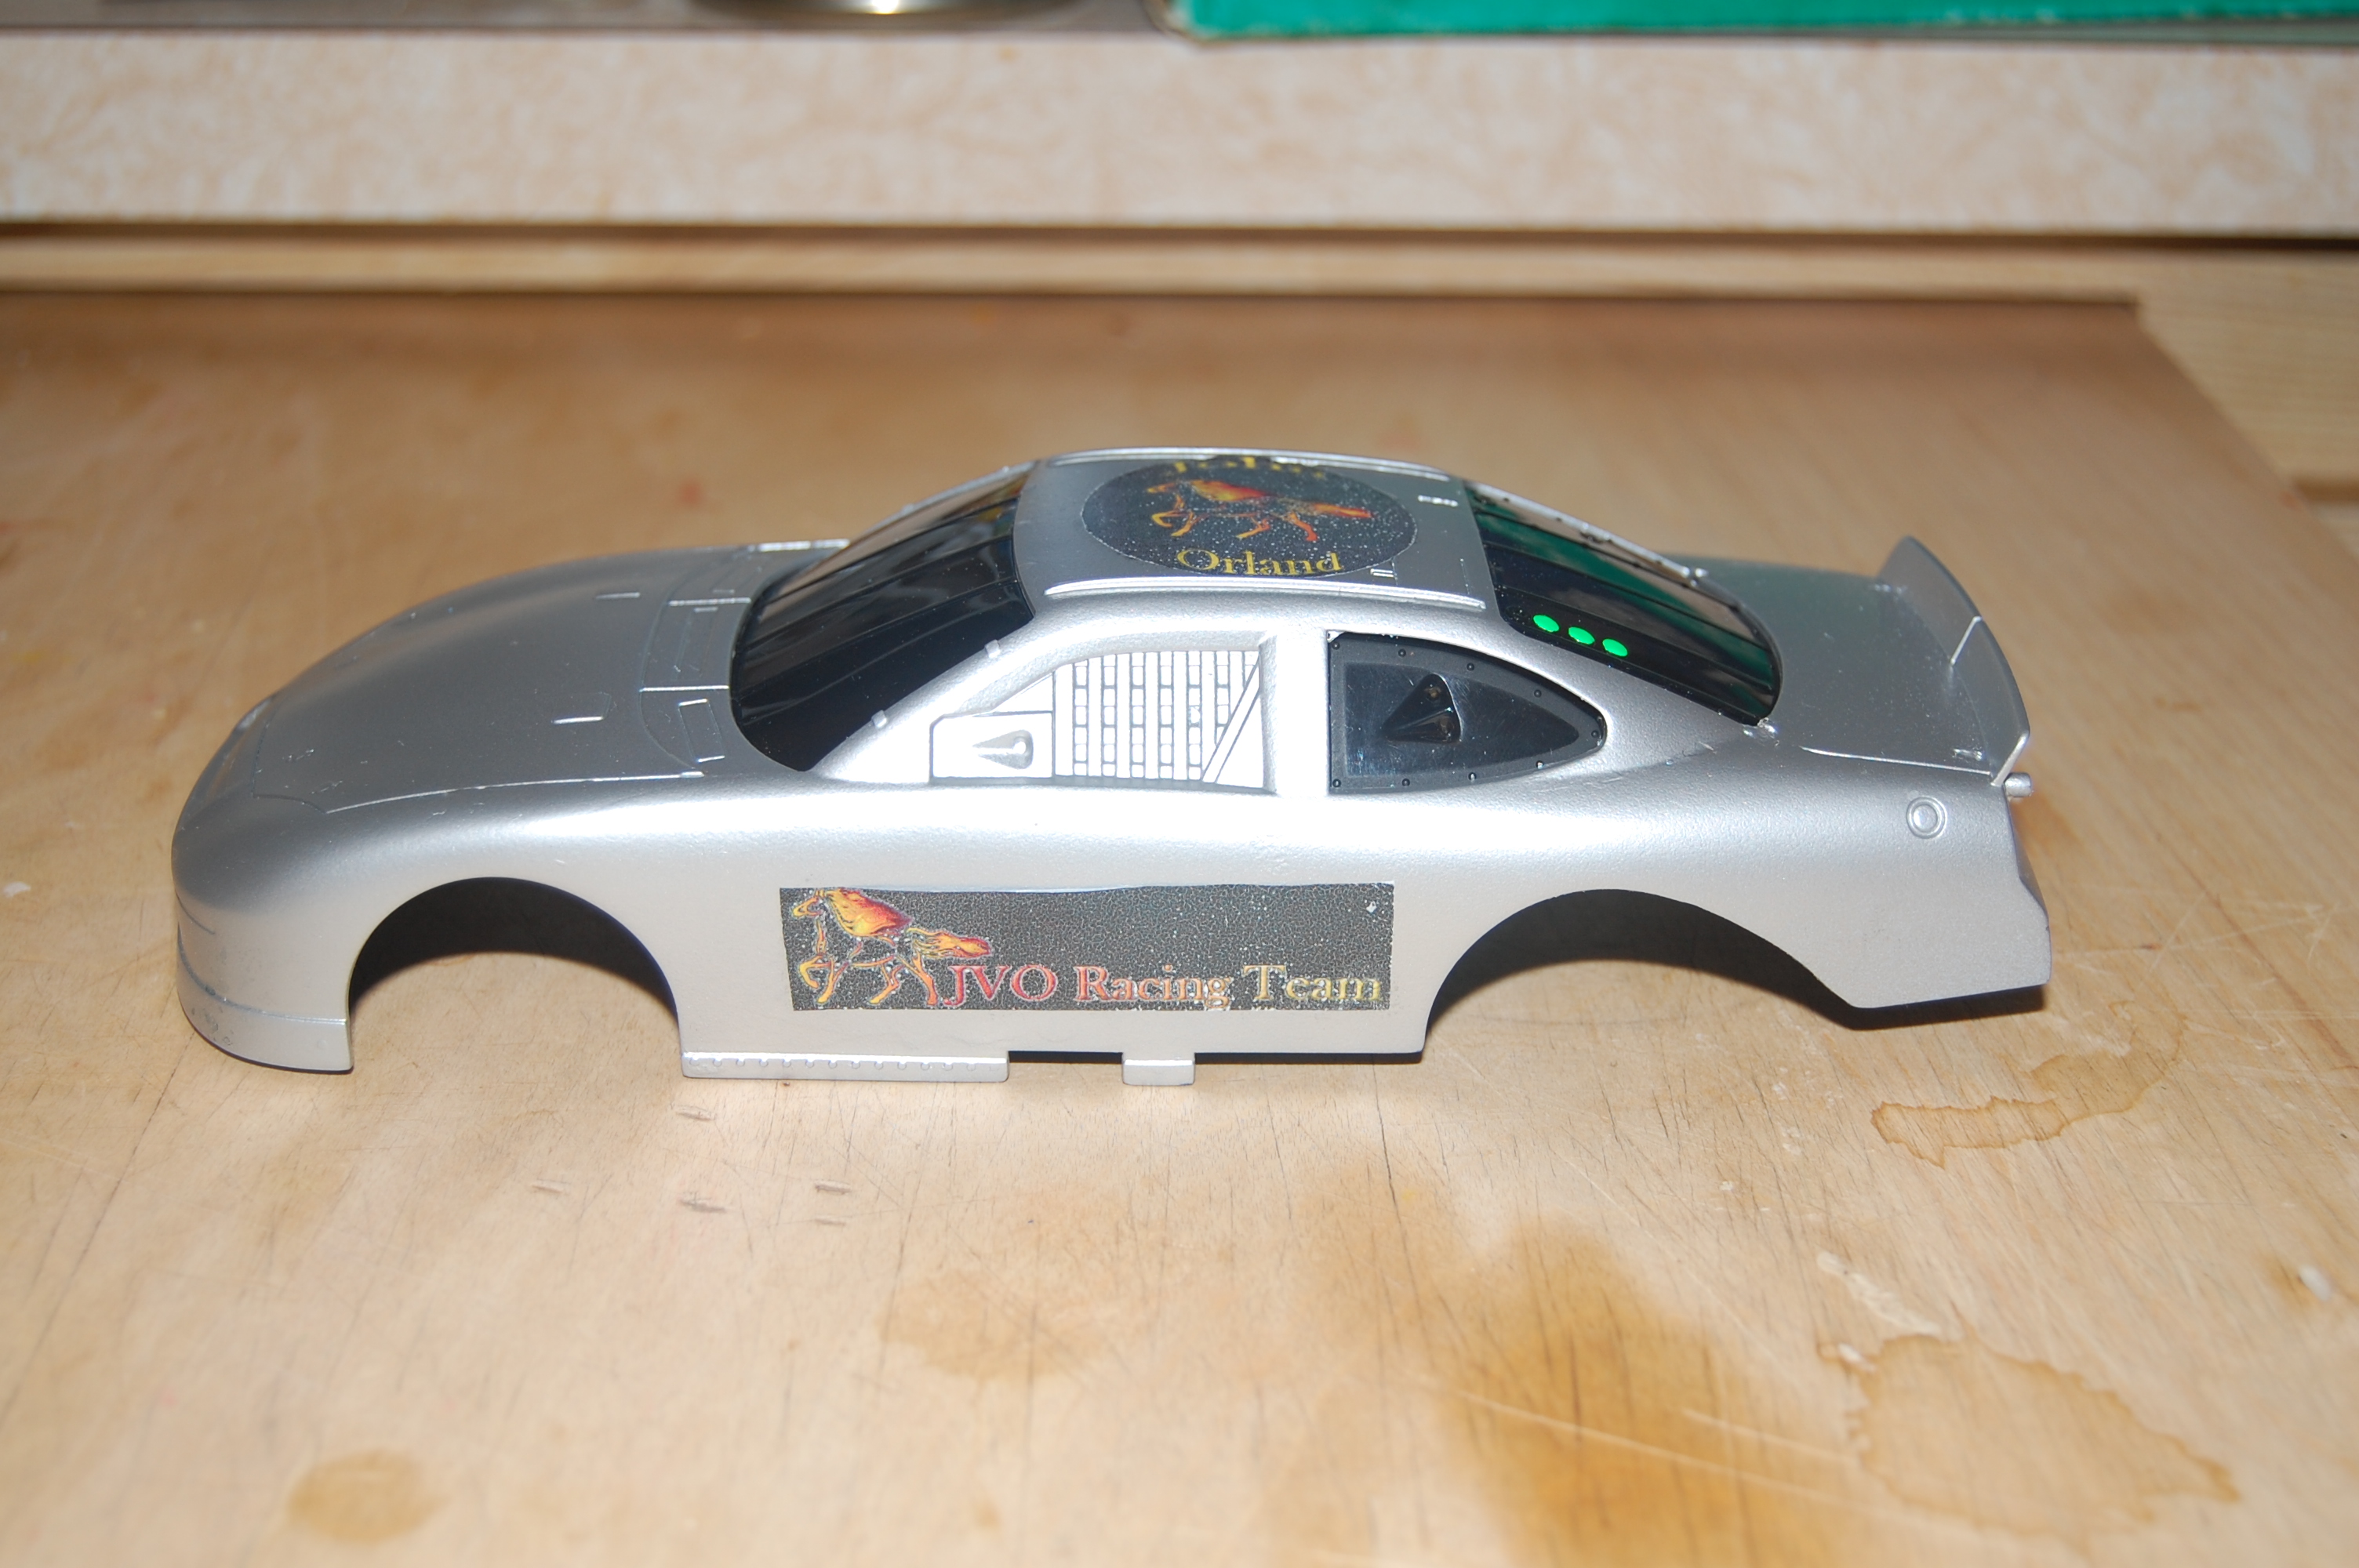
For my second attempt, I made some further prep work. I made sure to sand the body with some 150 grit sandpaper to prep for the primer. I then painted the car with the primer, using two coats. I also used some 1,000 grit sandpaper in betwwen the coats. My intention was to use decals created using a color printer for the logos and the stripes. I was not happy with the stripes, so I did not use them and even the logos did not turn out very nice. I will need to refine my techniques for the decals. I am also thinking about bringing the body back in and painting the stripe.
 |
 |
| Painting Project 2: Figure 1 | Painting Project 2: Figure 2 |
 |
 |
| Painting Project 2: Figure 3 | Painting Project 2: Figure 4 |
 |
 |
| Painting Project 2: Figure 5 | Painting Project 2: Figure 6 |
The second attempt certainly came out a lot better. I also put some decals that I made using a computer and printer.
Painting Project - Third Project
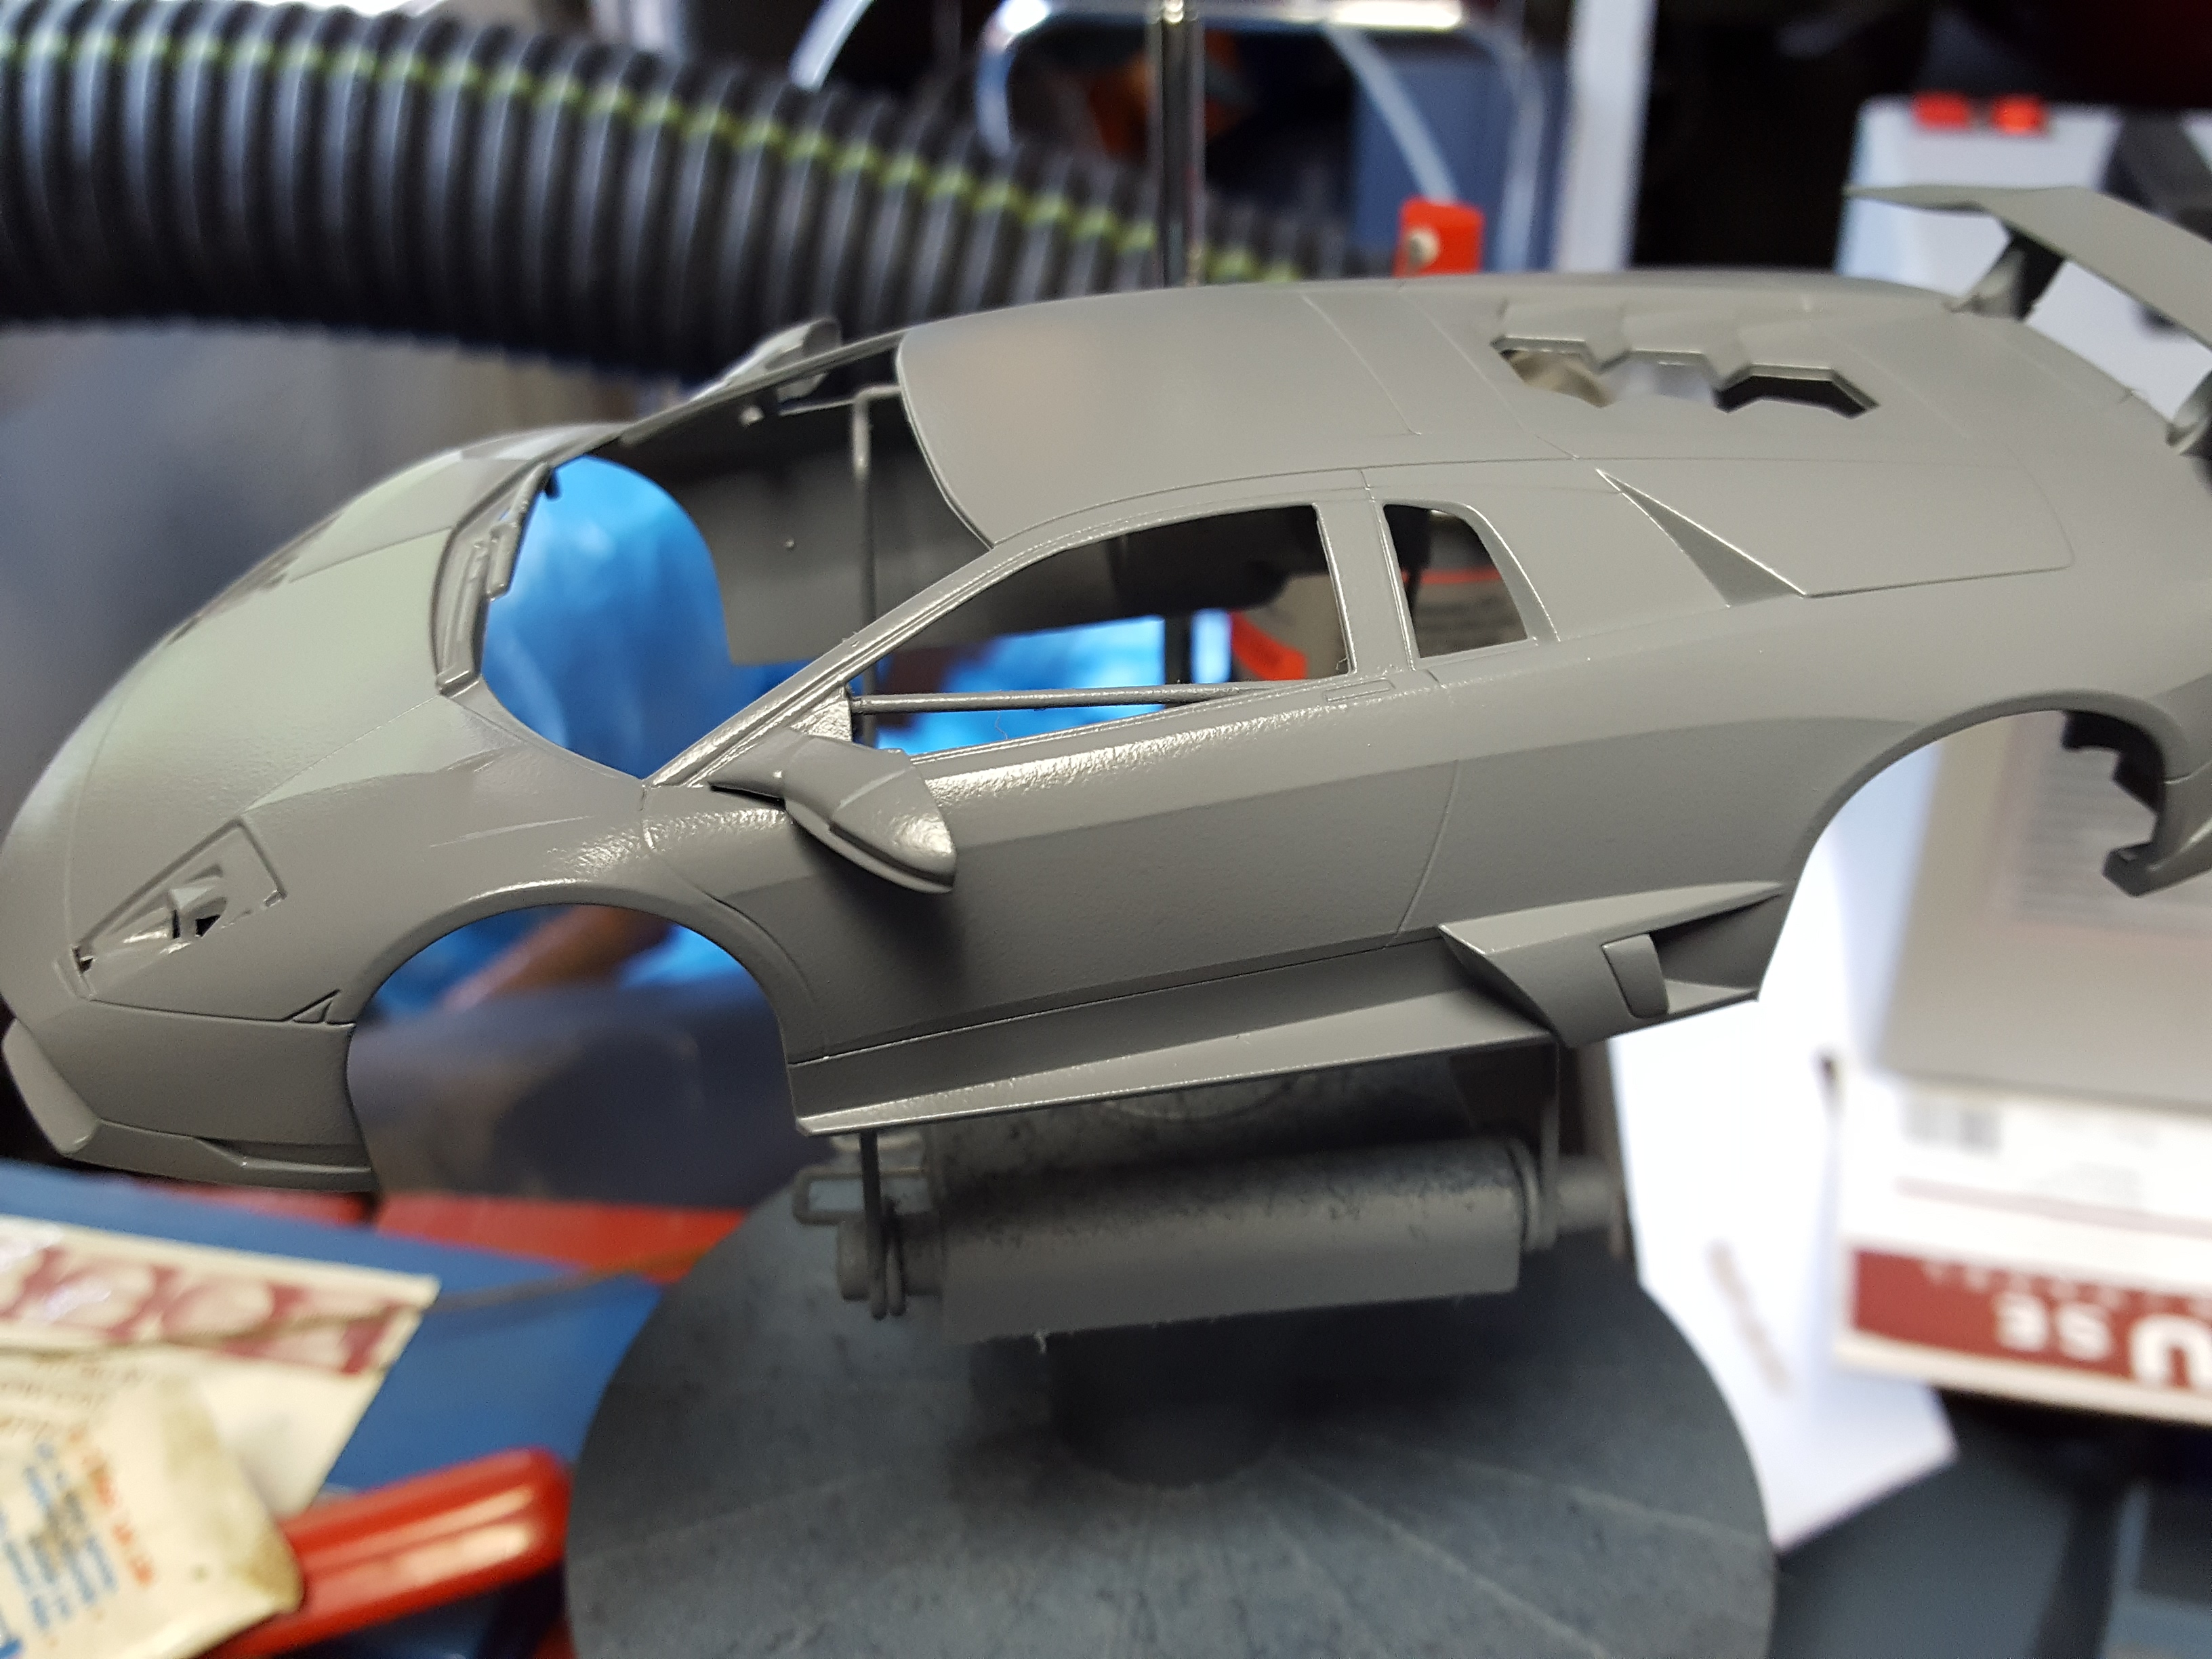
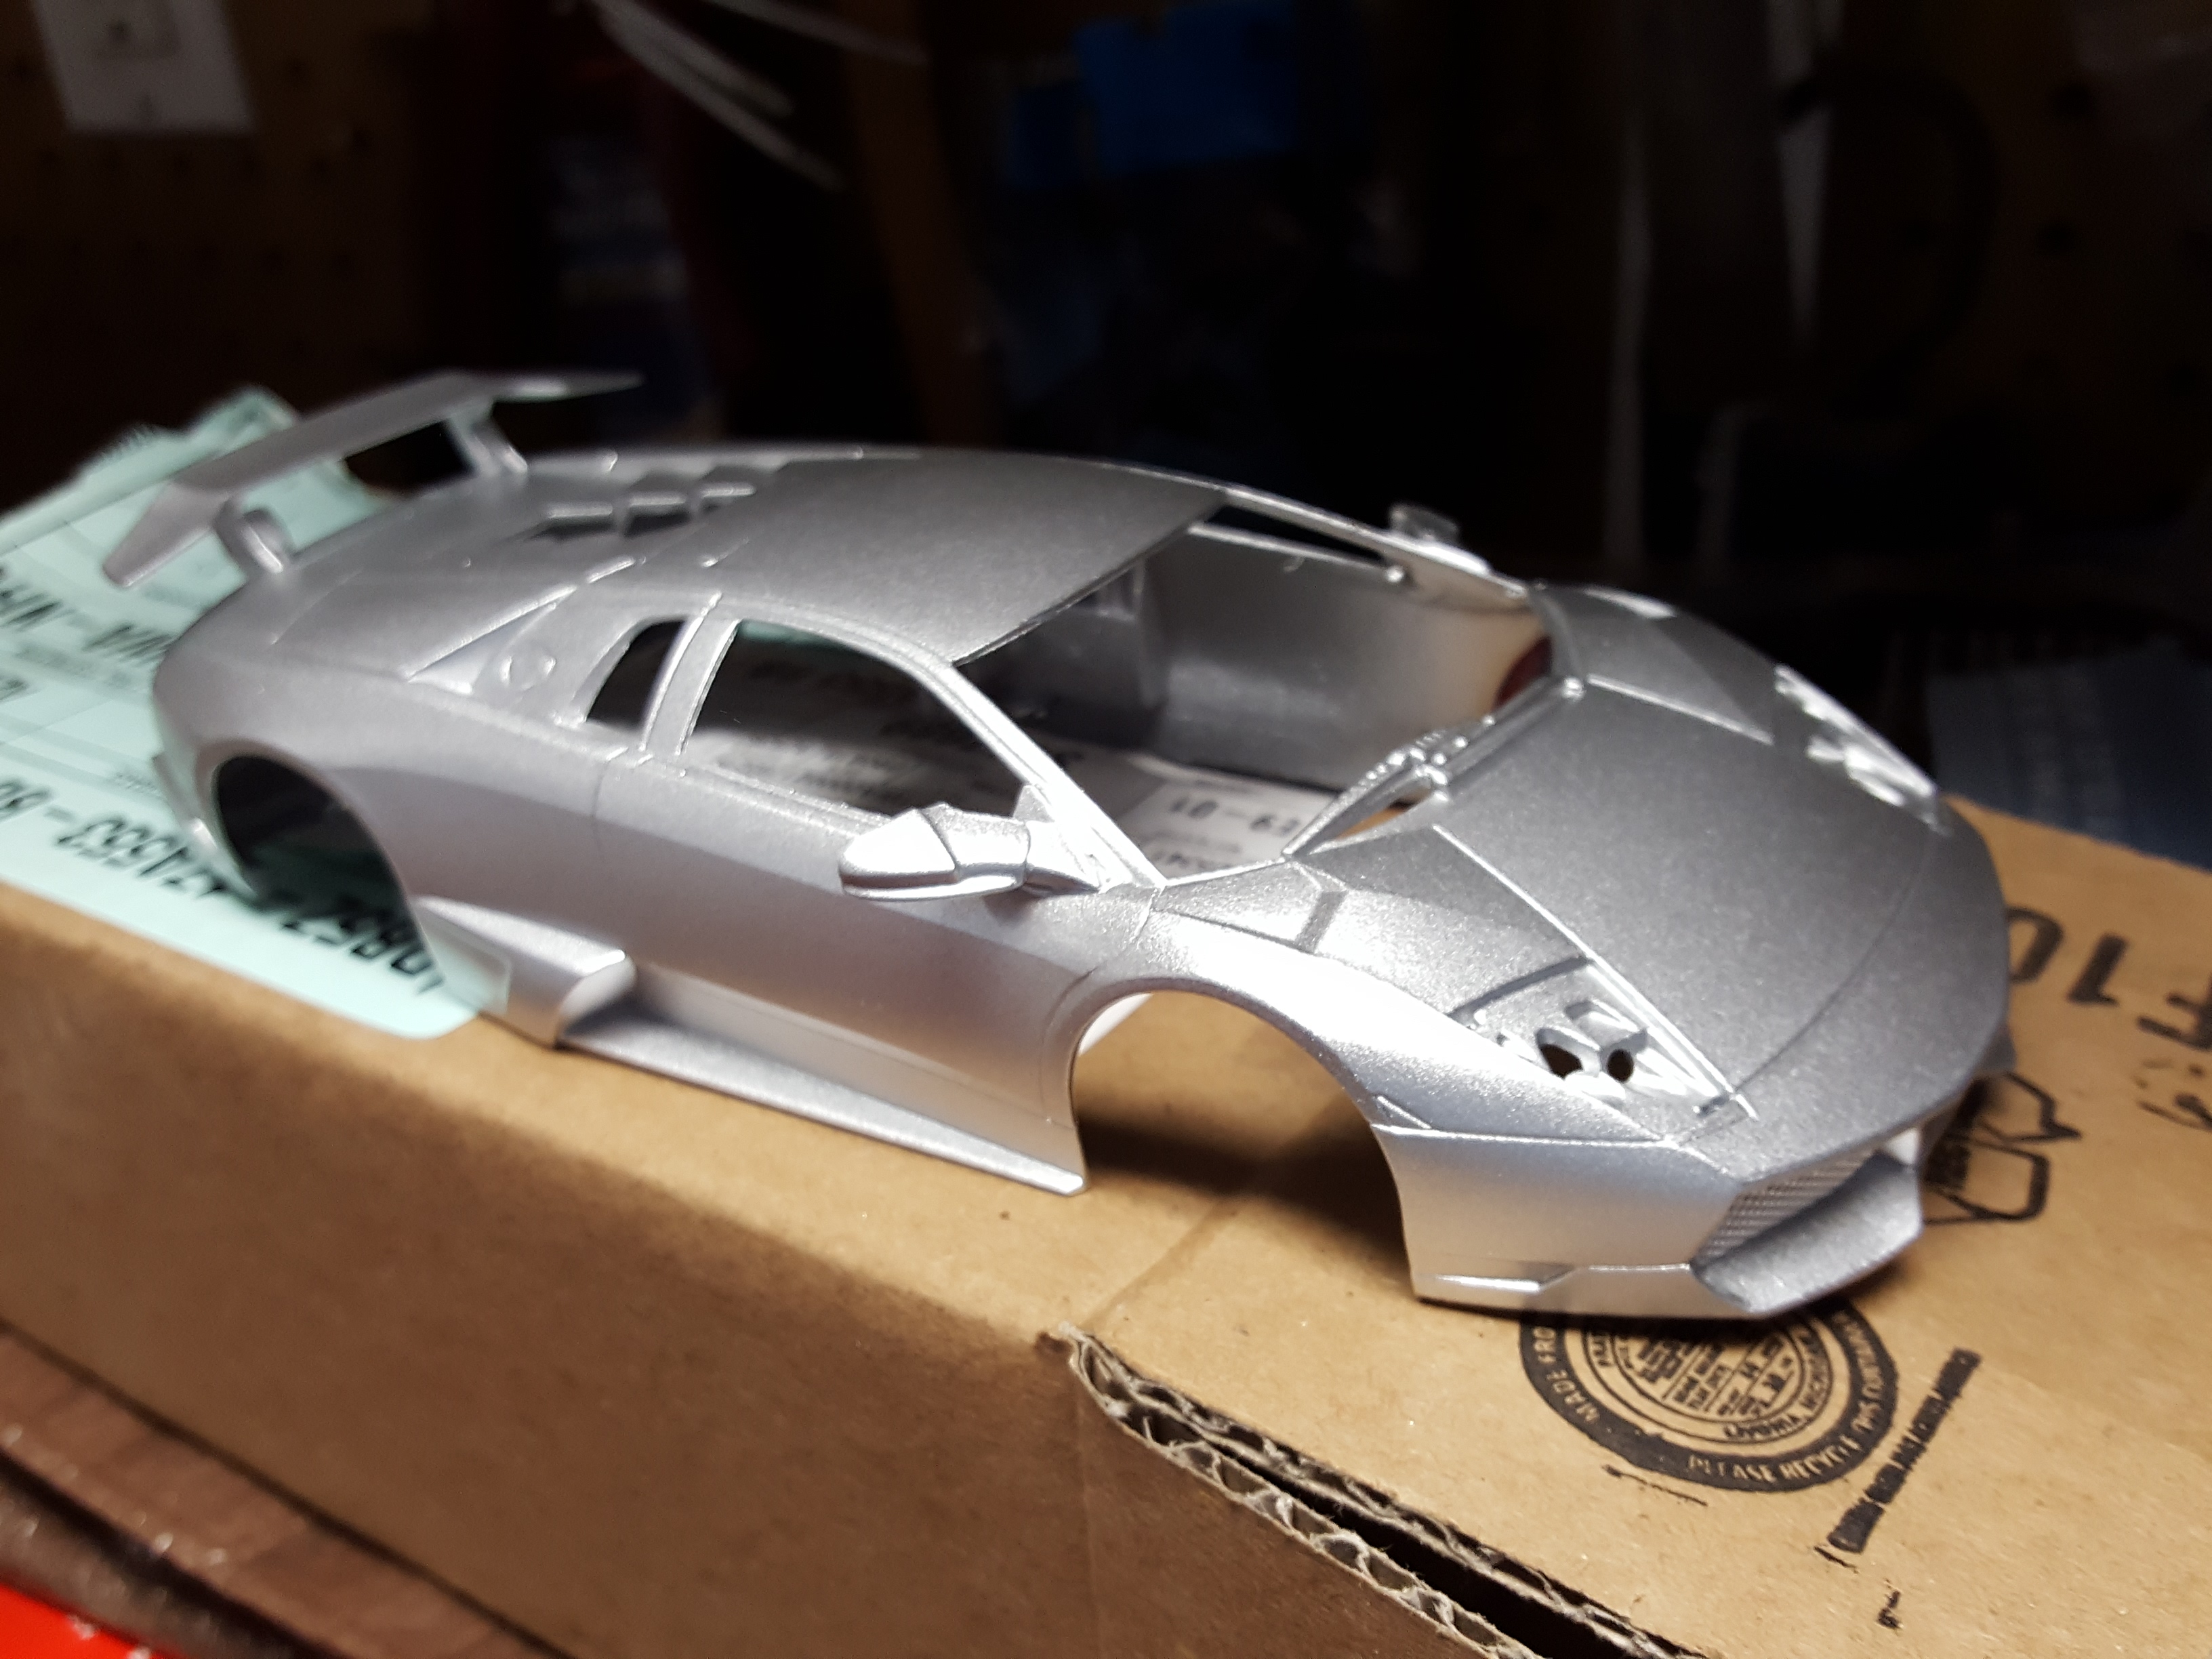
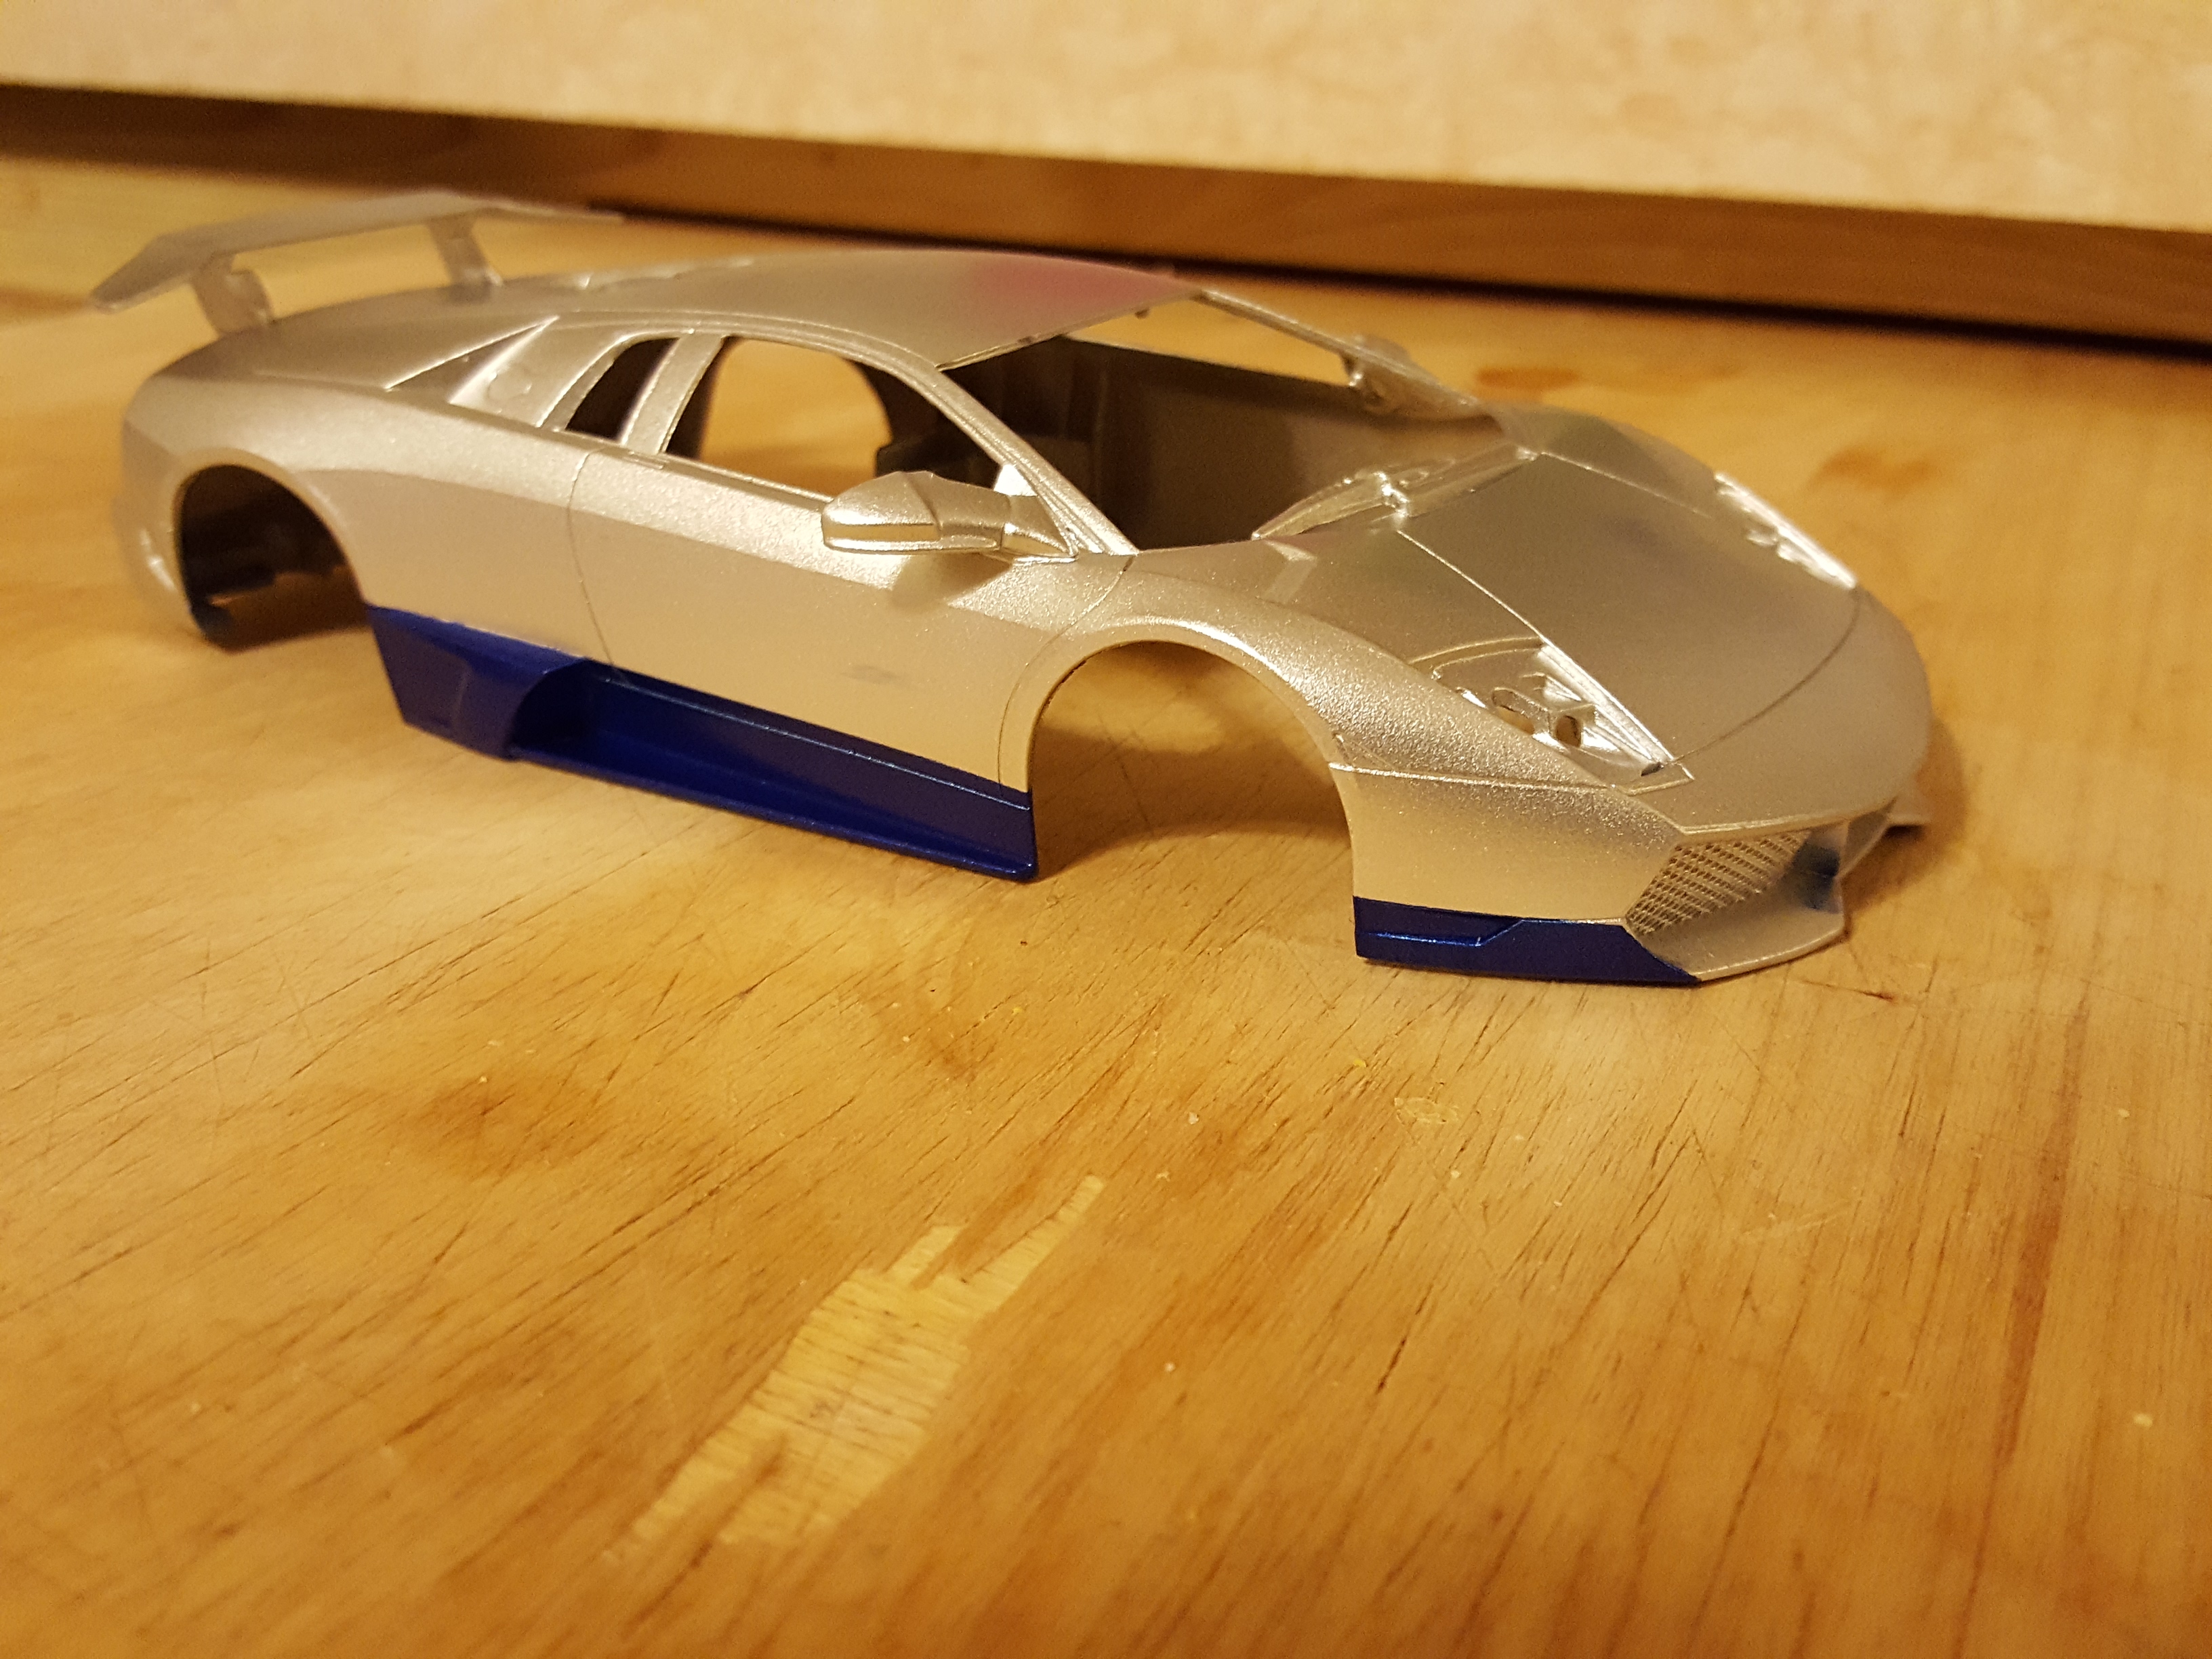
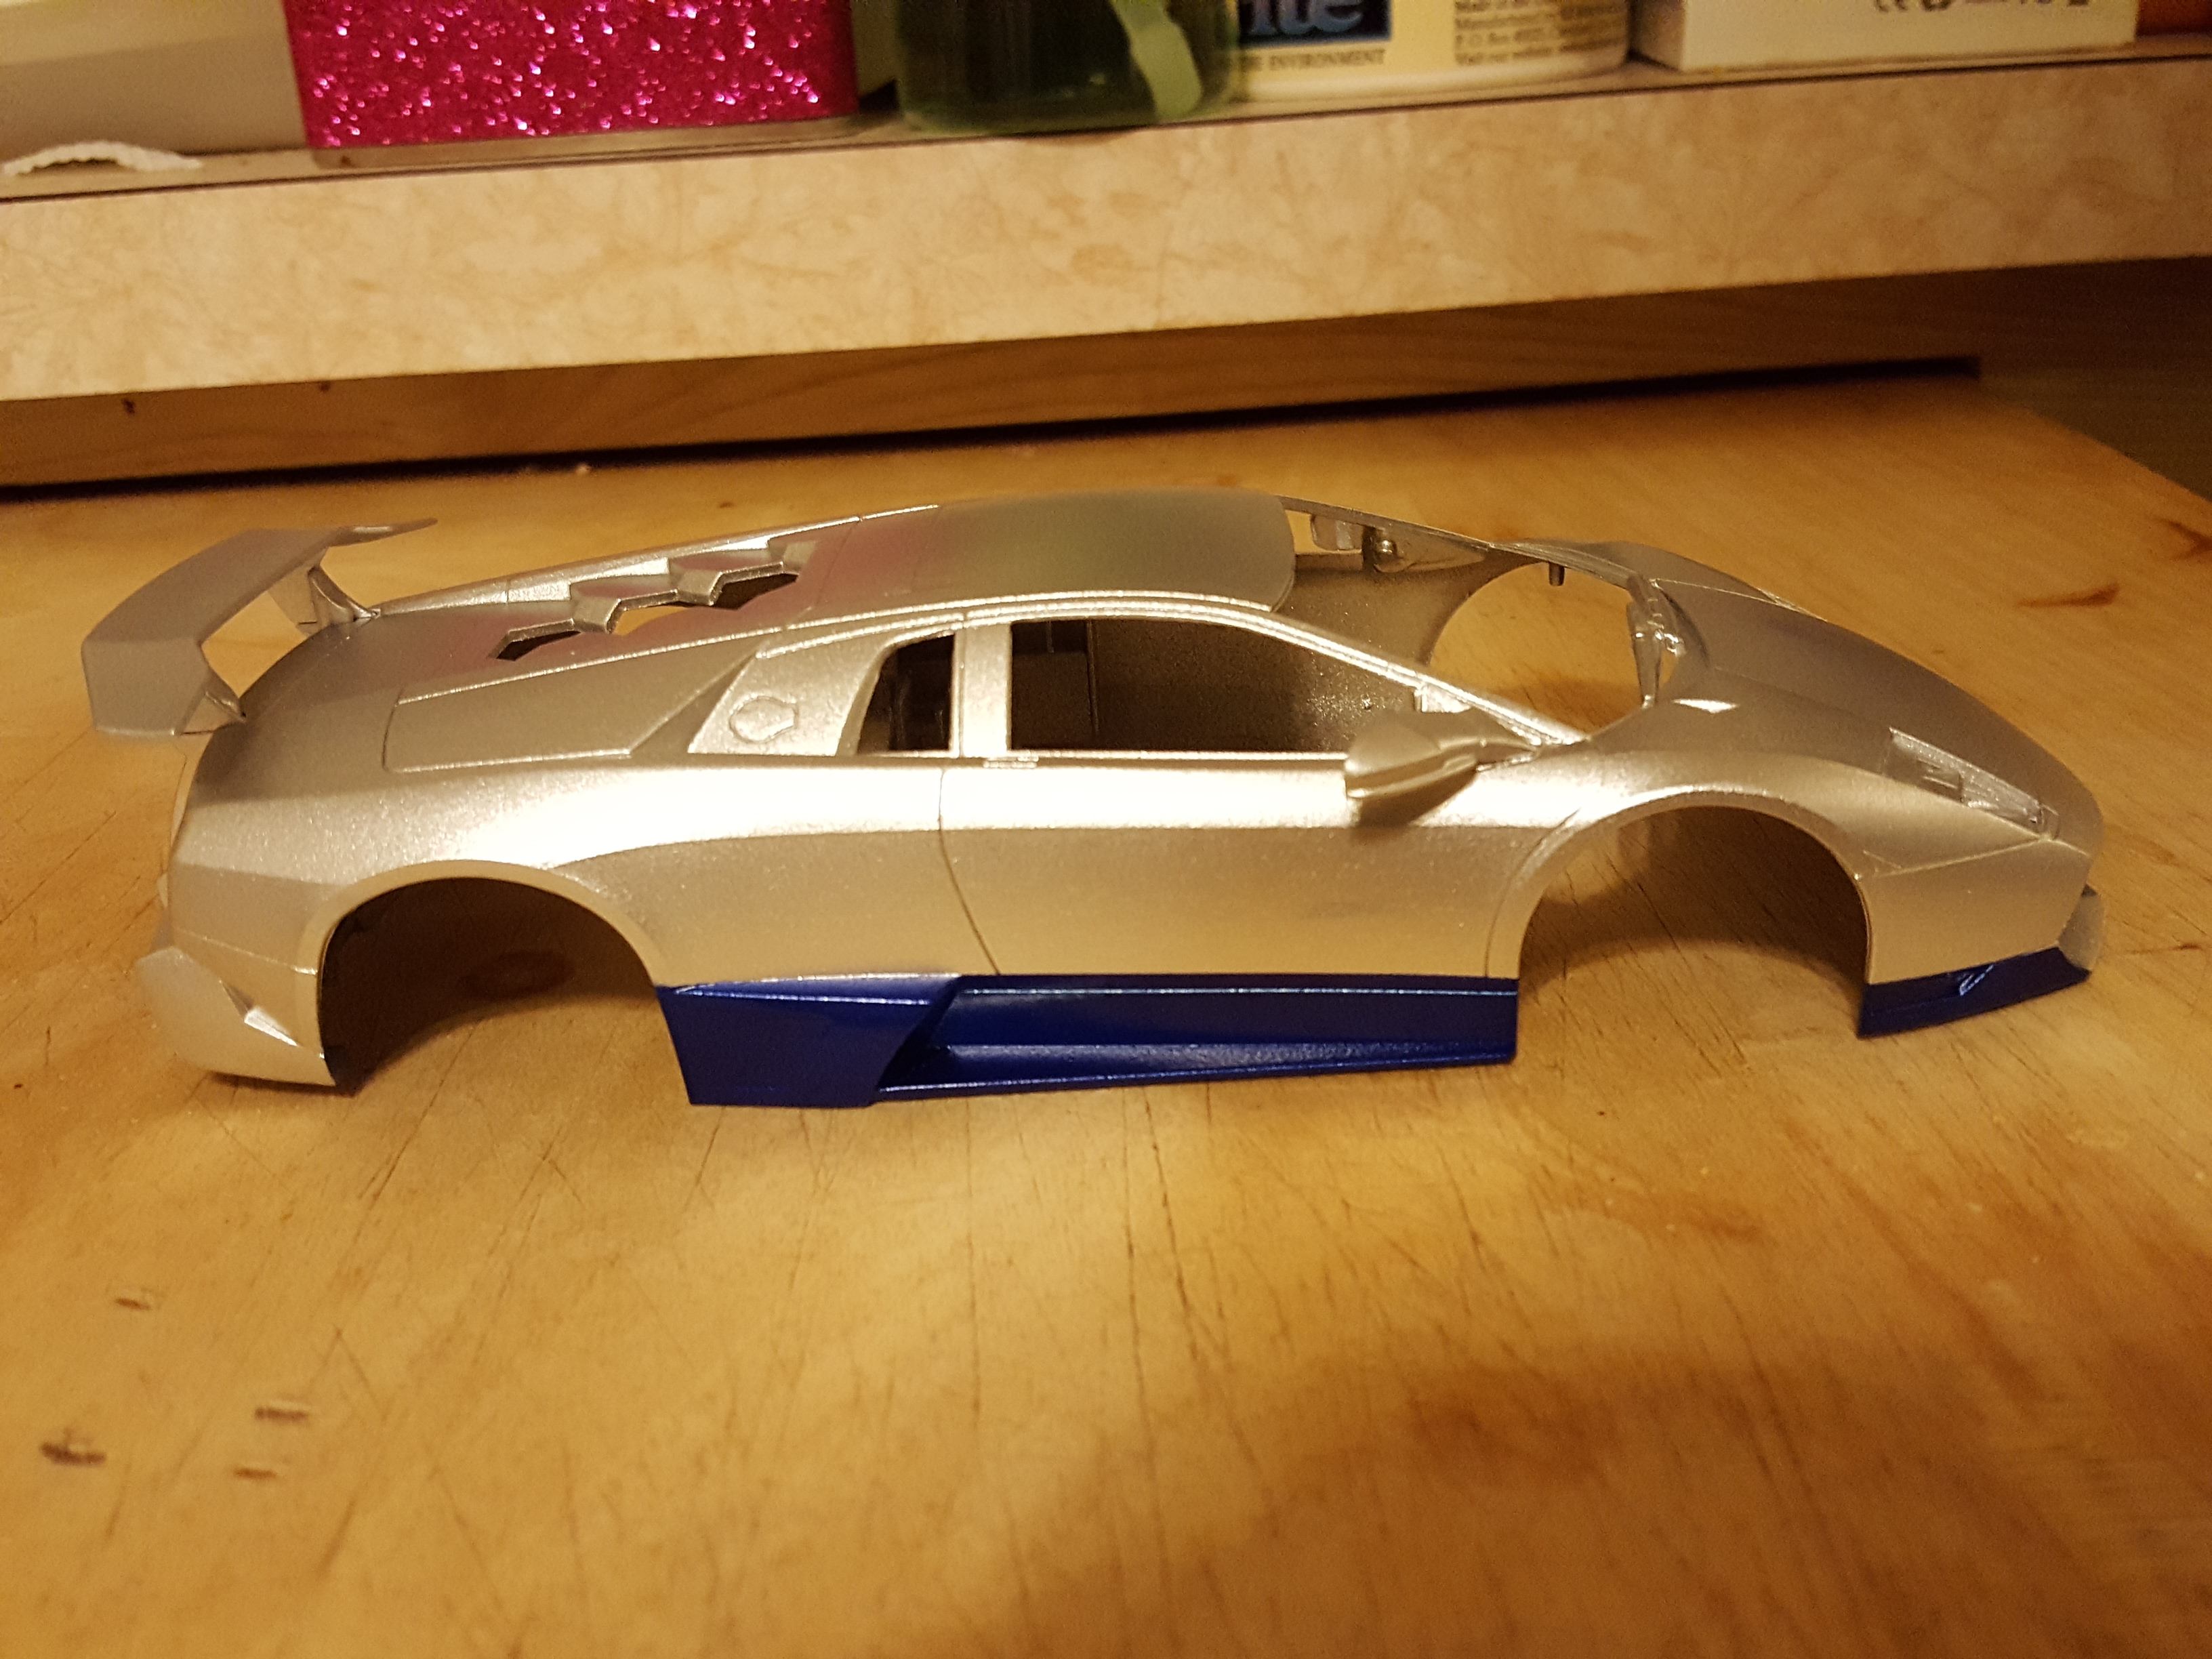
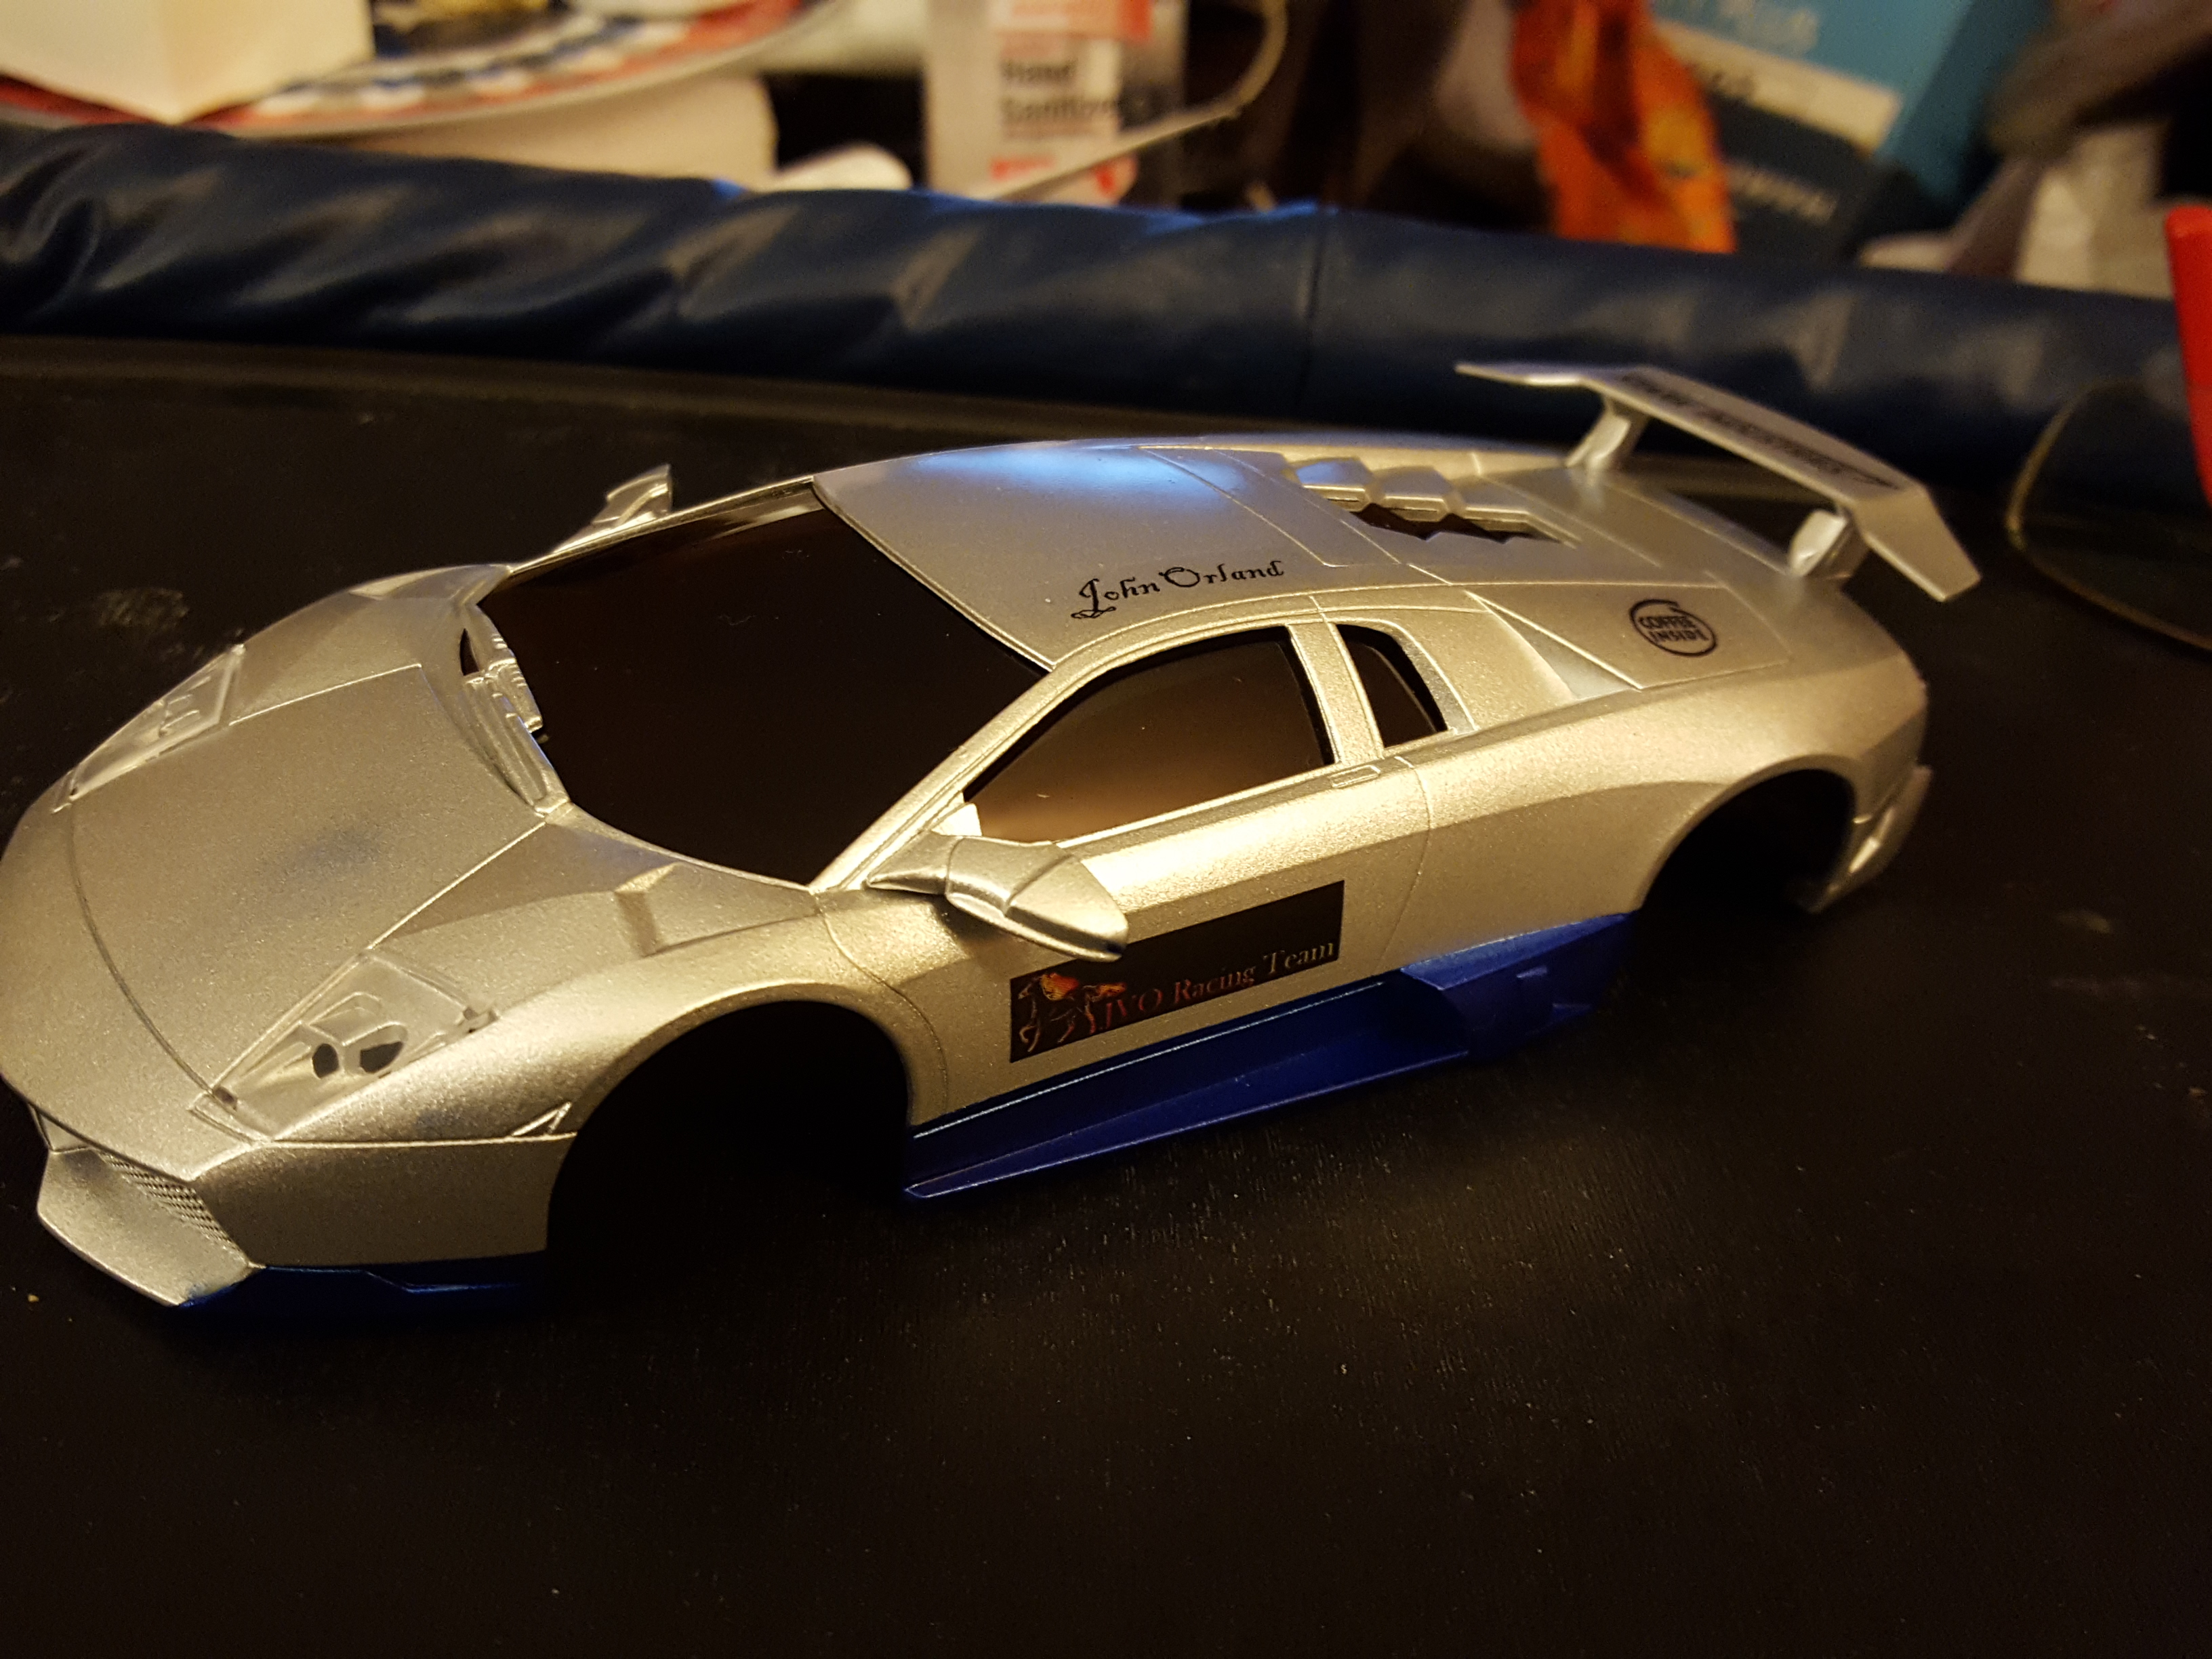
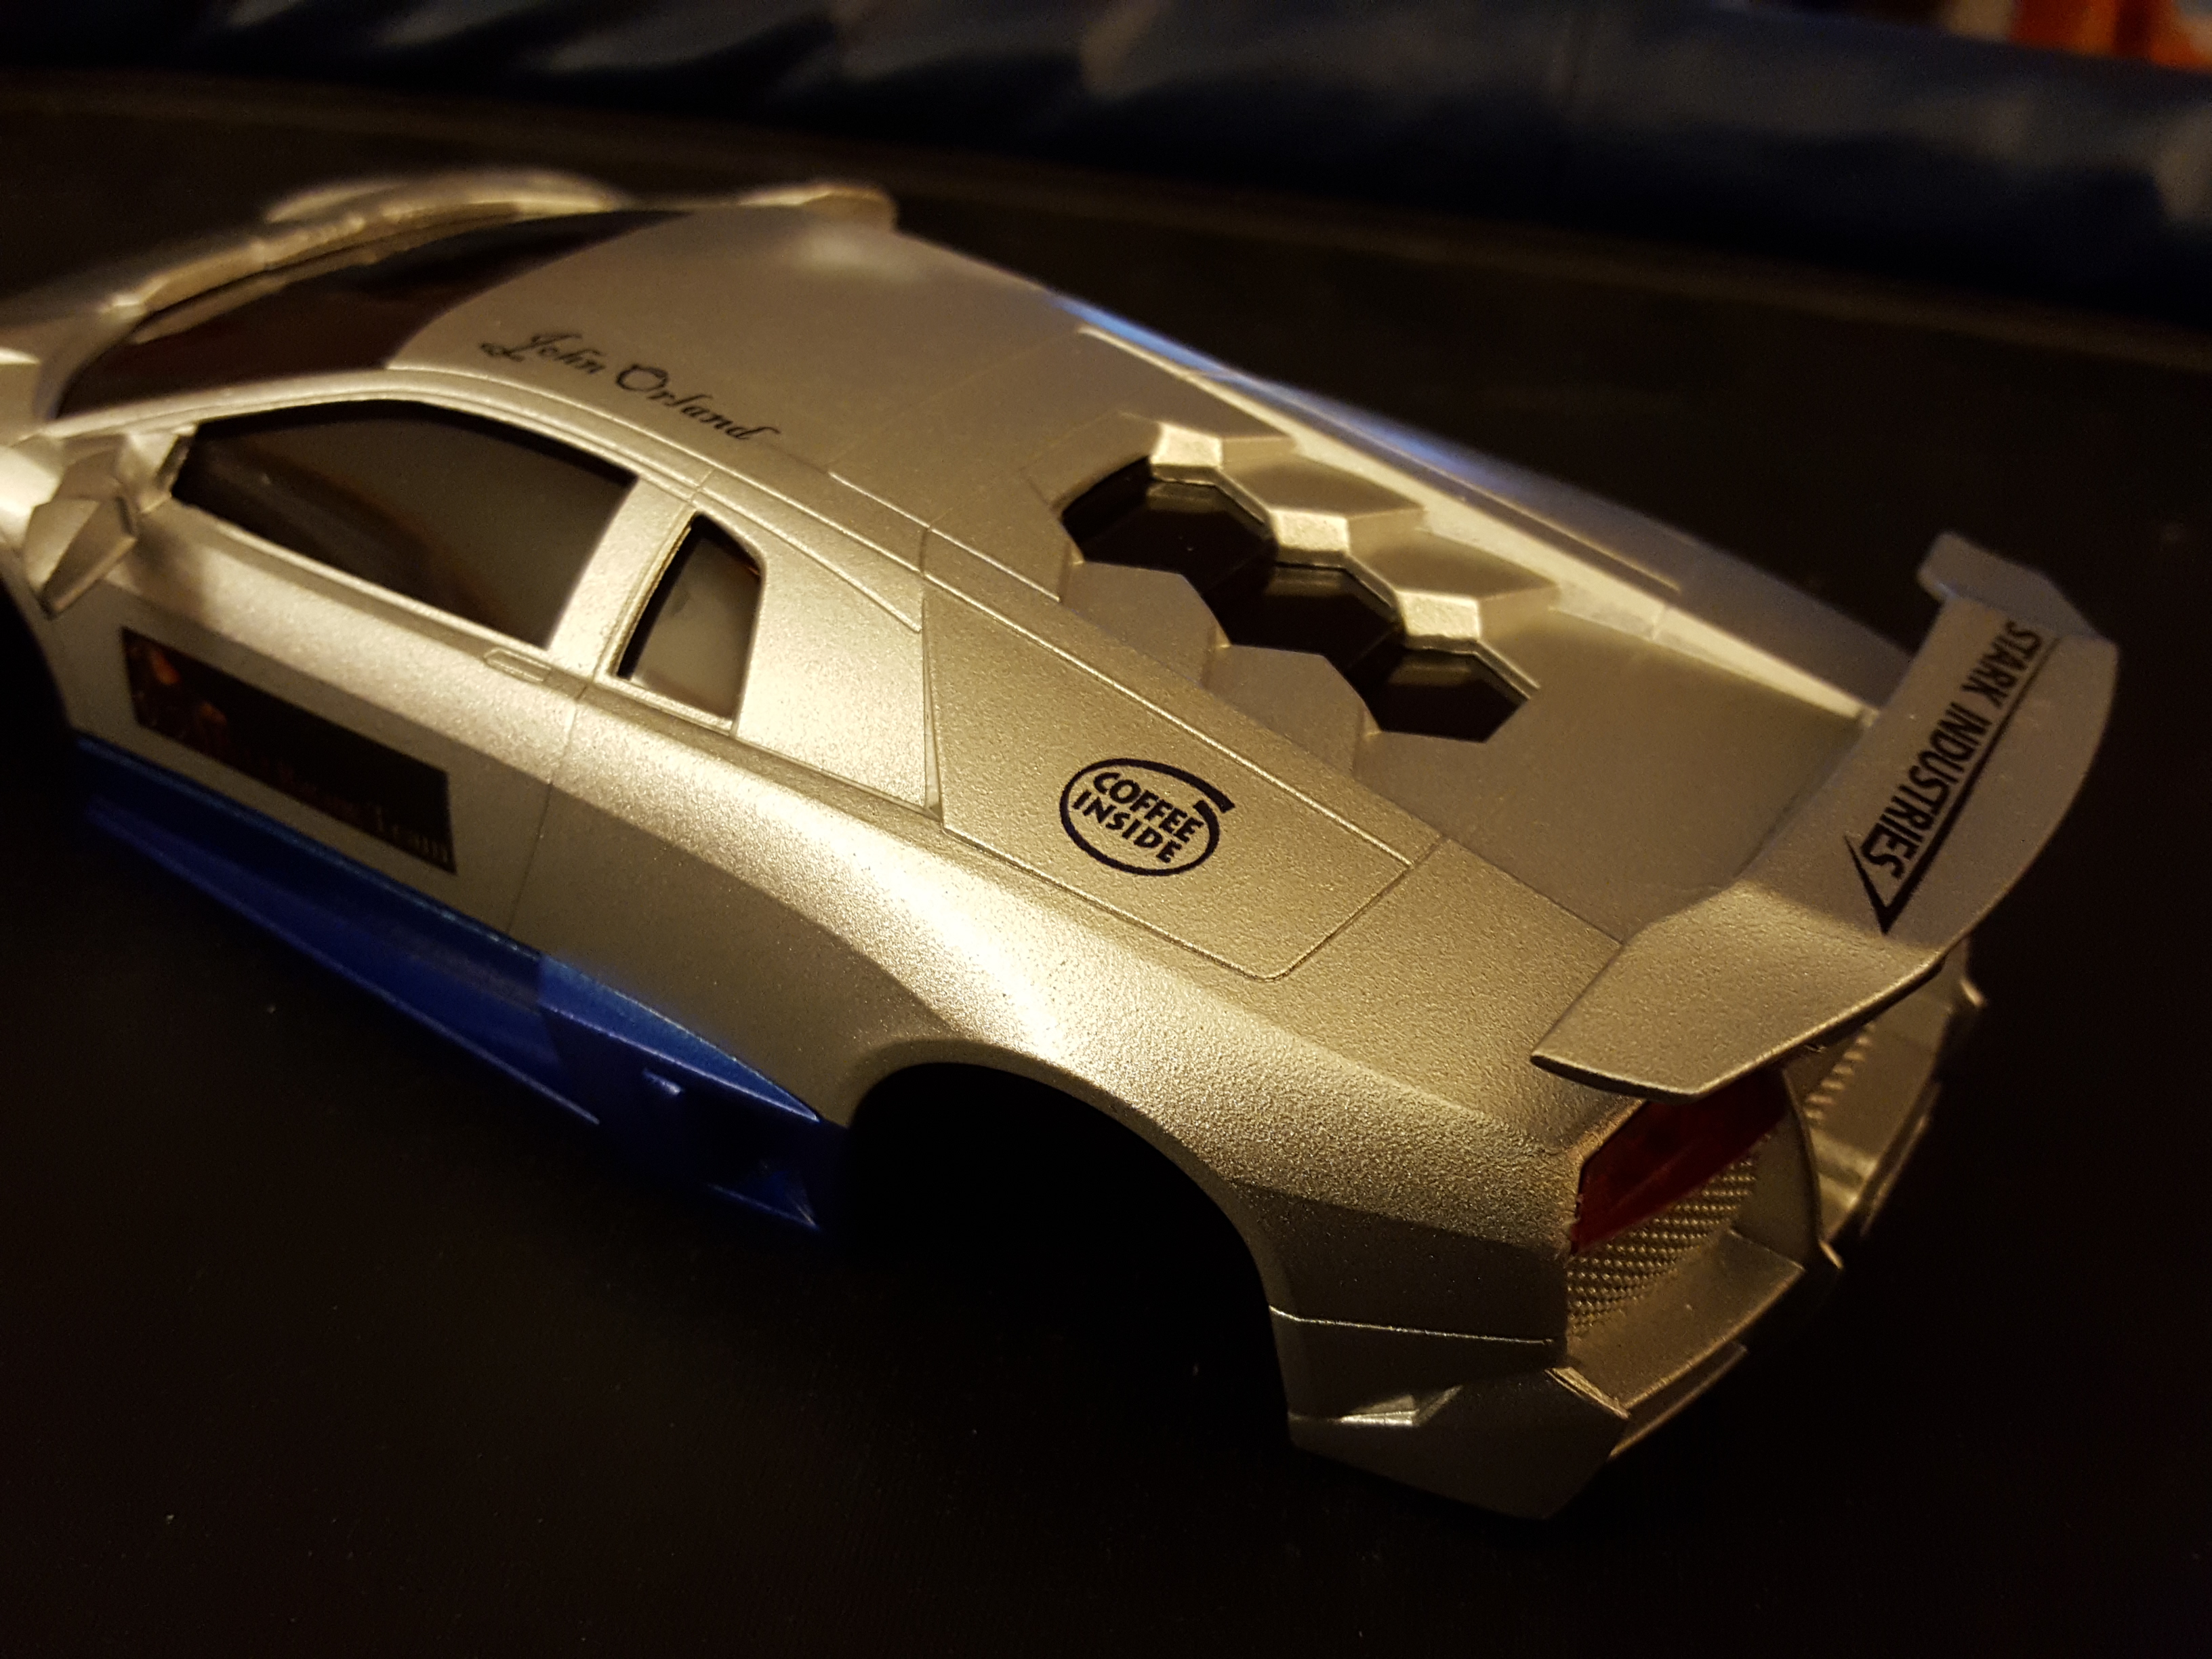
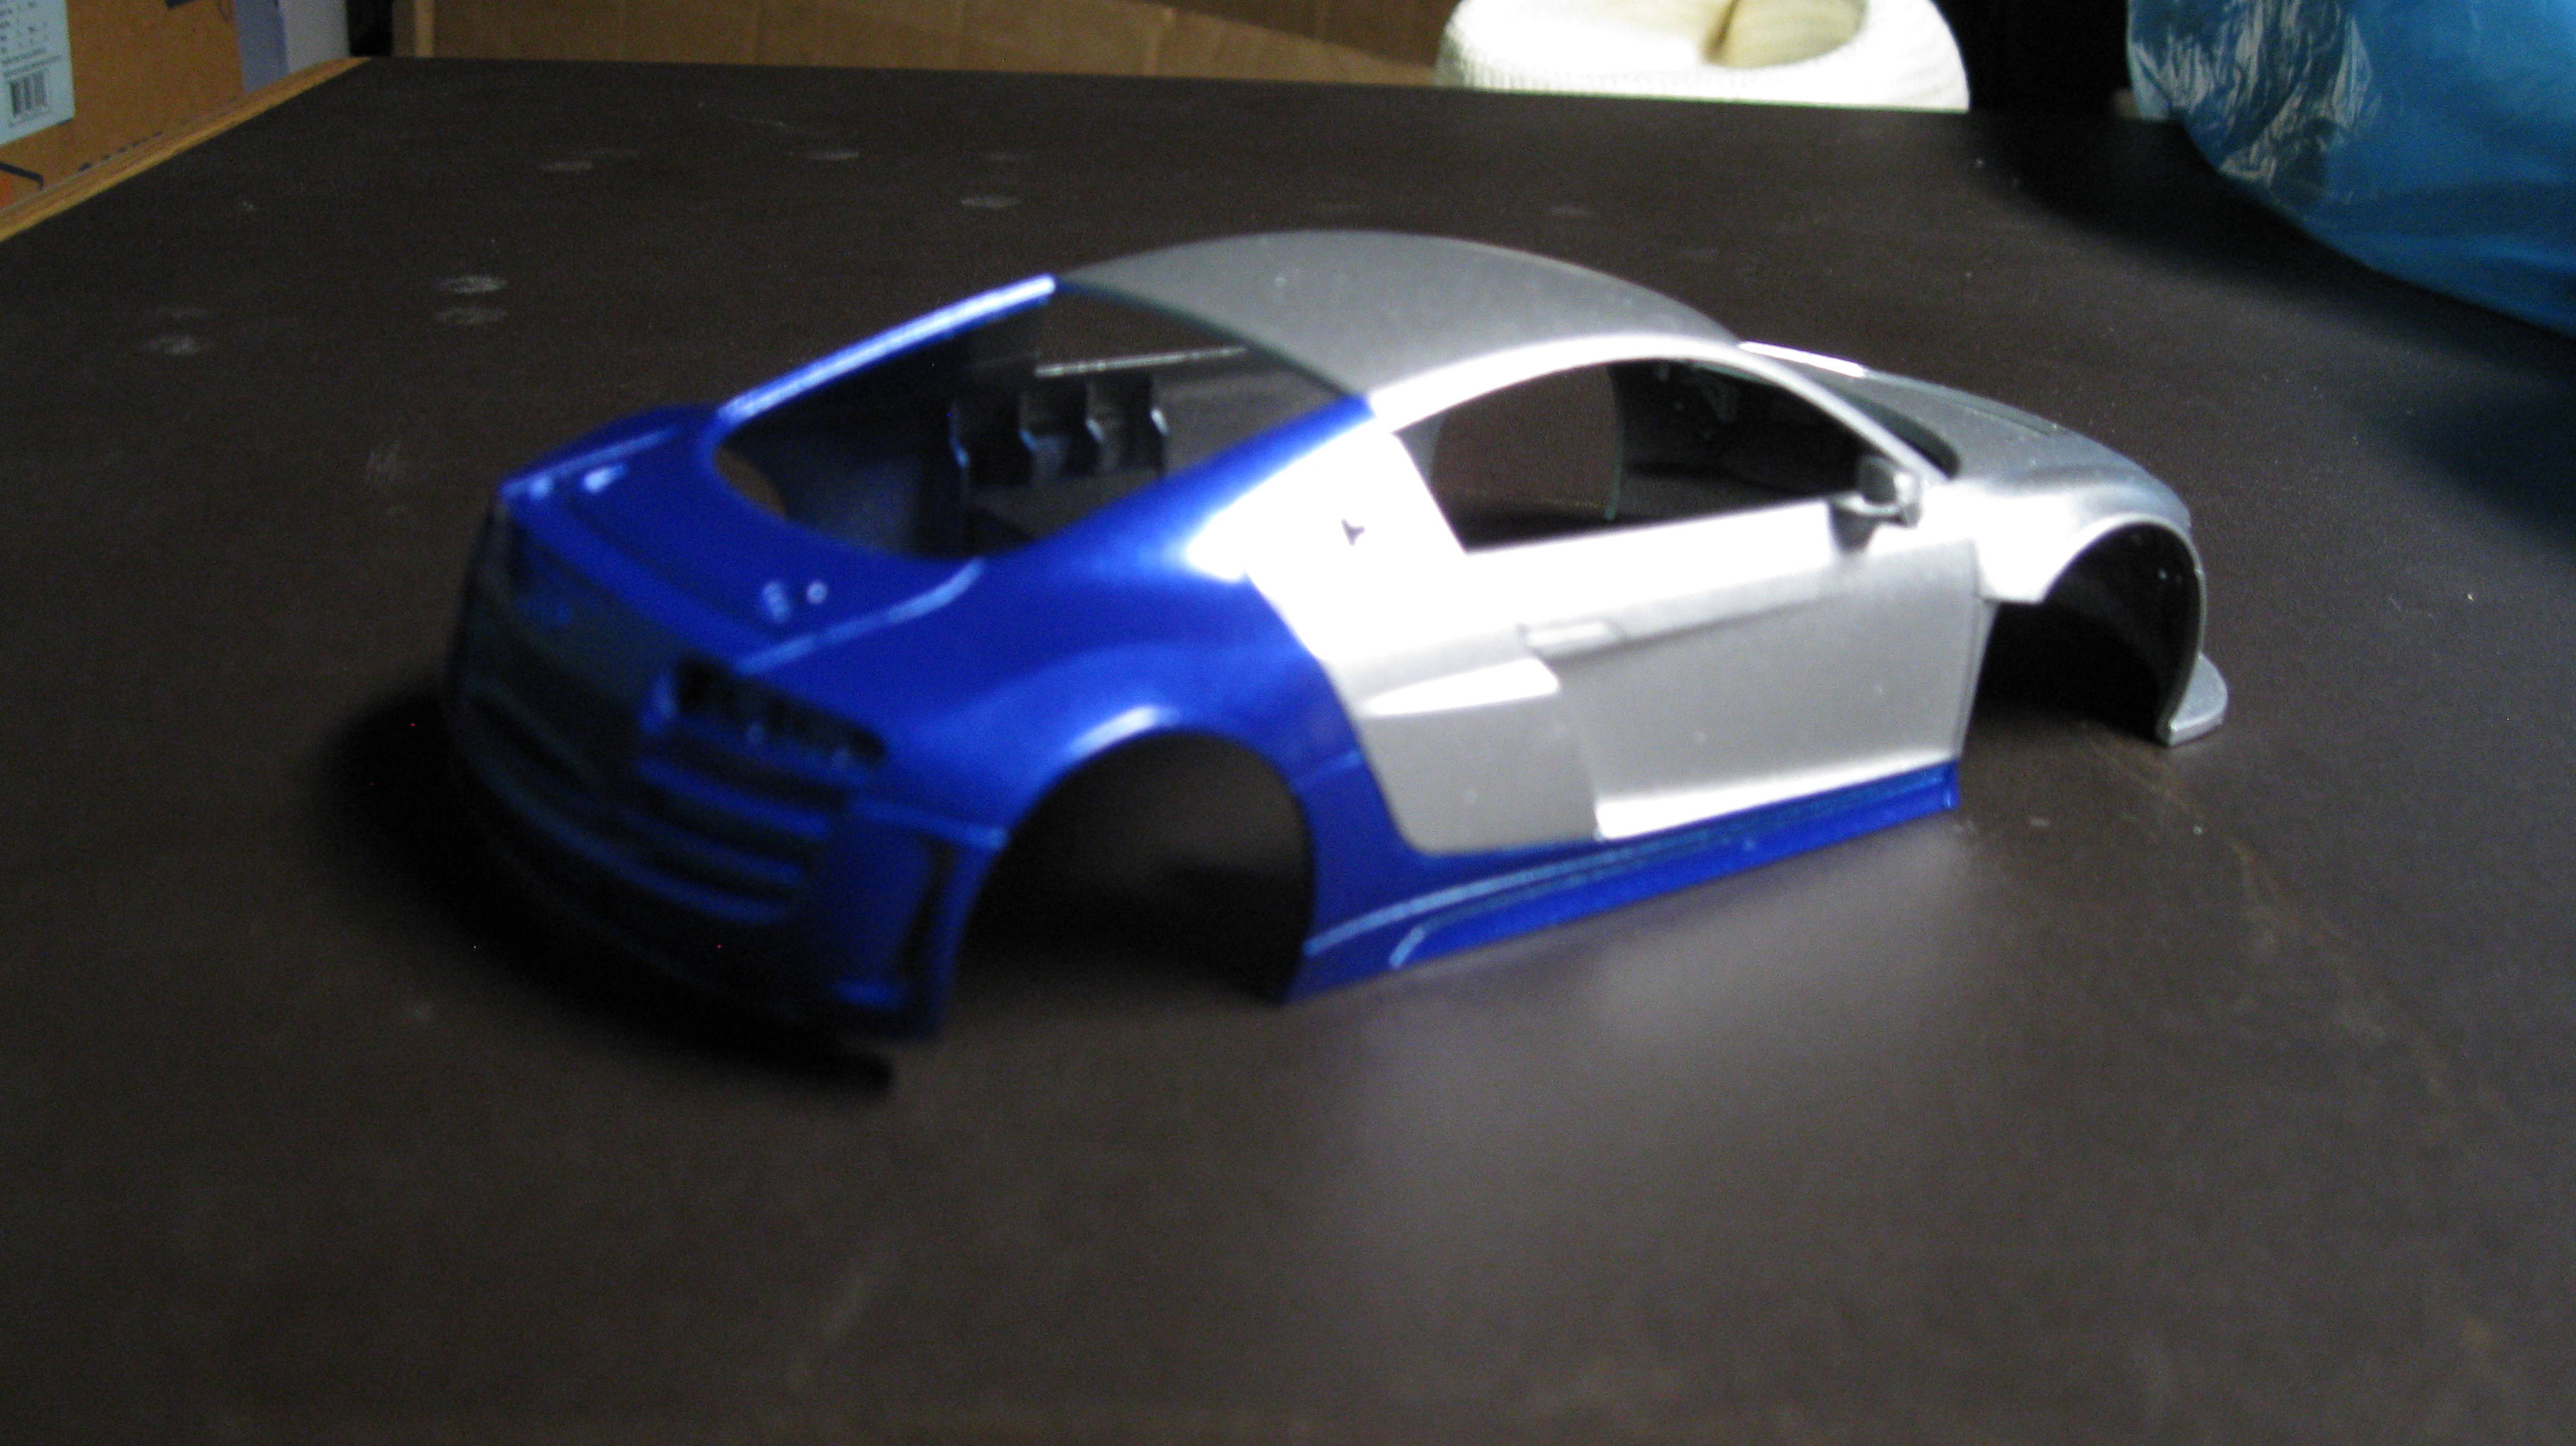
For my third attempt, I am going with Model Masters line of paints. I have begun with the initial painting, this time for the Kyosho Mini-Z Lamborghini Murcielago, which will be installed on the Kyosho MR-03MM. I am using Laquer paint for the entire process and used a gray primary (see figure 1), which no additional prep was done other than cleaning the body with a tac cloth, and then my base color, silver (see figure 2). I have followed up with a darker blue for the accent color as seen in figures 3 and 4. I honestly had issues with where to add the secondary color and I am hoping that this is okay, but I can always paint another body if this ends up being not what I want, which I will need to wait and see the finished product.
For the decals, I used Papilo decal paper which is 4mm in thickness. It ended up going on very easily with no ripping or tearing at all. I then clear coated the car with a high gloss clear coat. For the final result see figure 5 and 6. I am hoping to get a few better photos and update them on this site.
 |
 |
| Painting Project 3: Figure 1 | Painting Project 3: Figure 2 |
 |
 |
| Painting Project 3: Figure 3 | Painting Project 3: Figure 4 |
 |
 |
| Painting Project 3: Figure 5 | Painting Project 3: Figure 6 |
Painting Project - Fourth Project
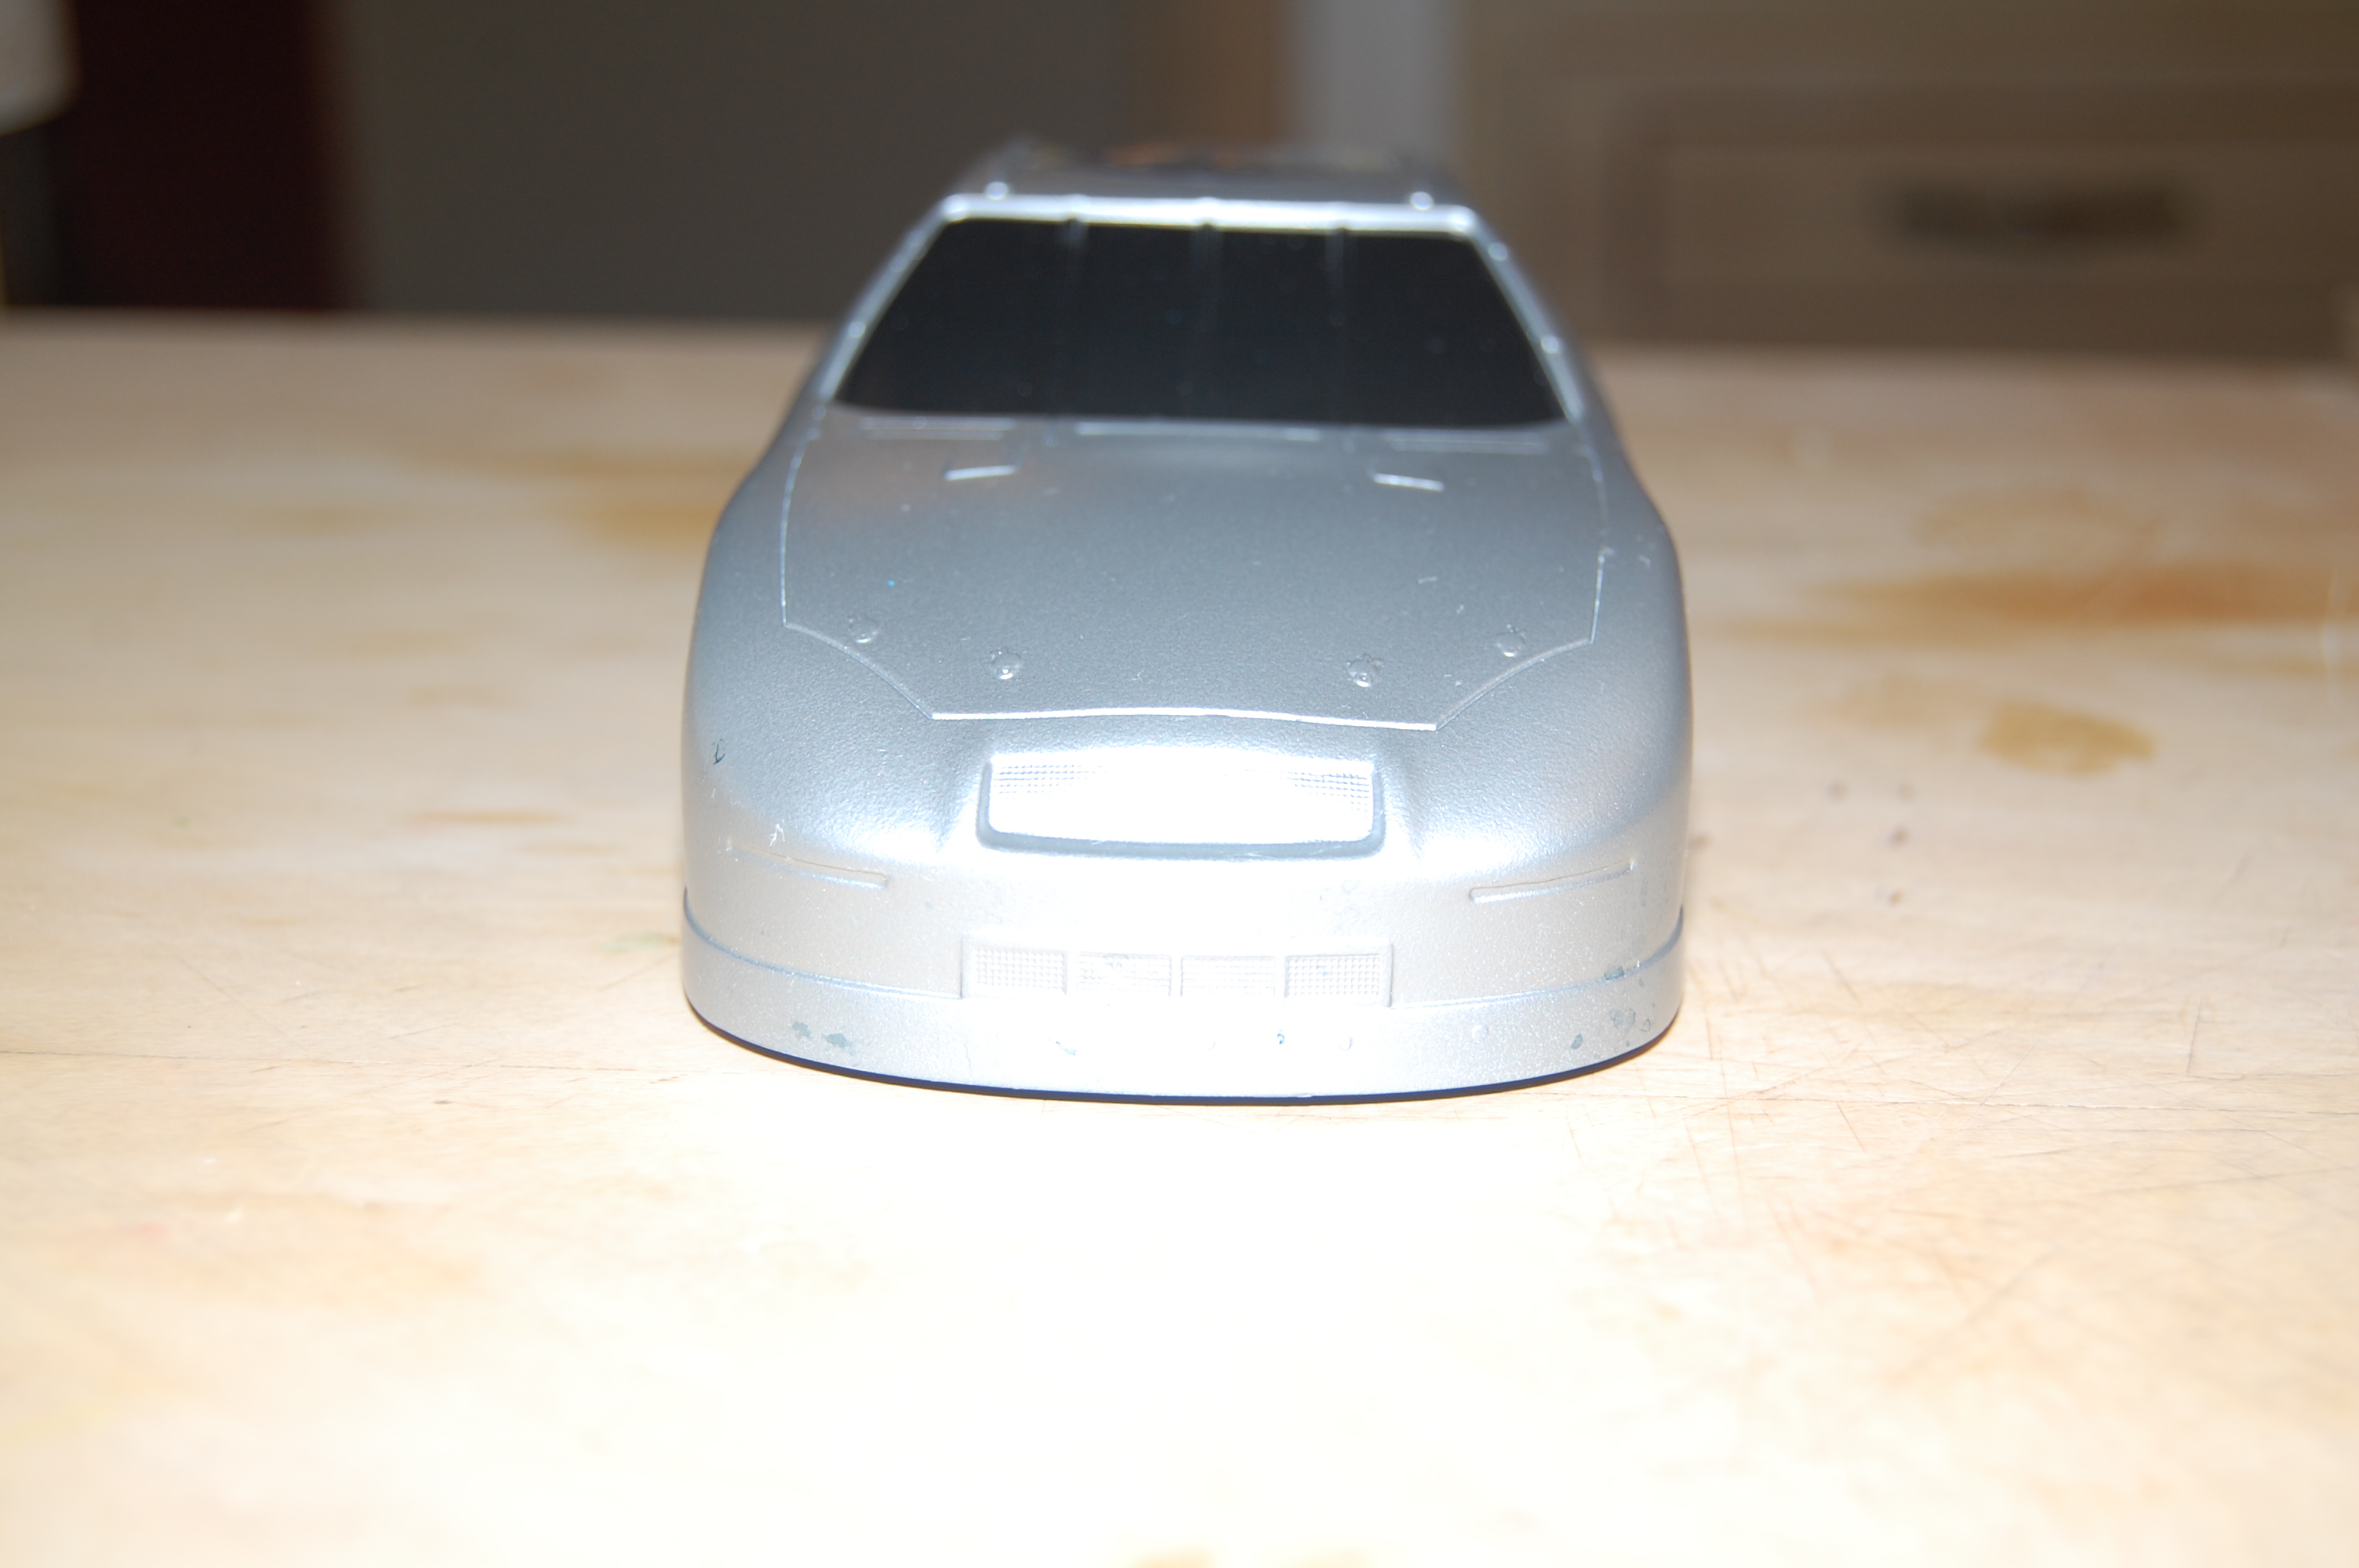
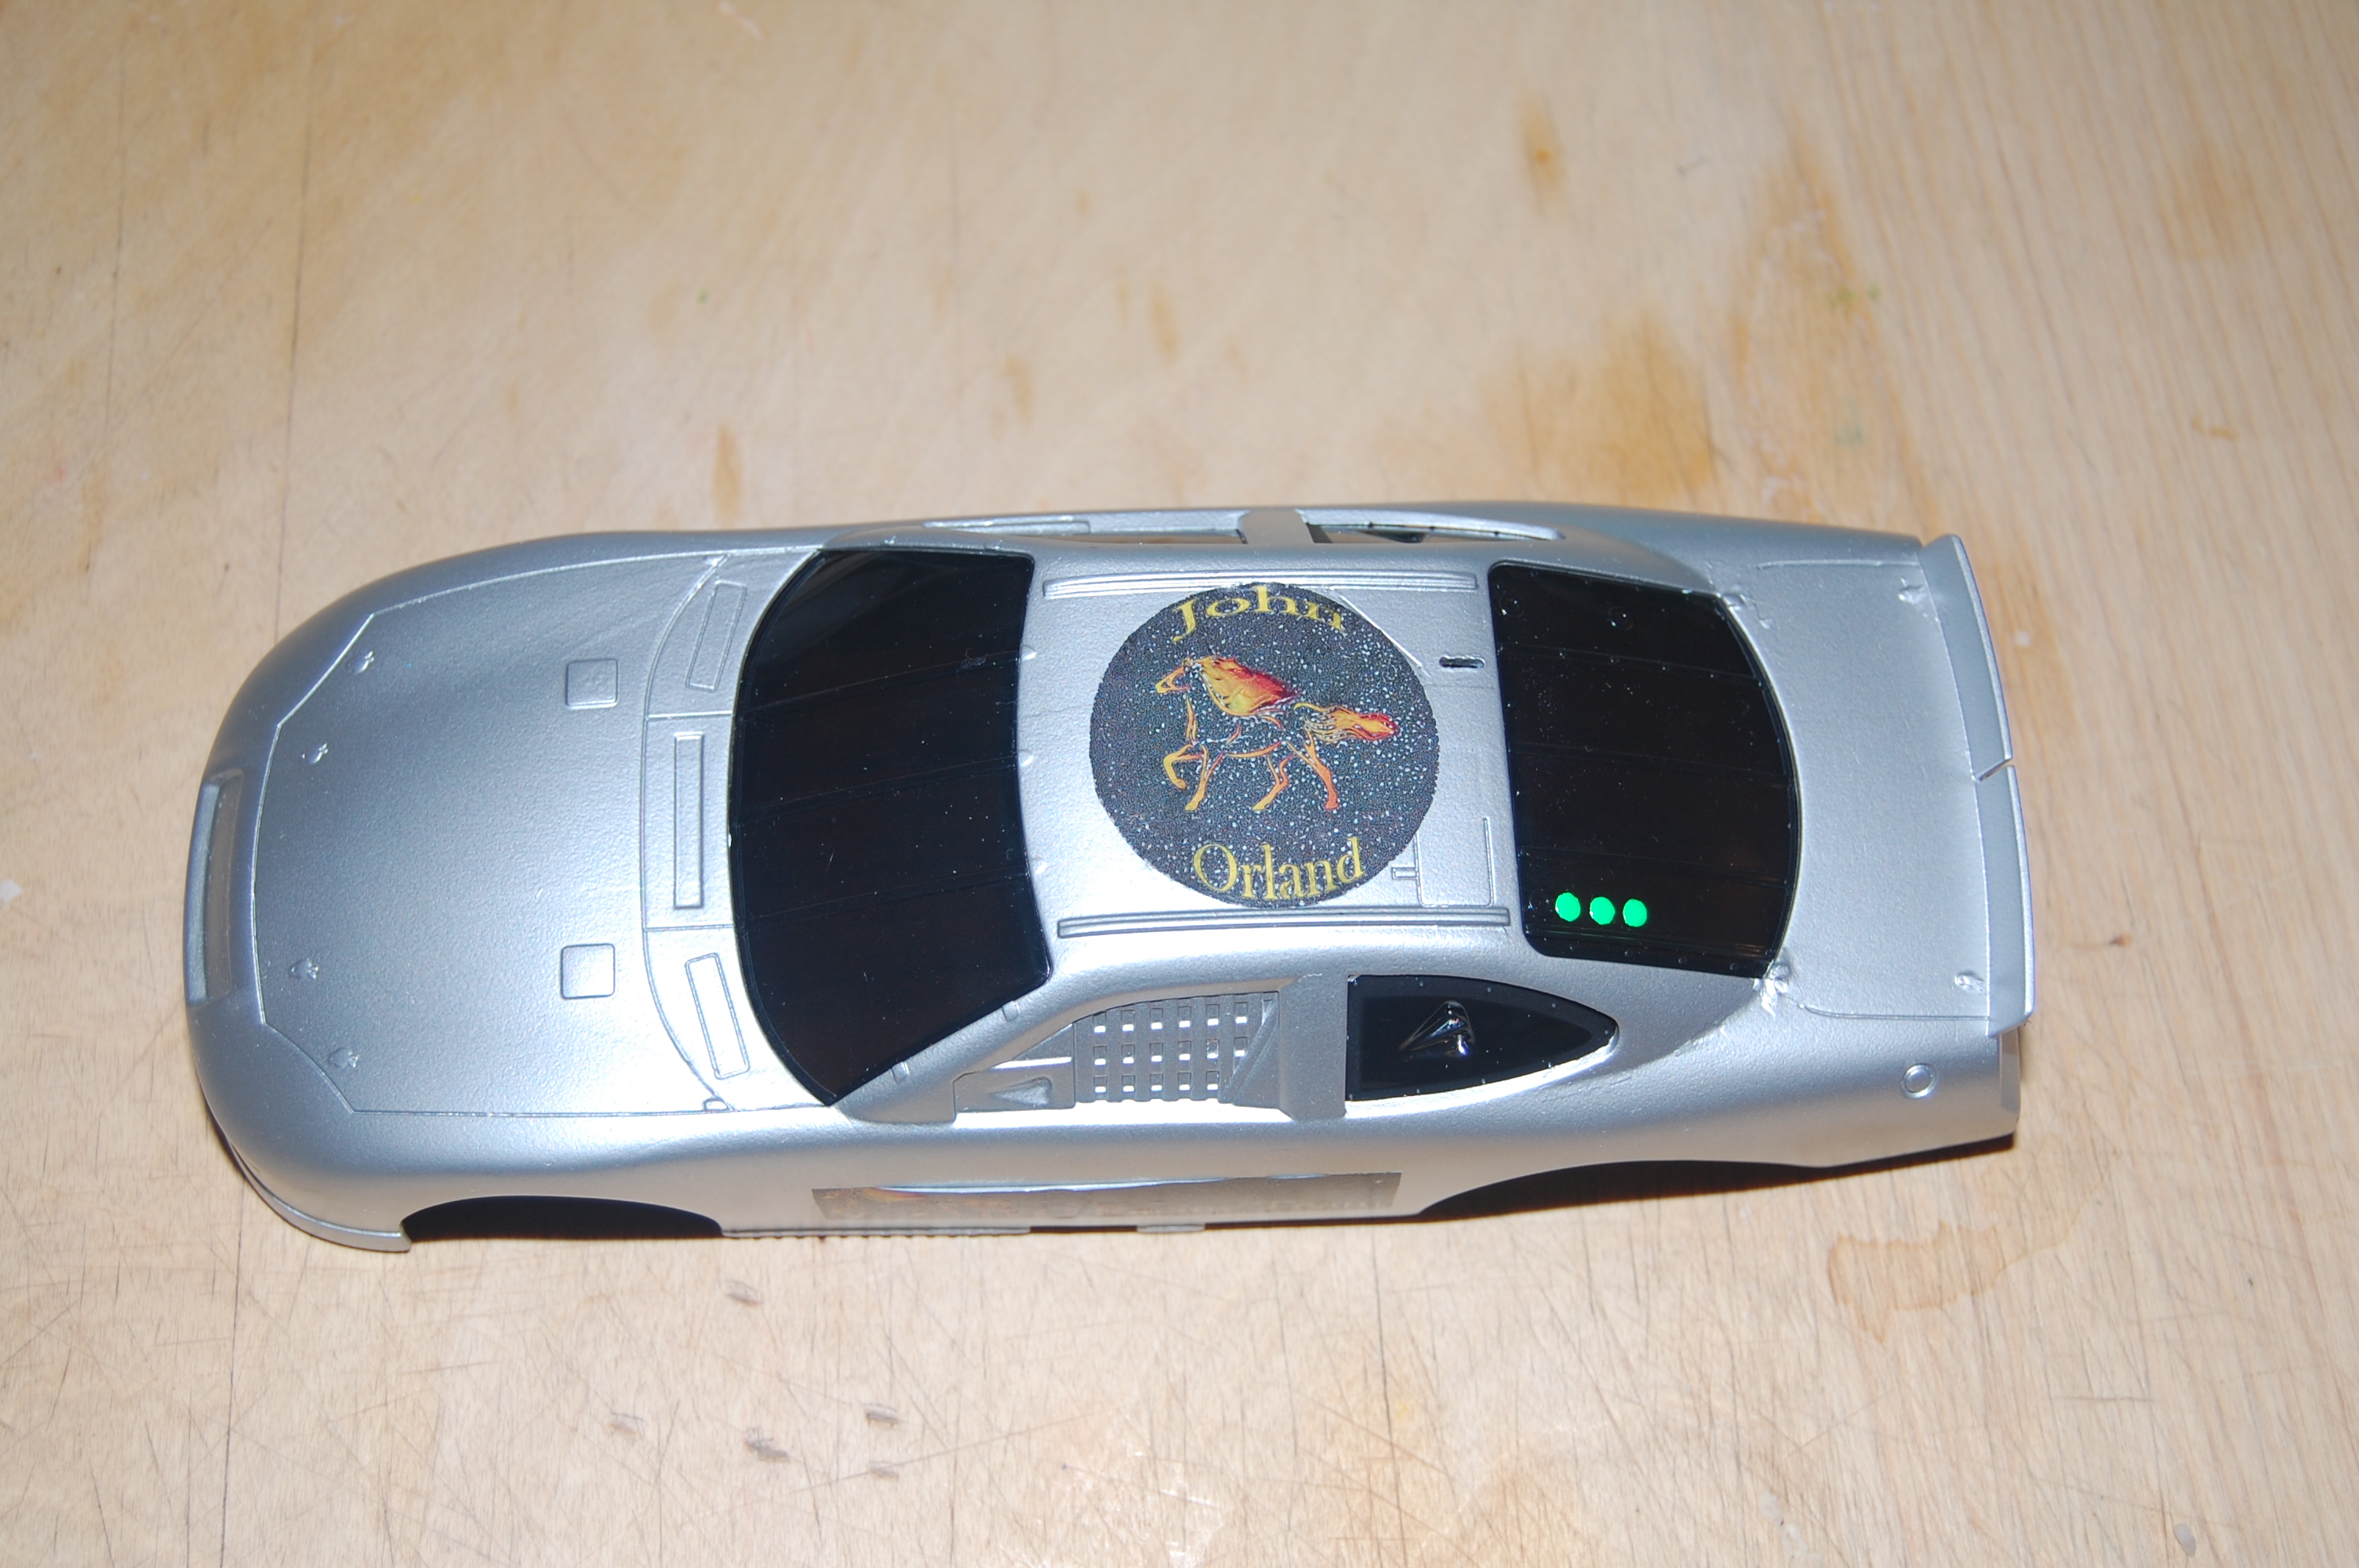
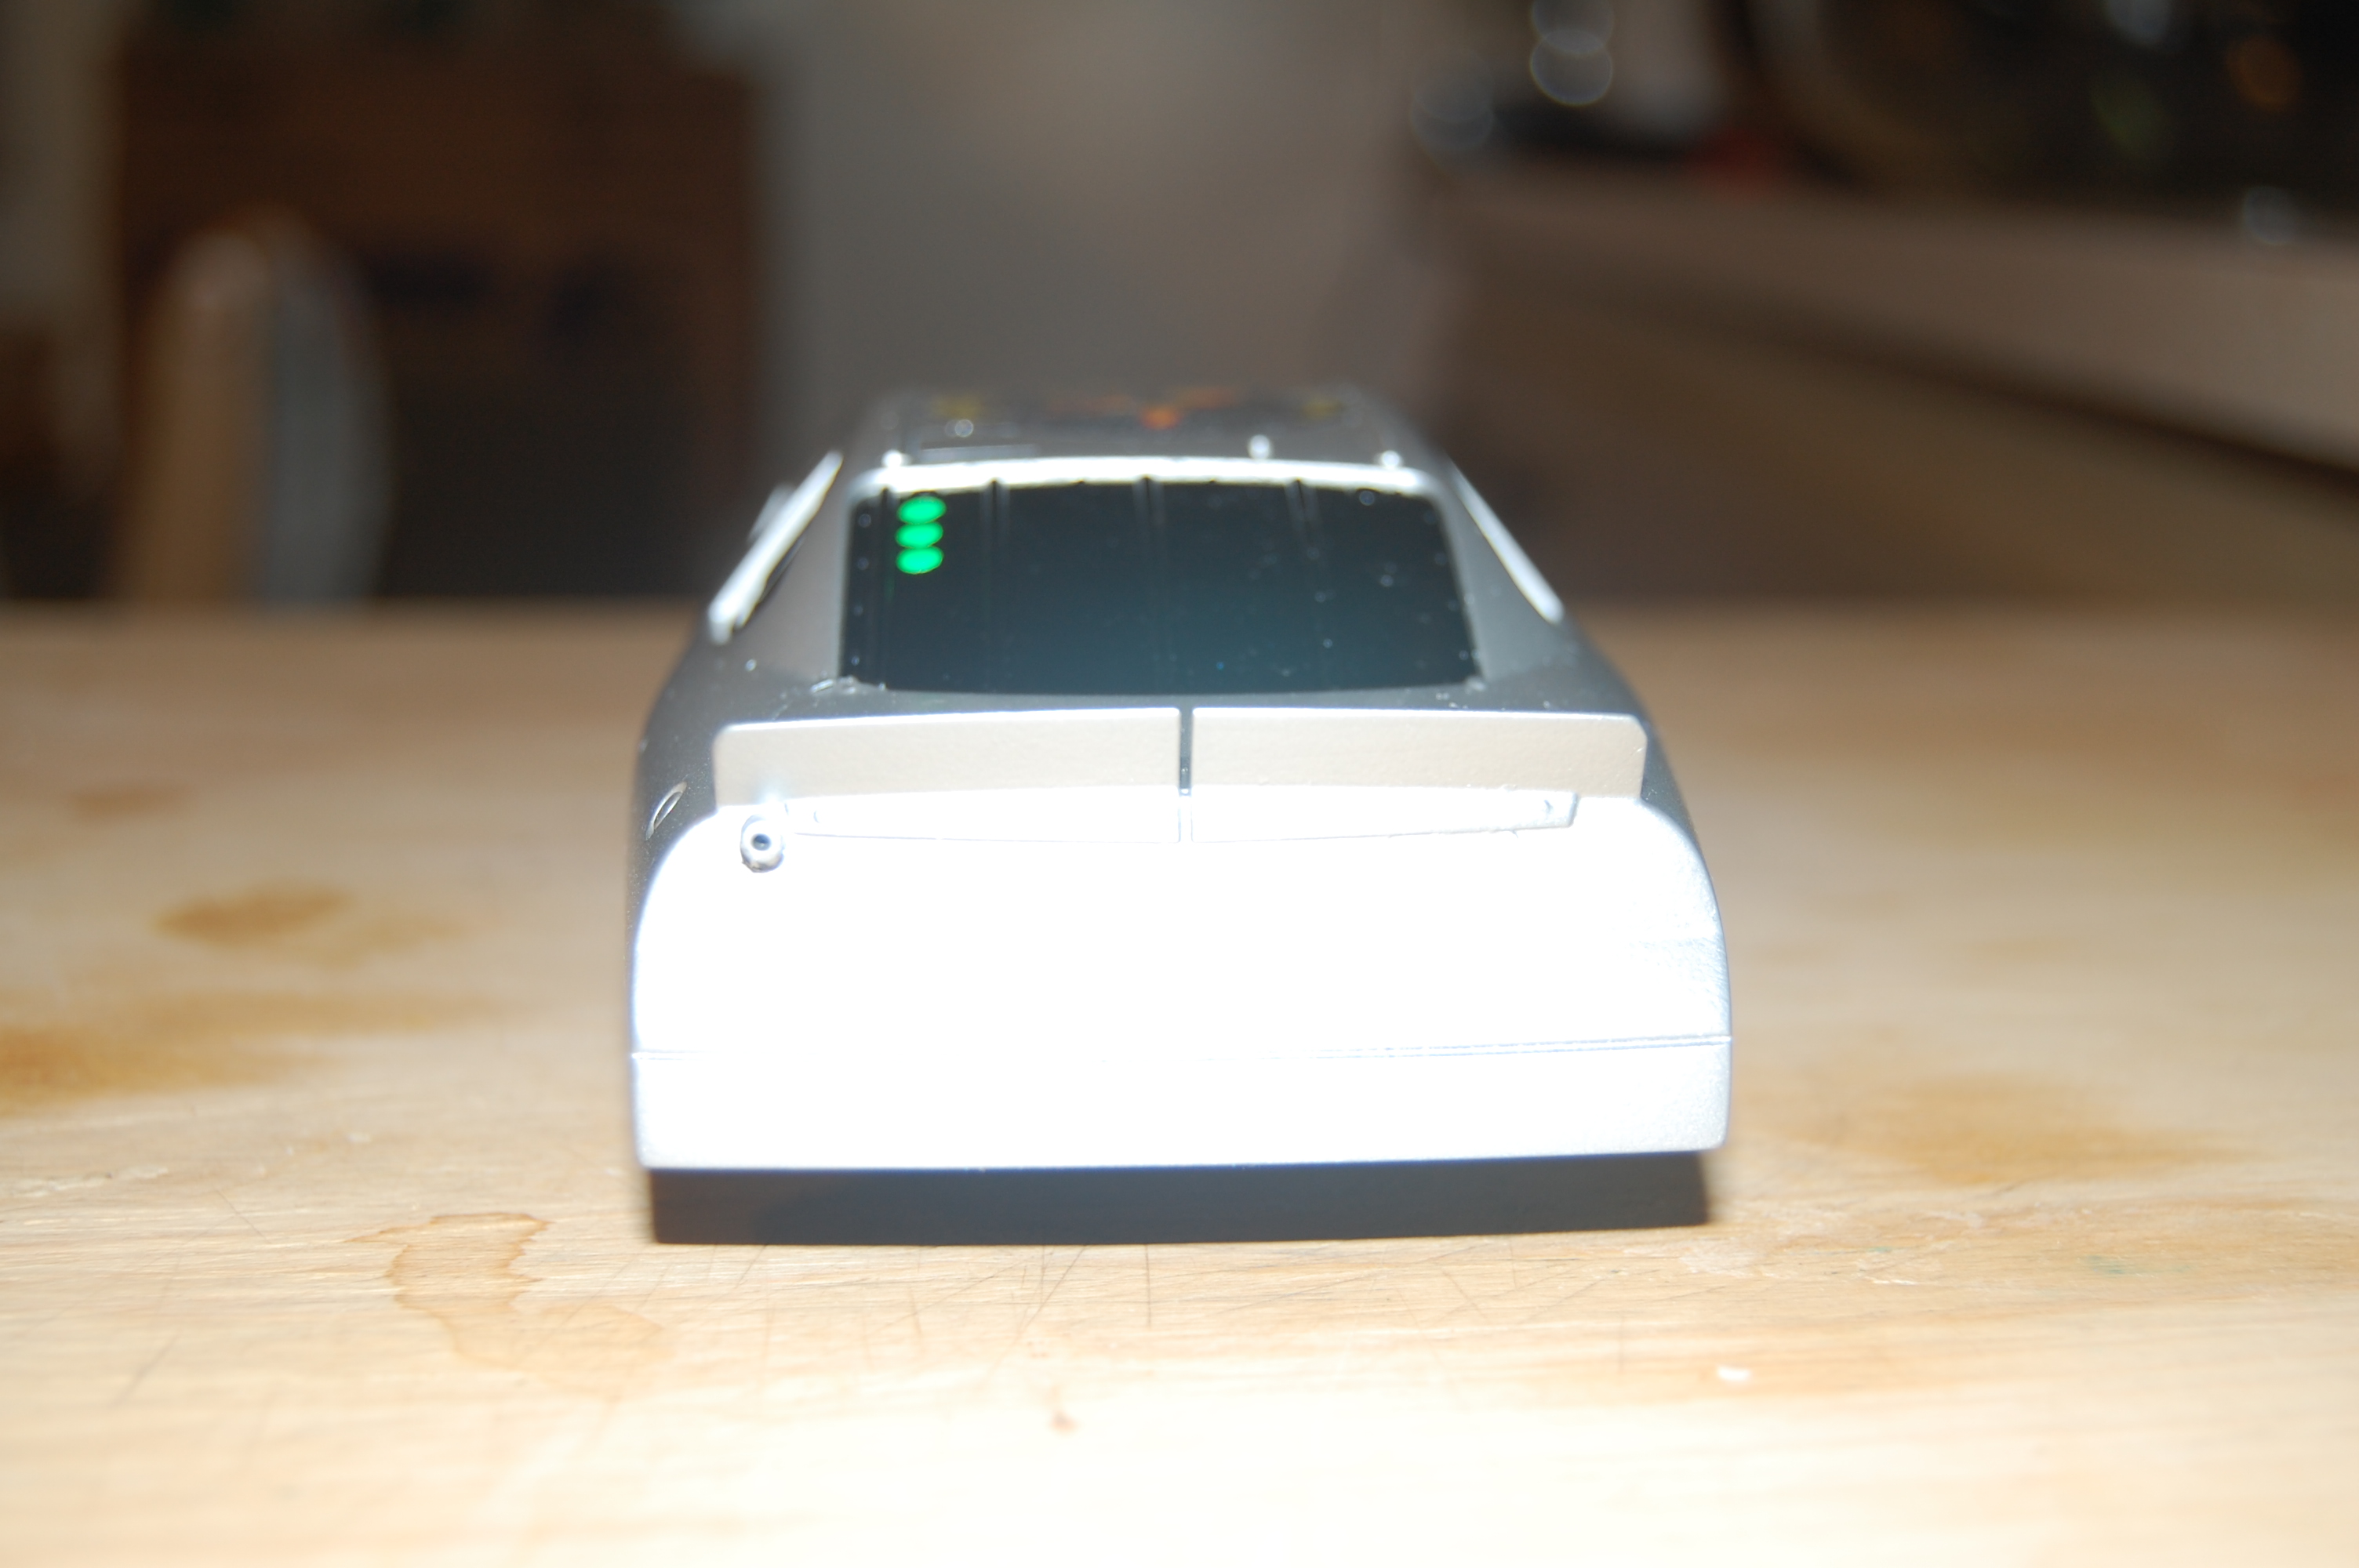
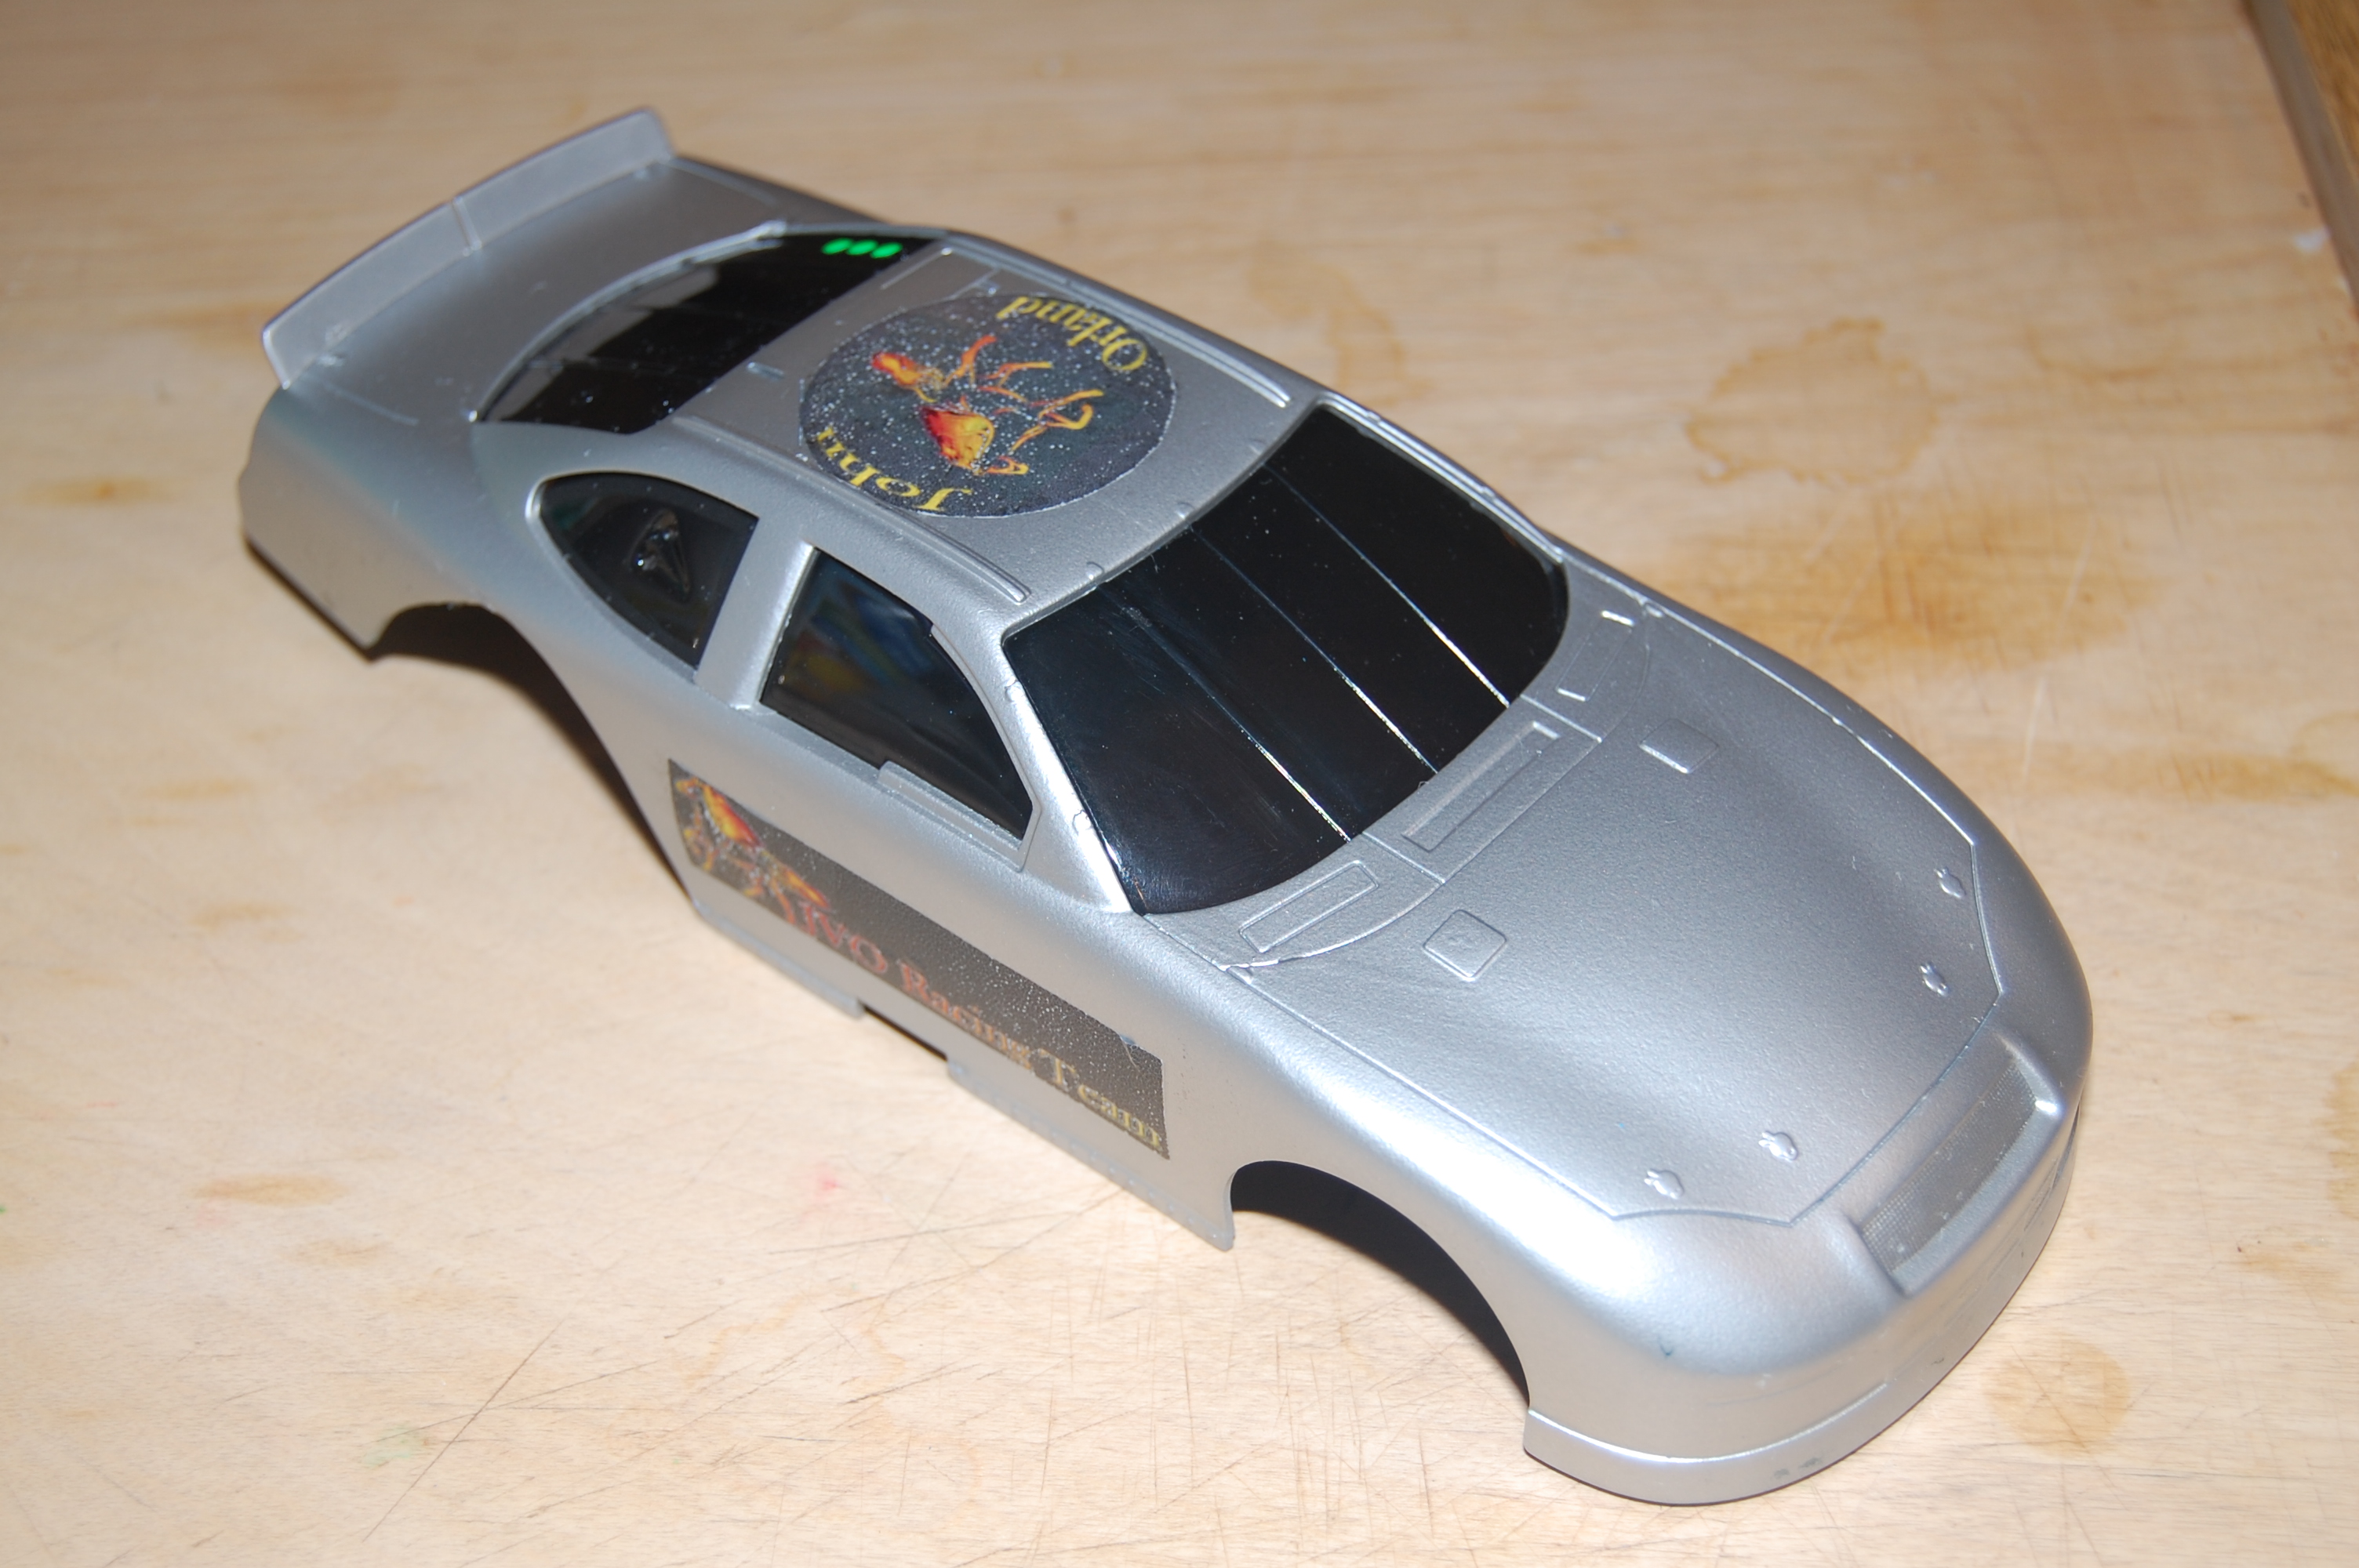
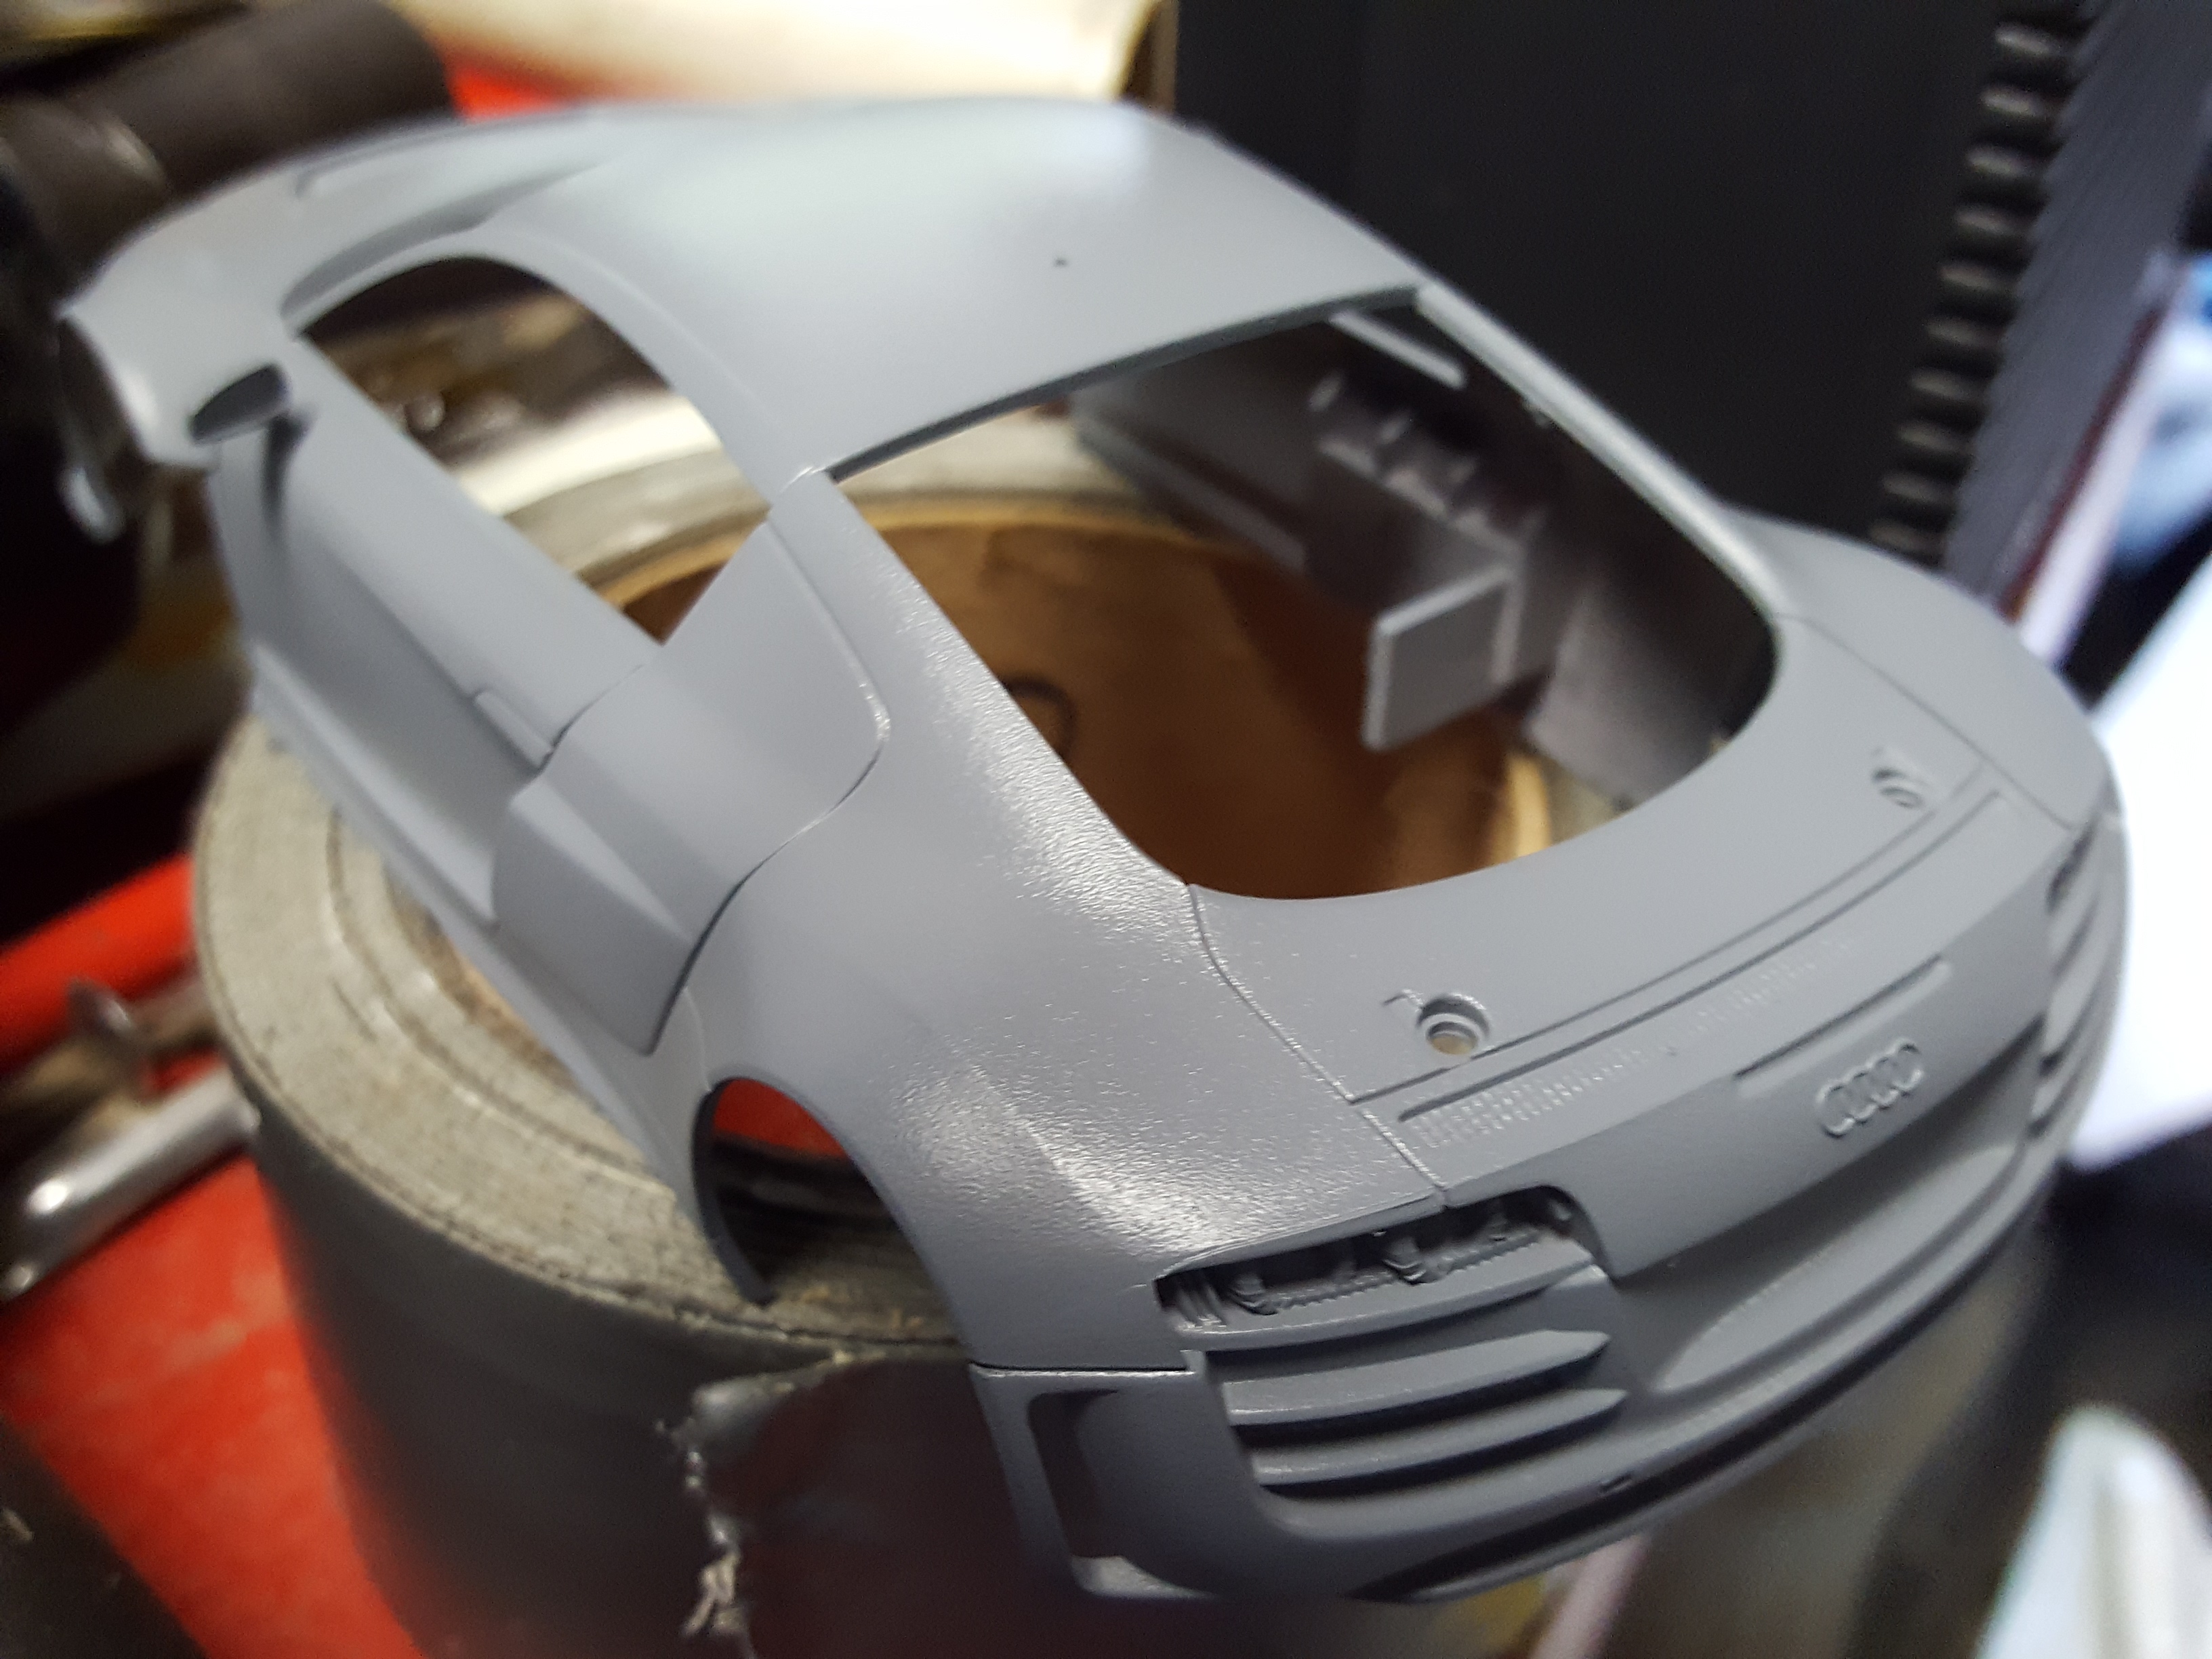
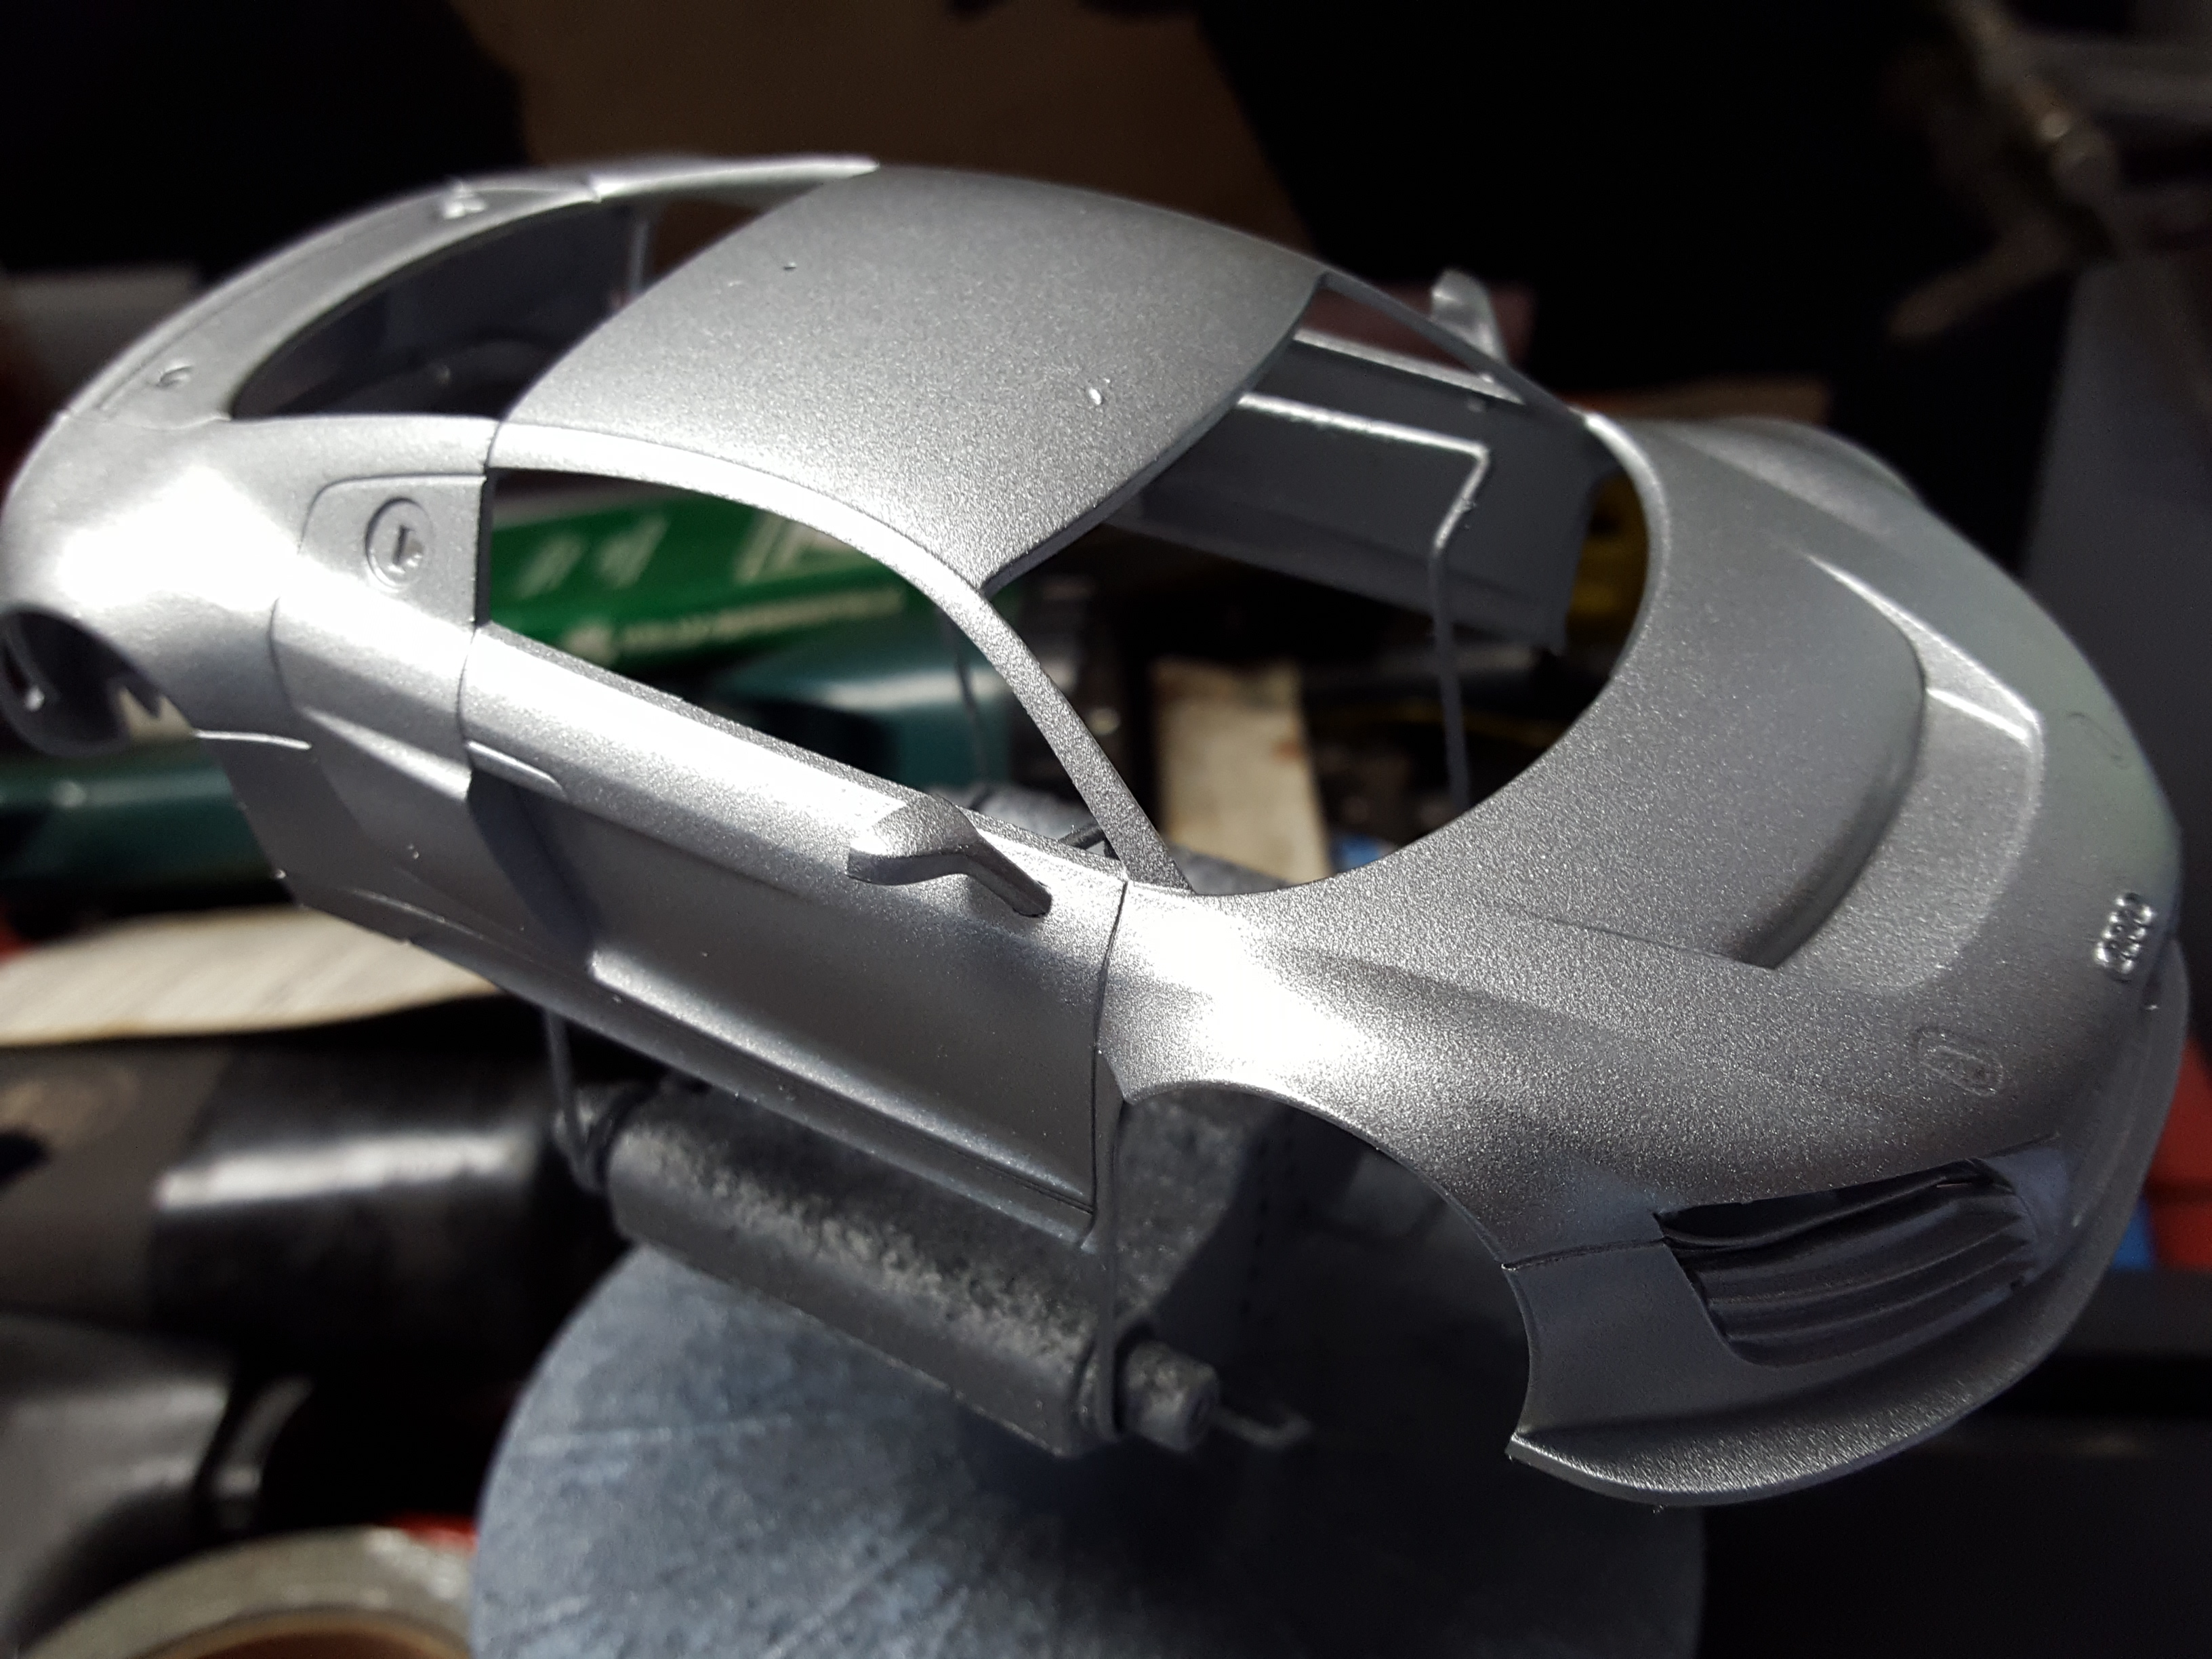
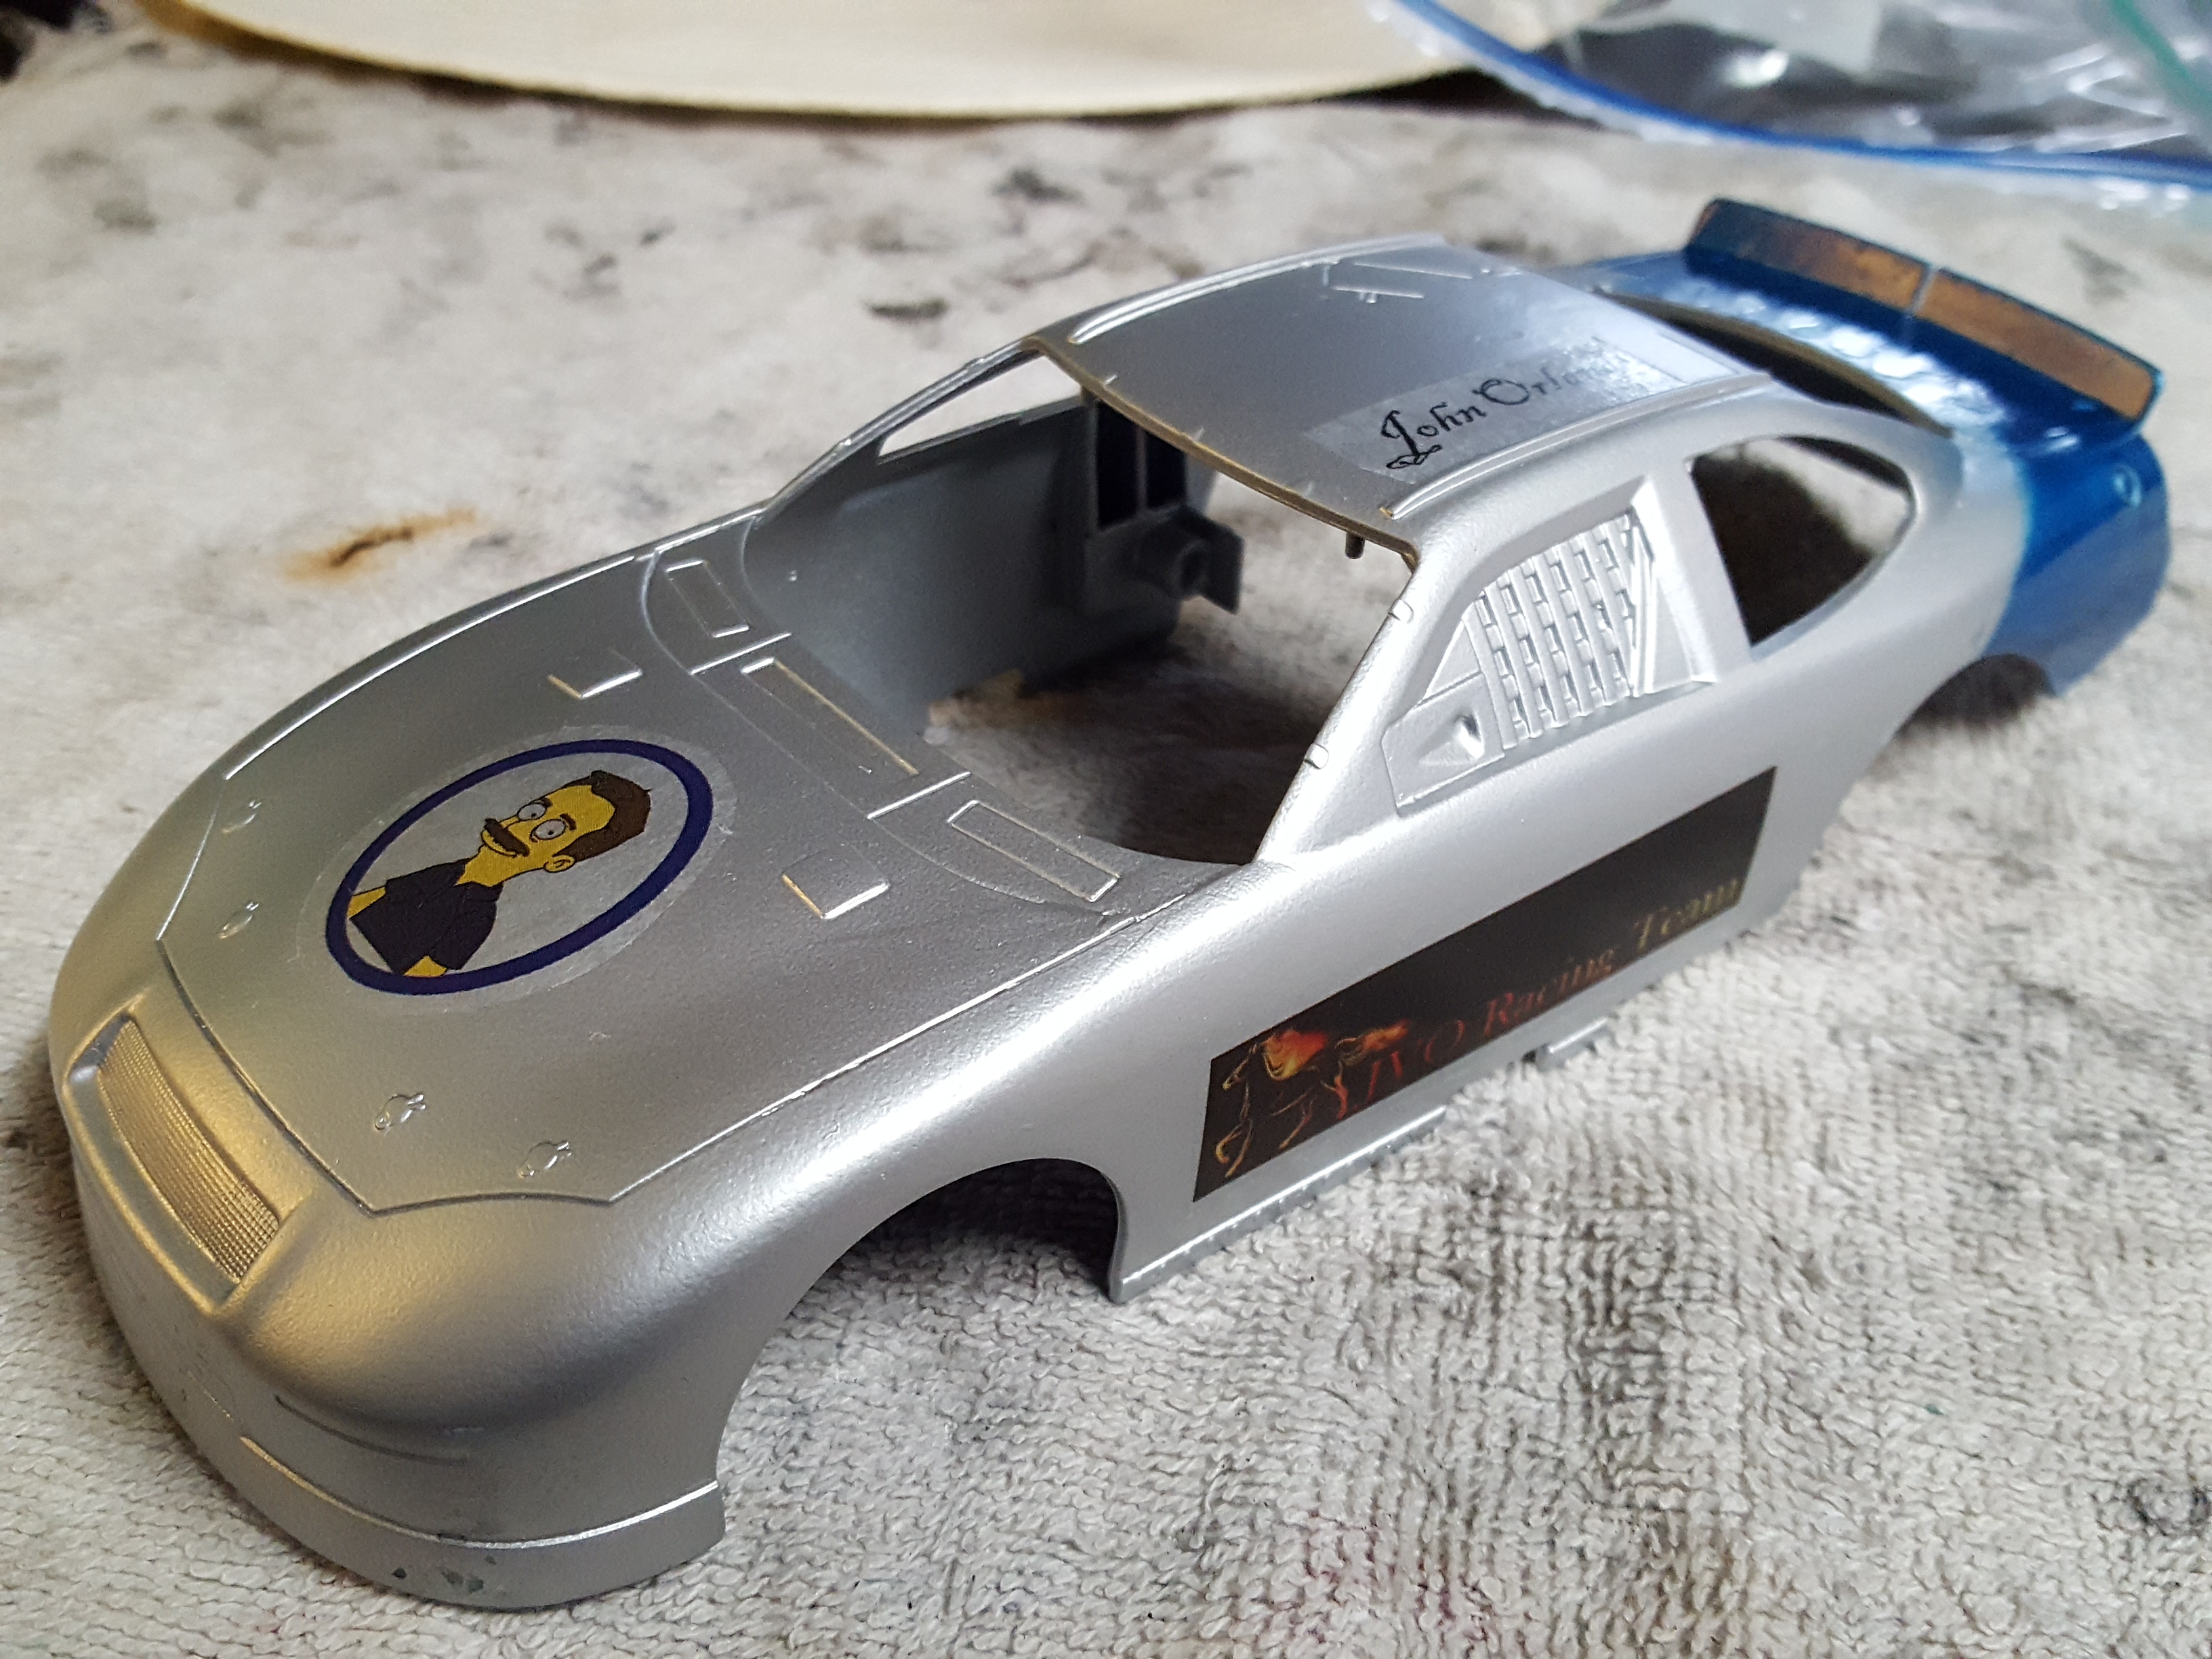
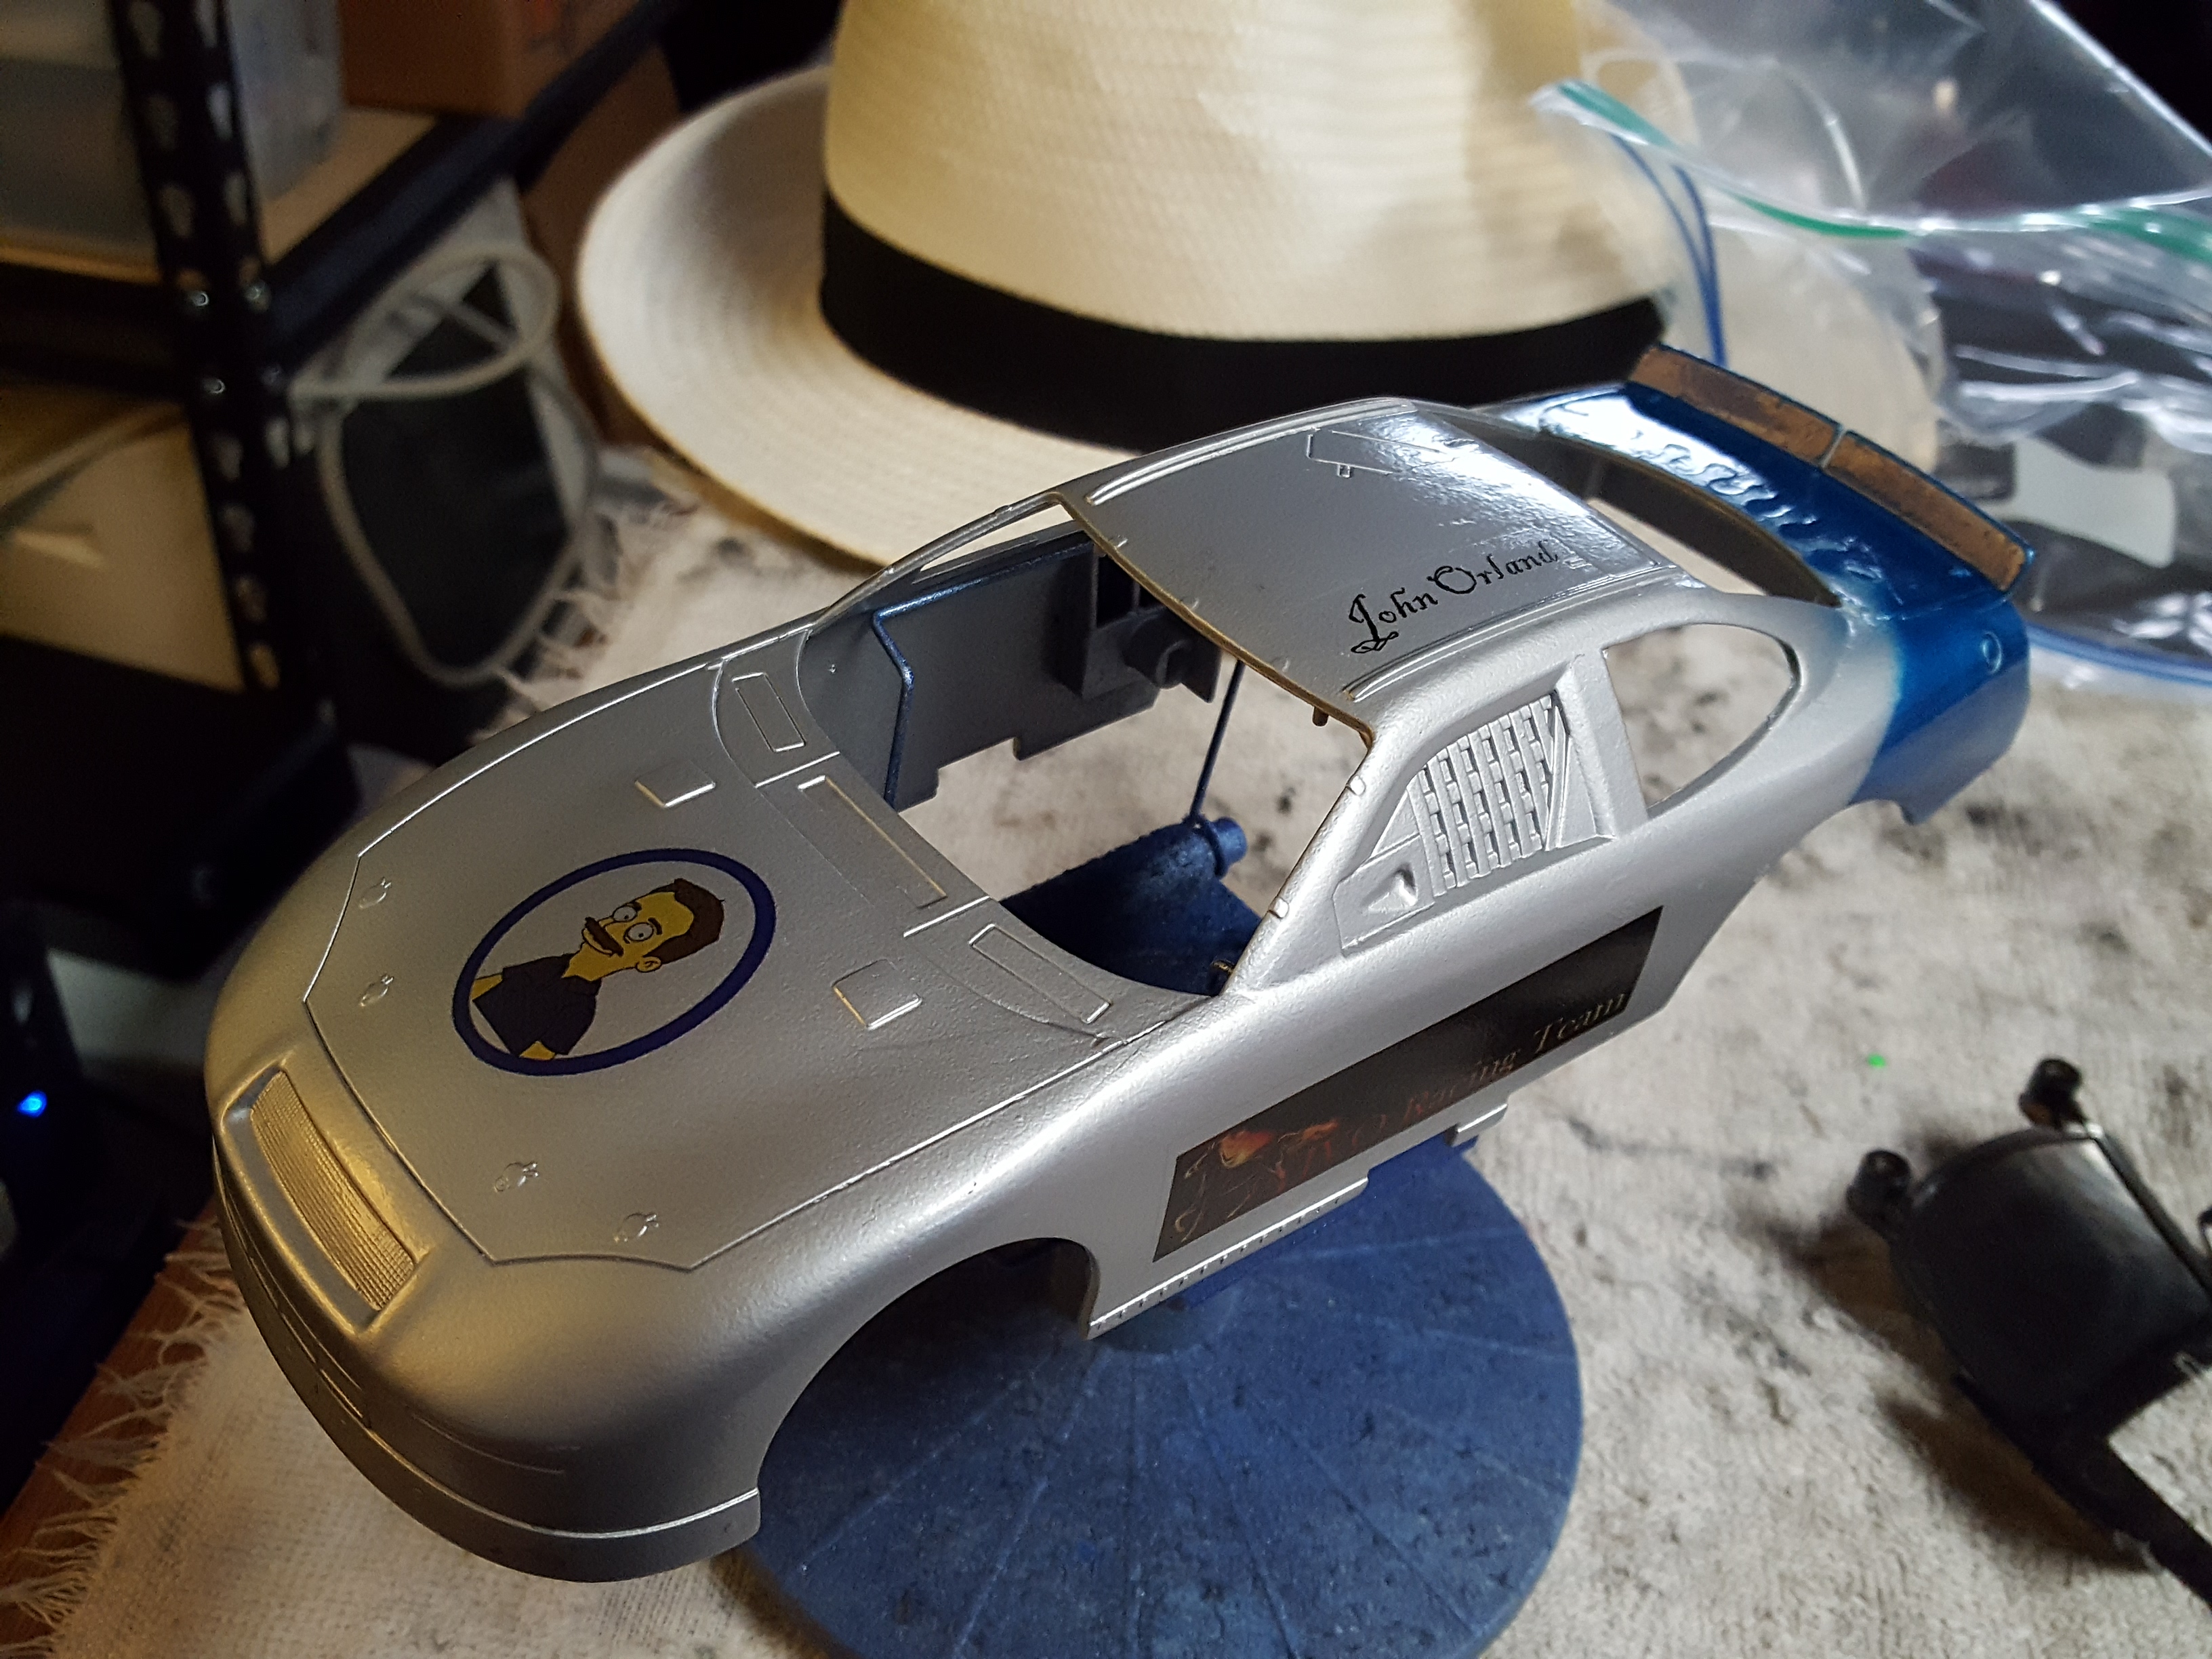
For the fourth project, I am working on painting a Kyosho Mini-Z MR-03VE car body. I have started out with the primer, as seen below in figure 1 and a silver base coat (figure 2). I was able to move forward and paint the secondary color as seen in figure 3 and 4, but used my Canon digital camera for these photos, which I am not very happy with the quality.
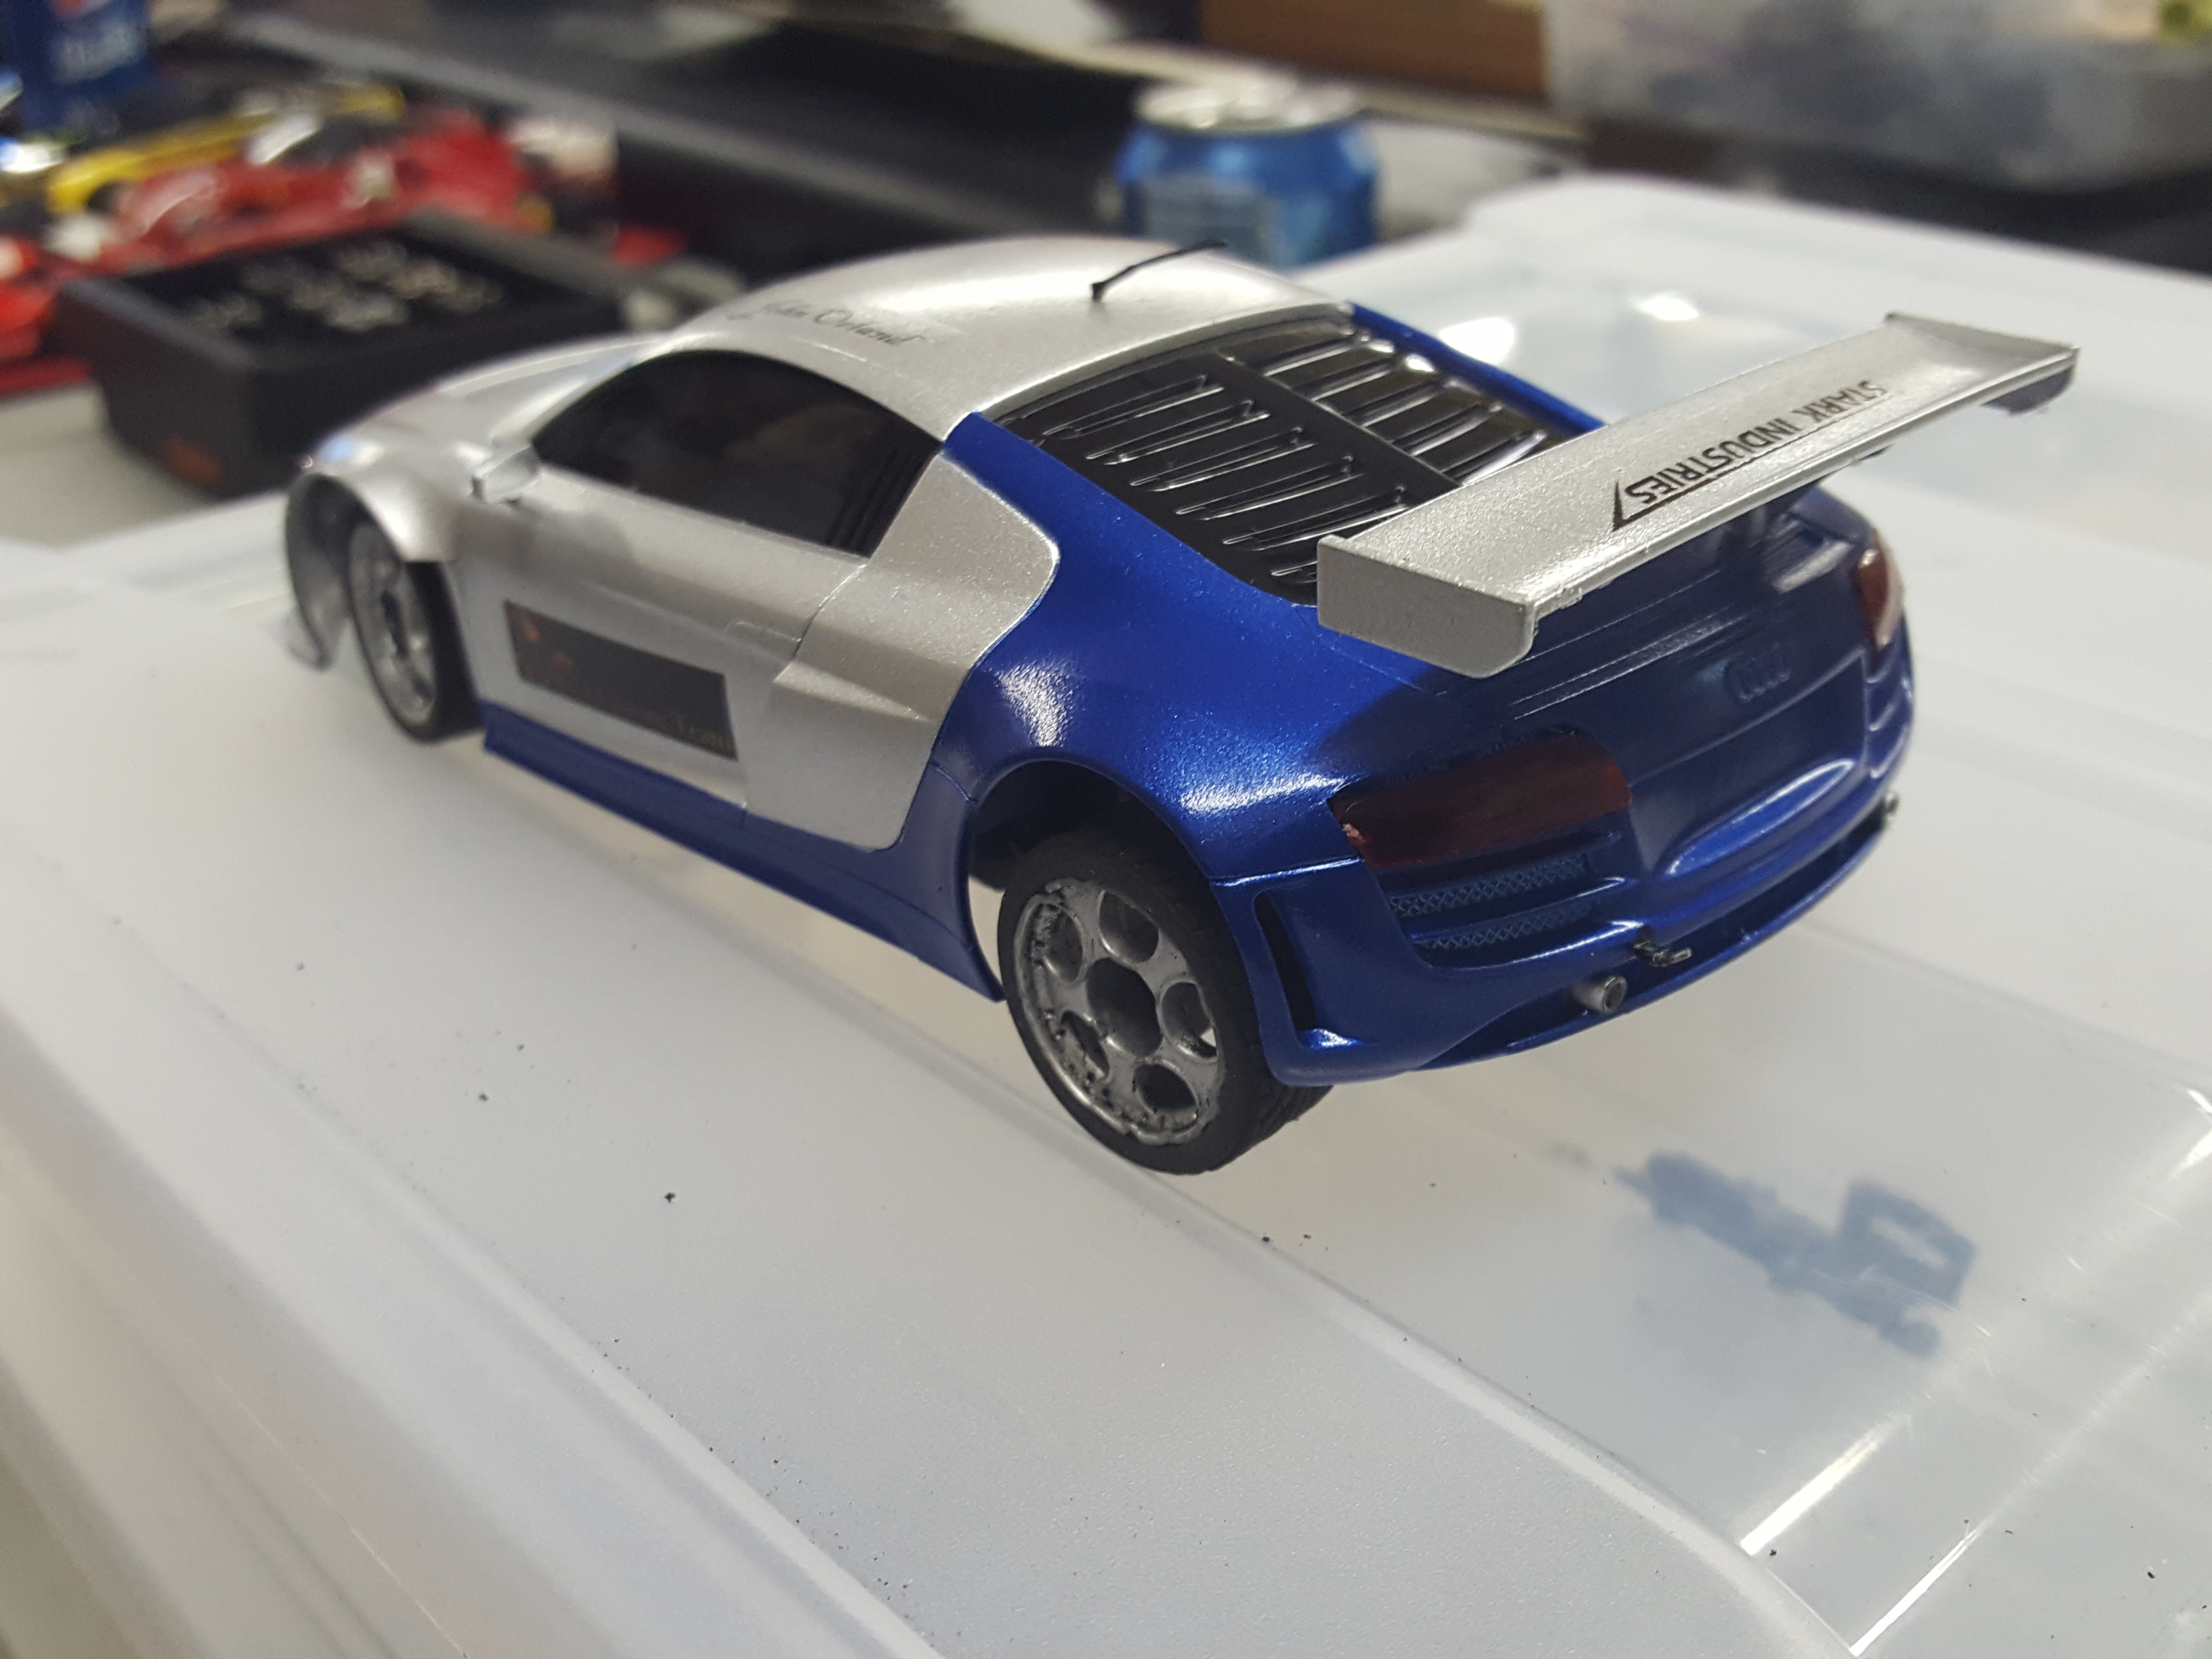
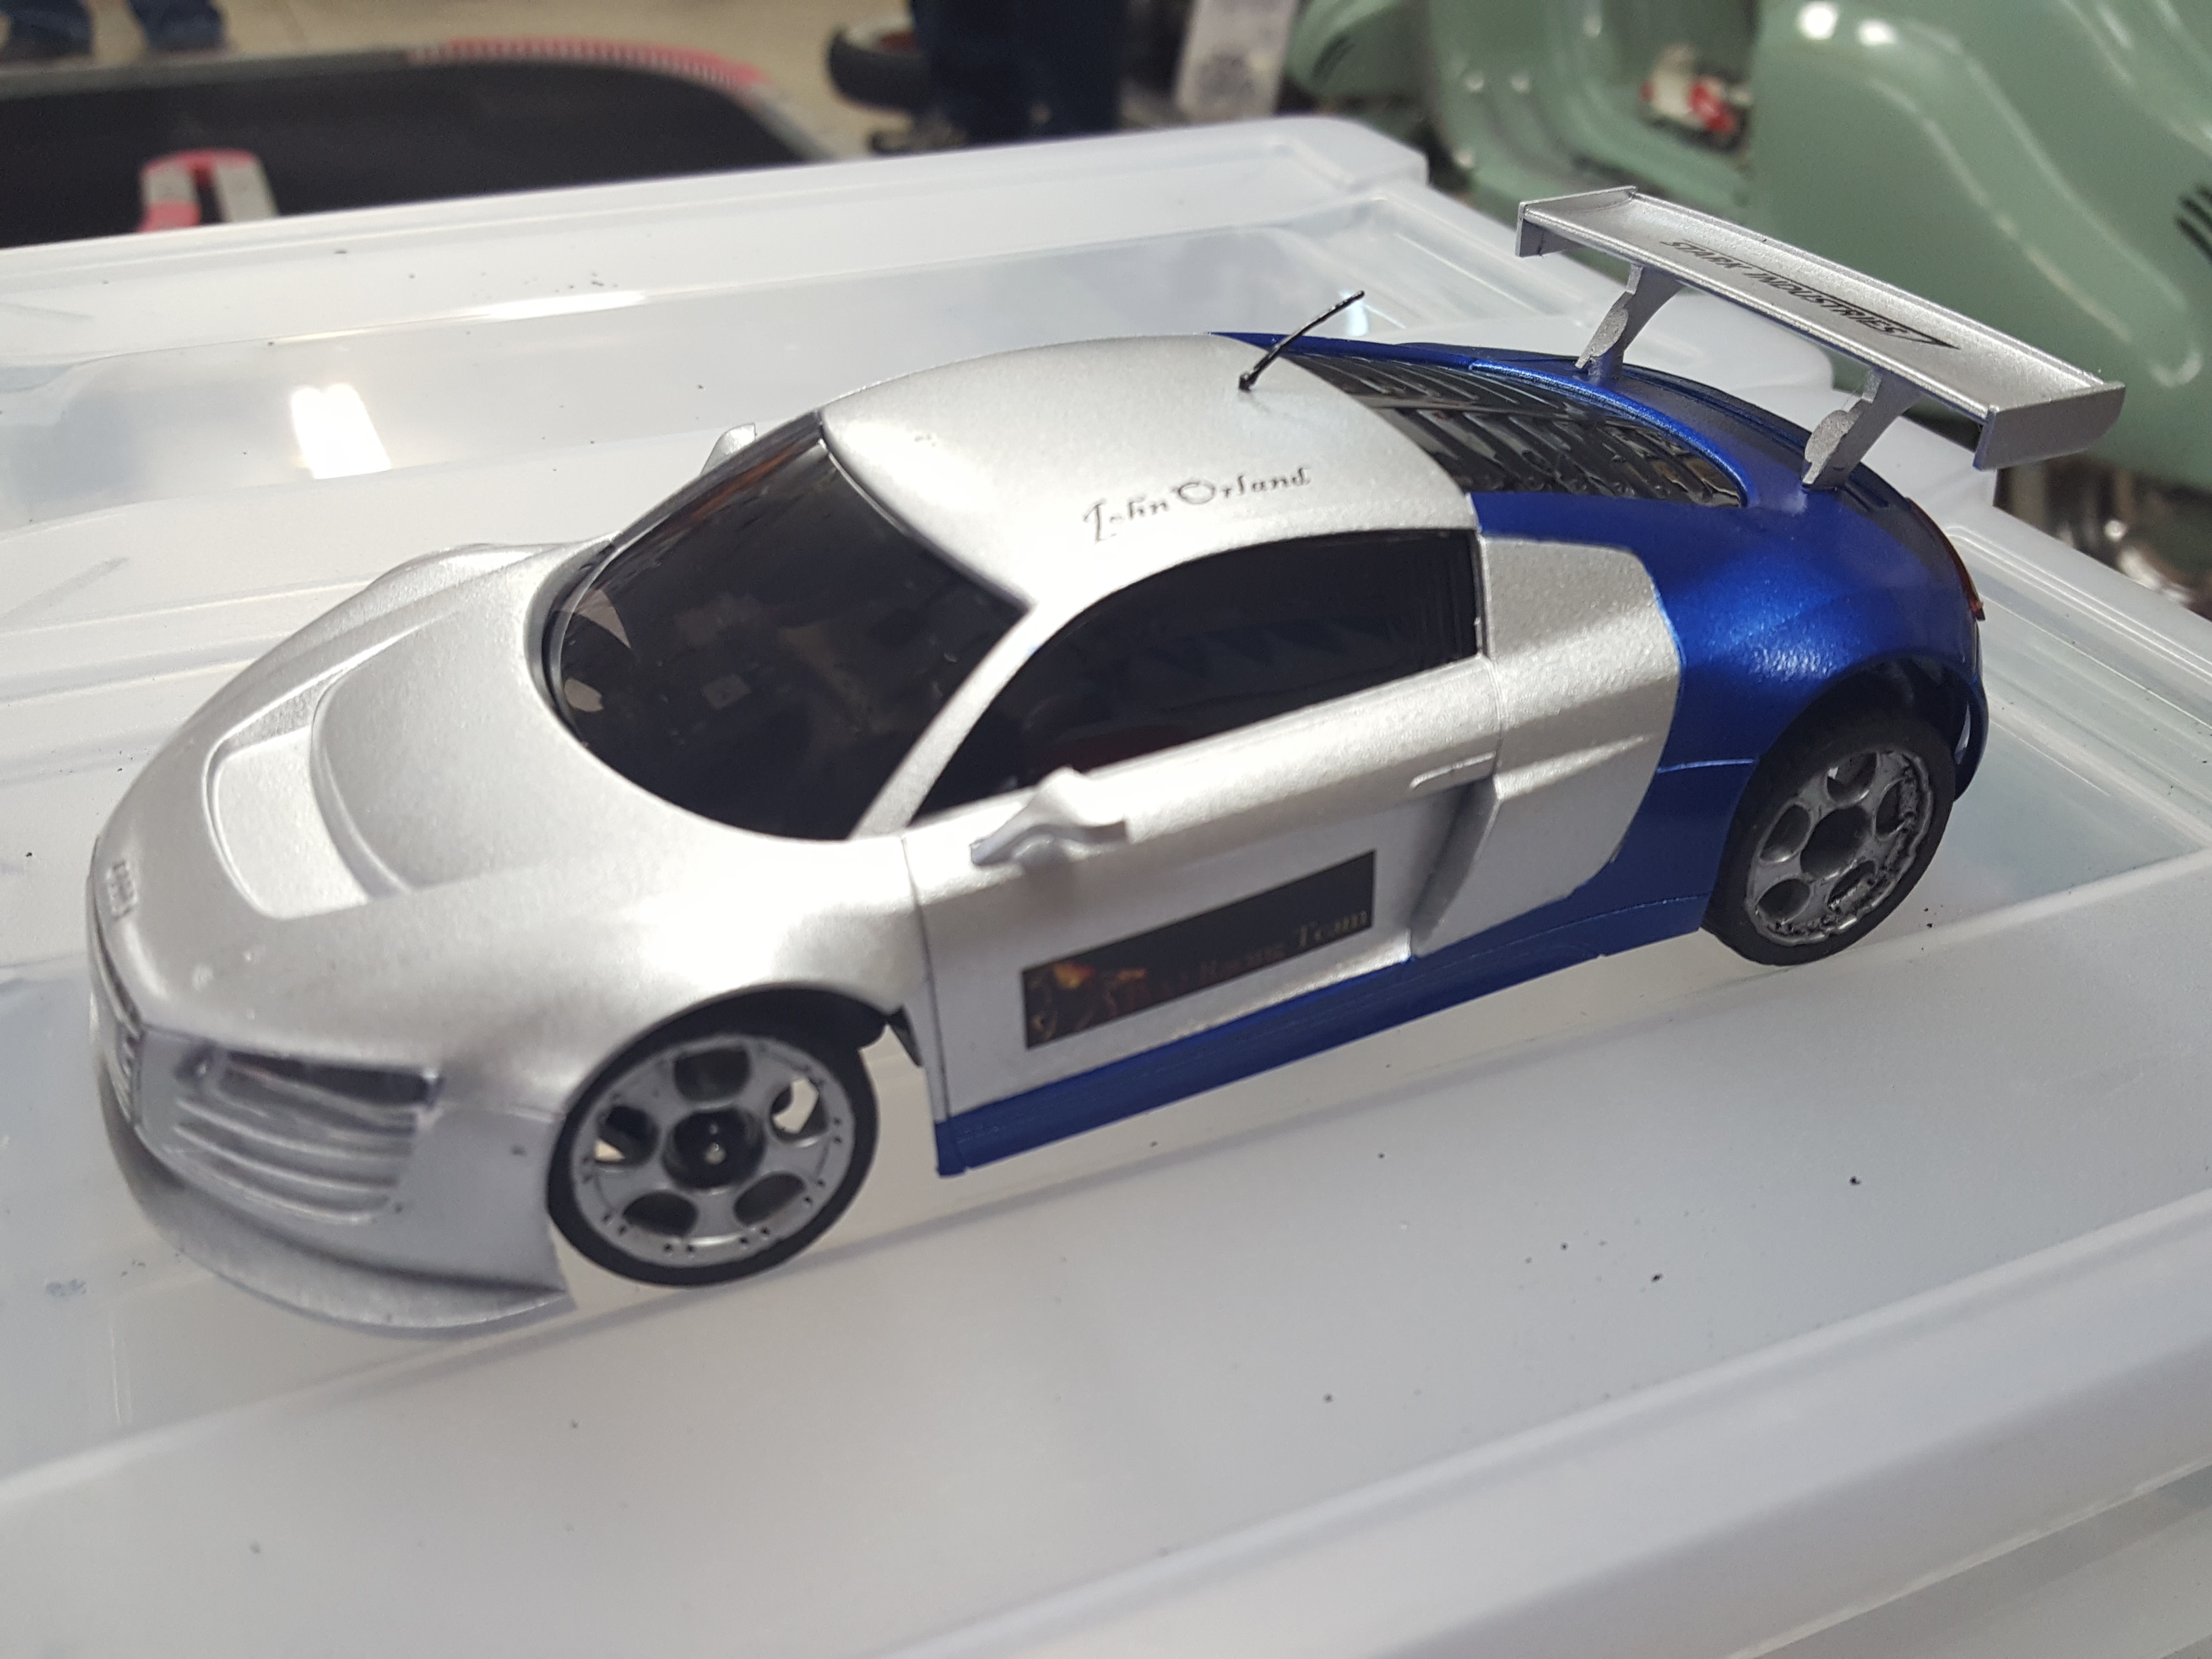
I have now finished painting the Audi body as seen in figures 5 and 6. I have decided to stick with the JVO Racing logo for the doors and my name as a decal on the roof. I have also been putting the Stark Industries logon on the wing of the last two cars. I think that this body turned out very good. I did also use the Alclad Chrome paint for the chrome parts that were used on the car, including the tail pipes and the front grill. For effect, I painted behind the front grill with gloss black paint. I still need to finish painting the rims for the car. I have already put the main silver color on and I am thinking of a dark blue accent stripe.
 |
 |
| Painting Project 4: Figure 1 | Painting Project 4: Figure 2 |
 |
 |
| Painting Project 4: Figure 3 | Painting Project 4: Figure 4 |
 |
 |
| Painting Project 4: Figure 5 | Painting Project 4: Figure 6 |
Painting Project - Fifth Project
I have completed the Fifth Project, painting a Revell RPMZ for this project. I did add a few additional decals to this body that I have not used on the other cars, specifically the Simpsonized version of a photo of myself. I think that this one turned out okay. I did end up using Testers Enamel paint for this project rather than the Lacquer that I have been using for the previous projects, but it still looks pretty good. I failed to take photos of the initial primer and the main Silver color, but. took a few photos of the Silver with the Blue secondary color as seen in Figures 1 and 2. I then put the decals on as seen in Figure 3 and then put on the clear coat, which you can see the final result in figure 4. This is still wet, but it looks pretty good.
 |
 |
| Painting Project 5: Figure 1 | Painting Project 5: Figure 2 |
 |
 |
| Painting Project 5: Figure 3 | Painting Project 5: Figure 4 |
Painting Project - Sixth Project
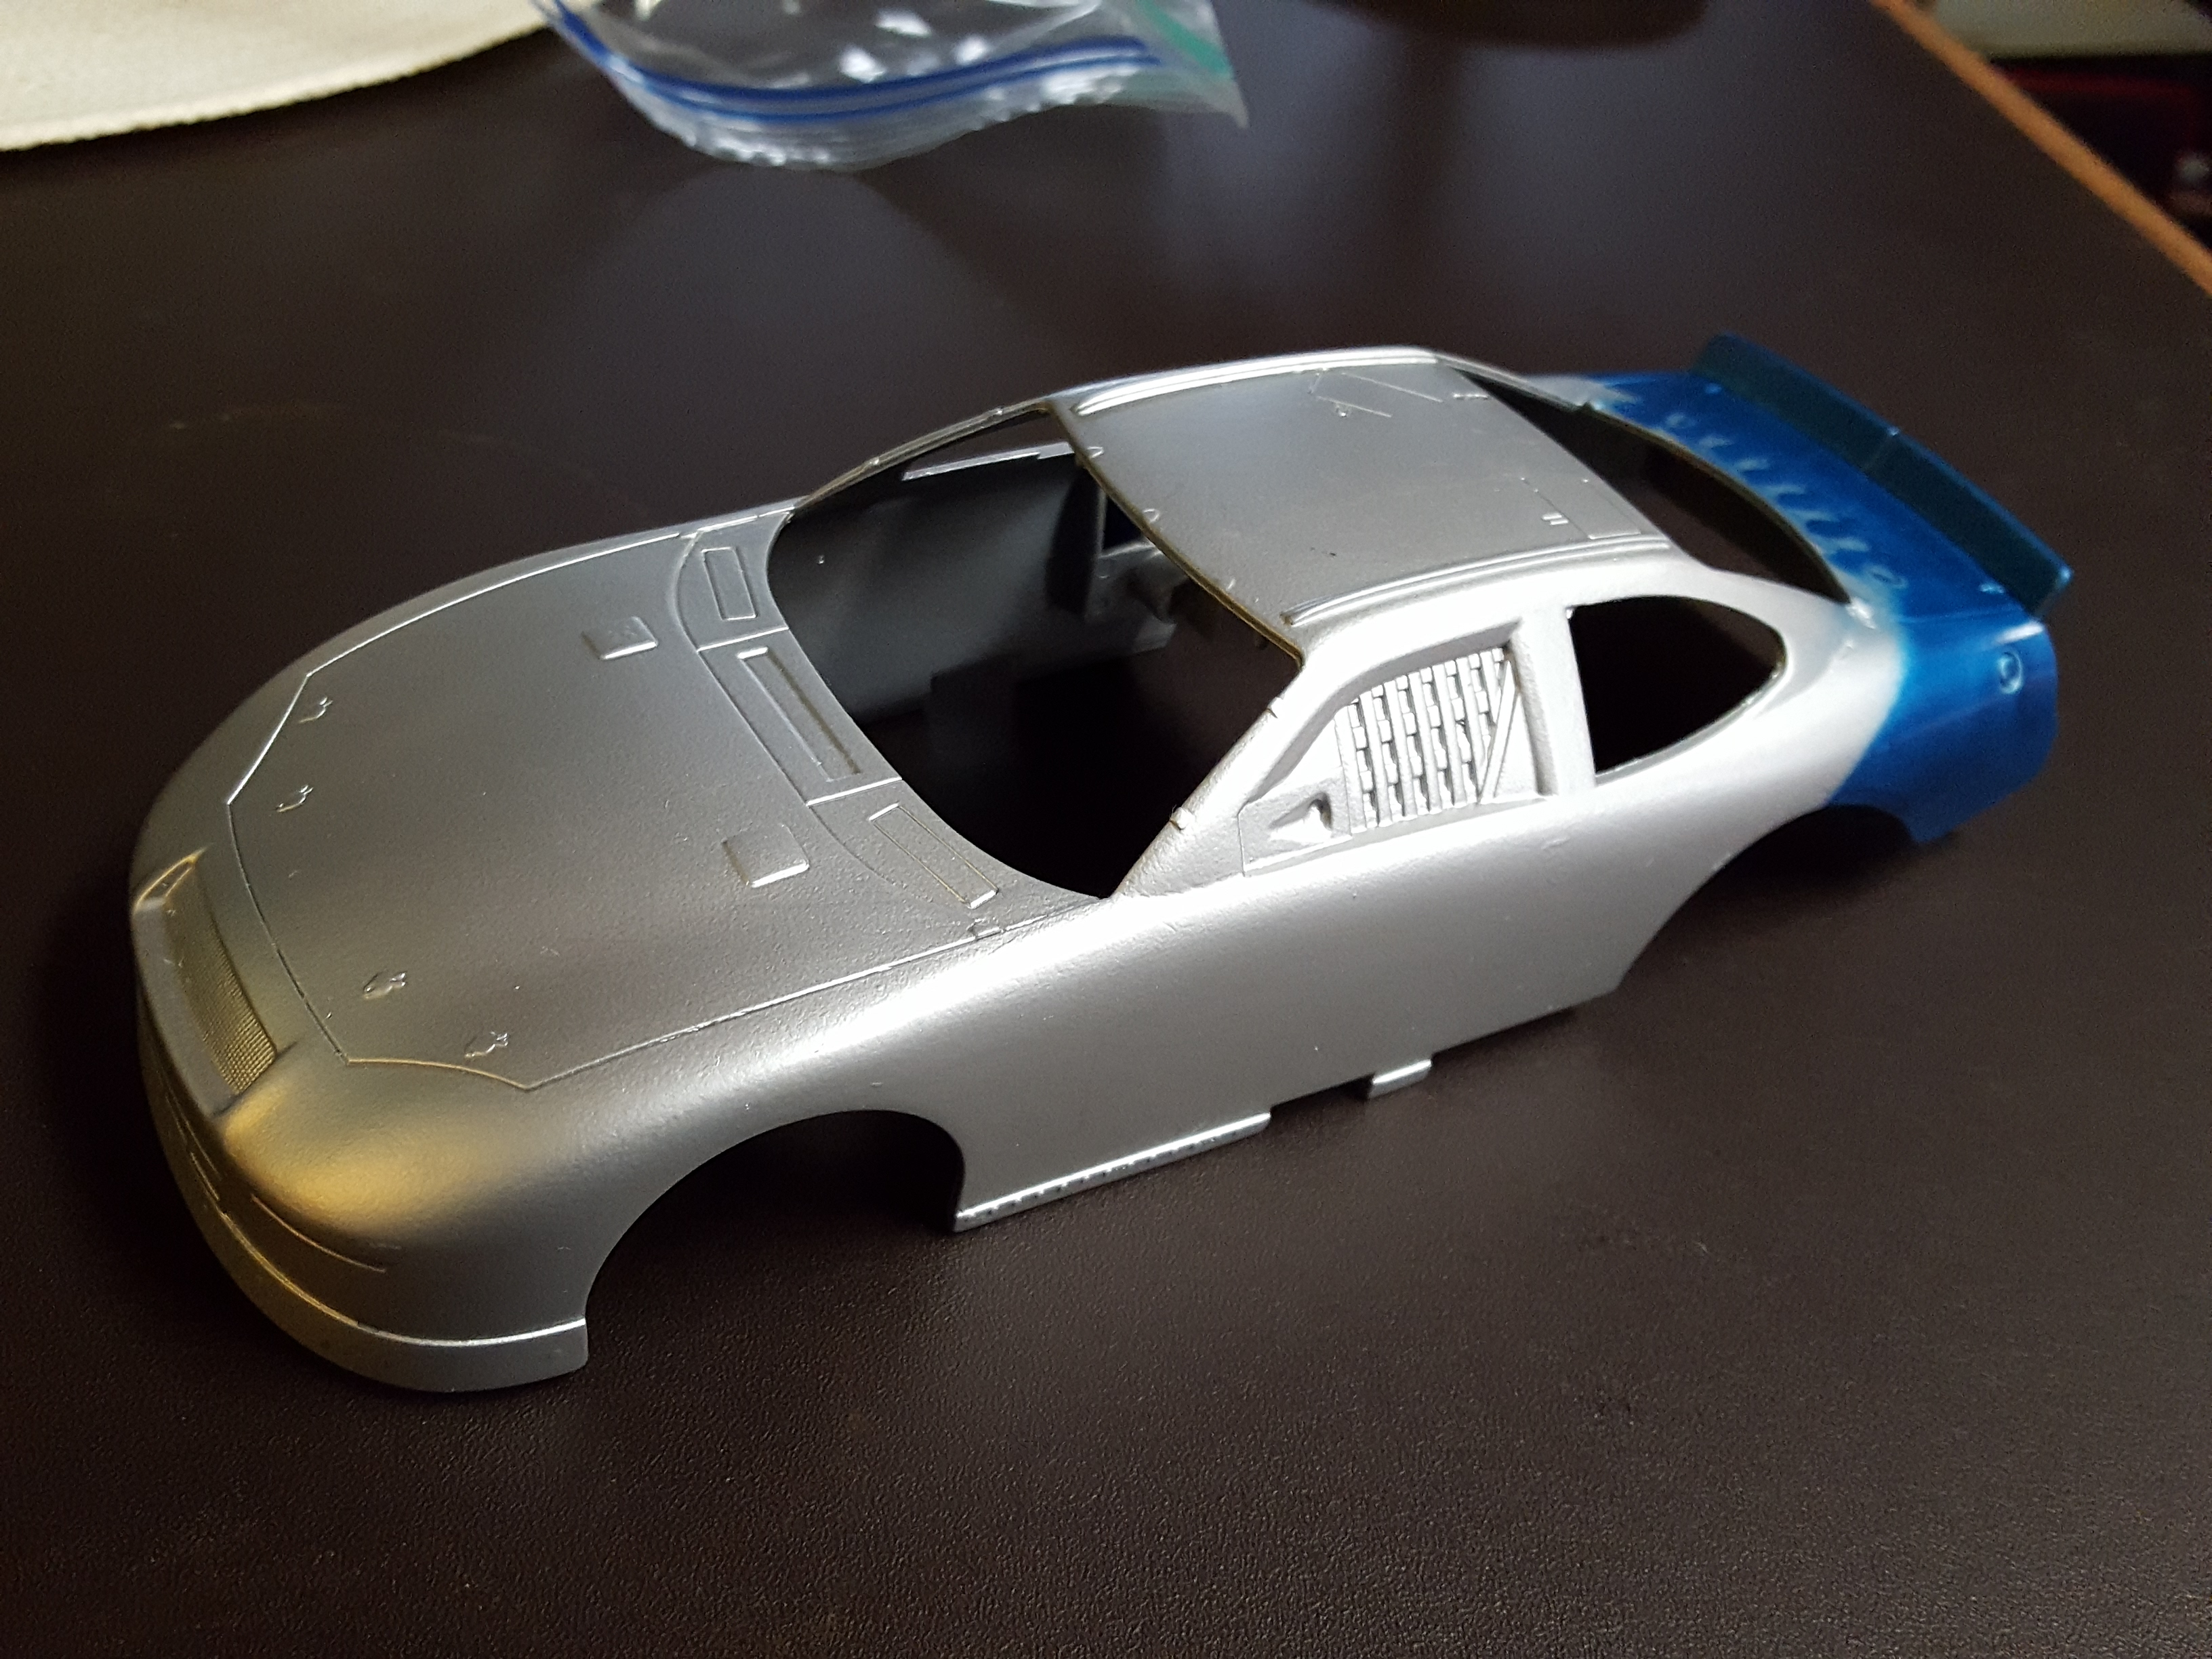
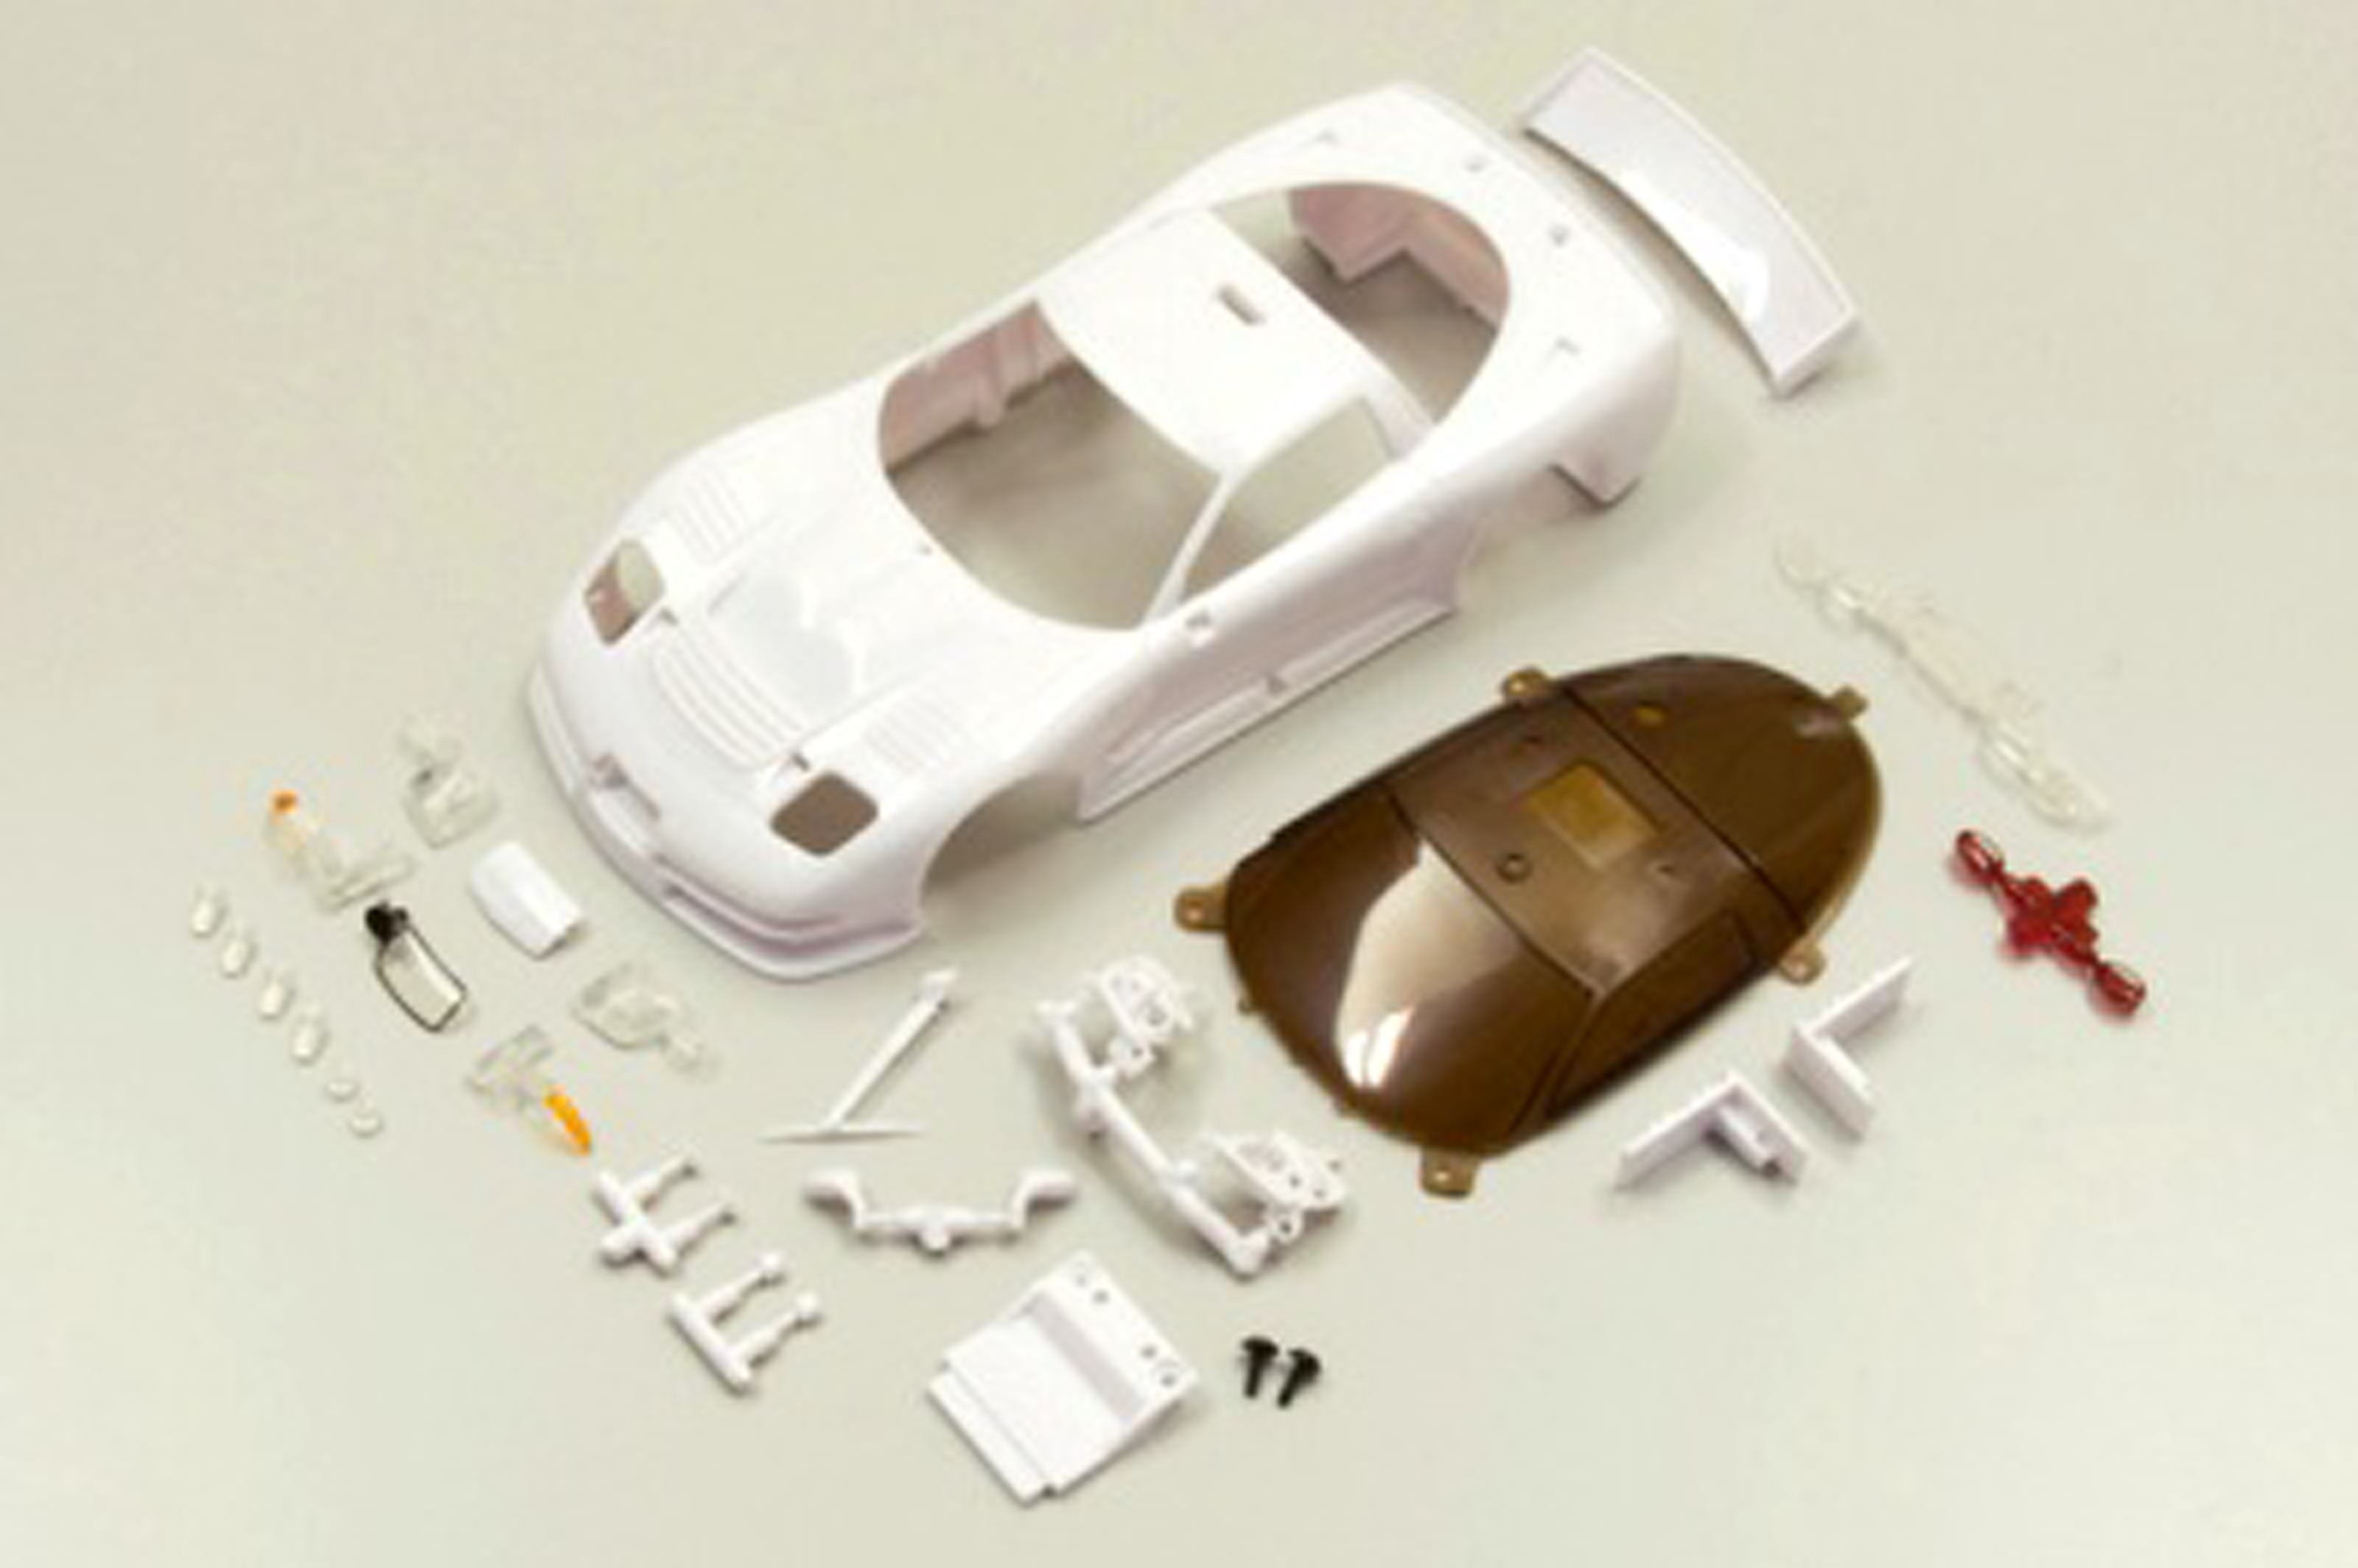
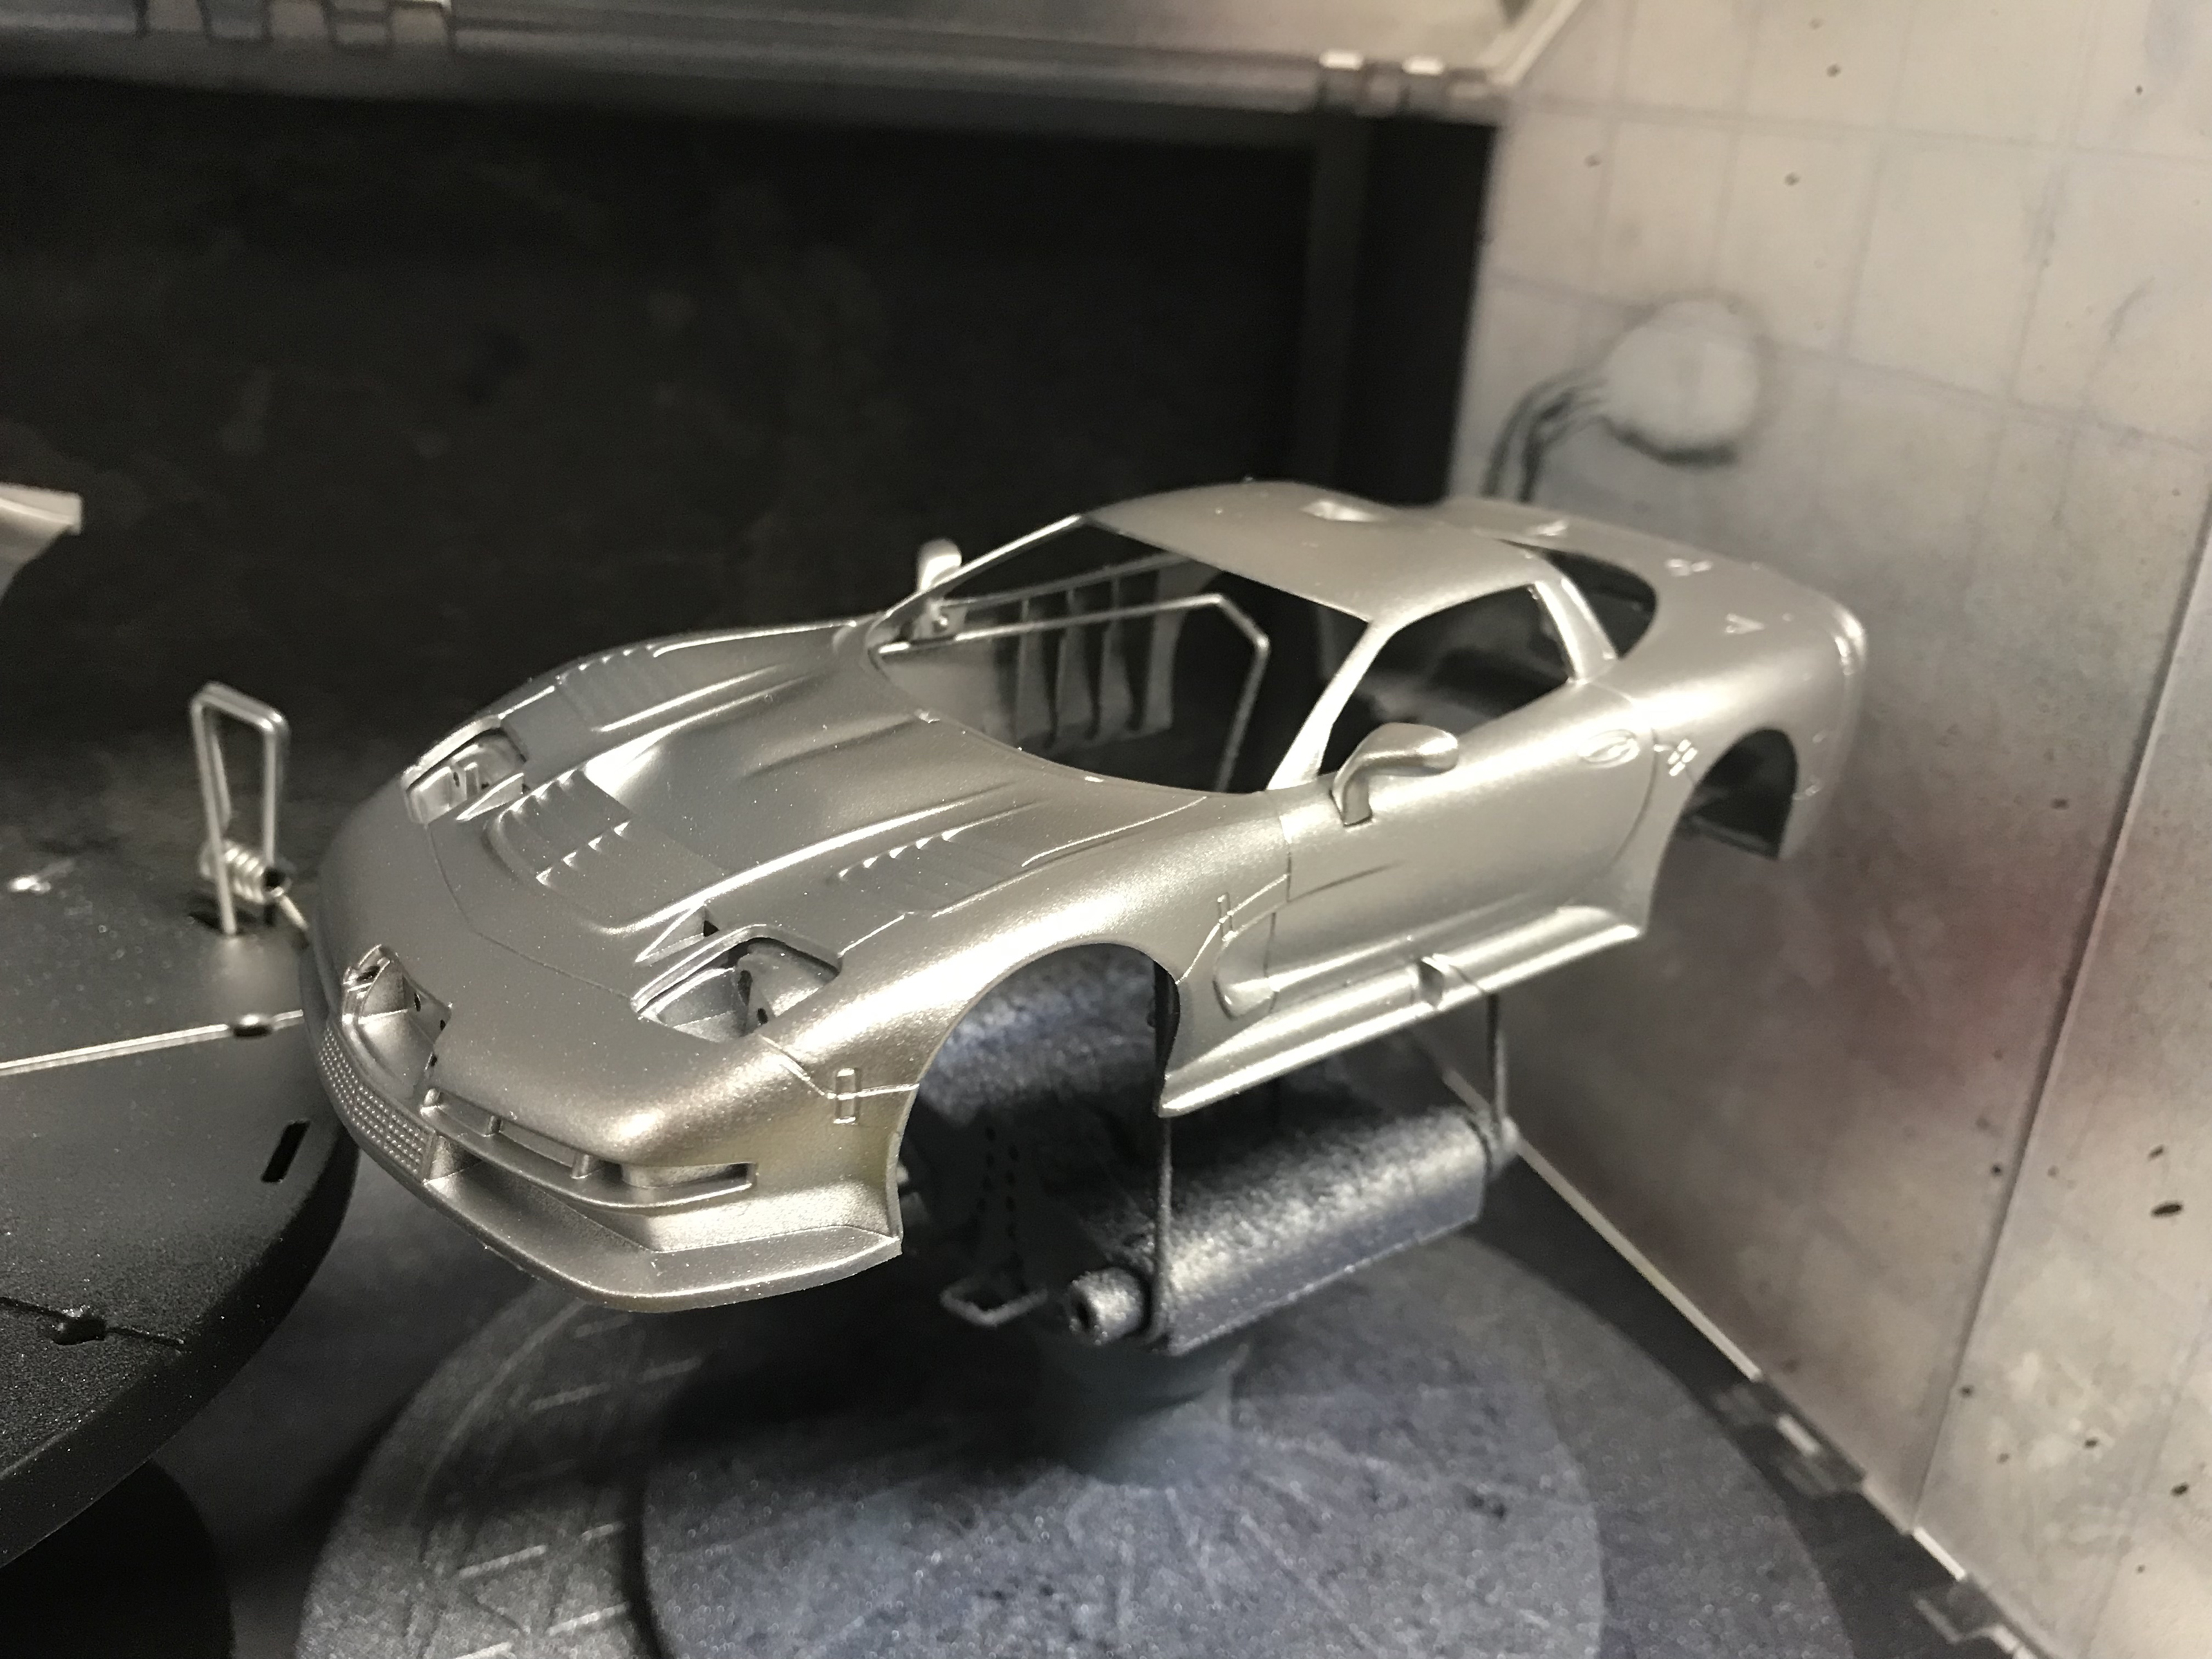
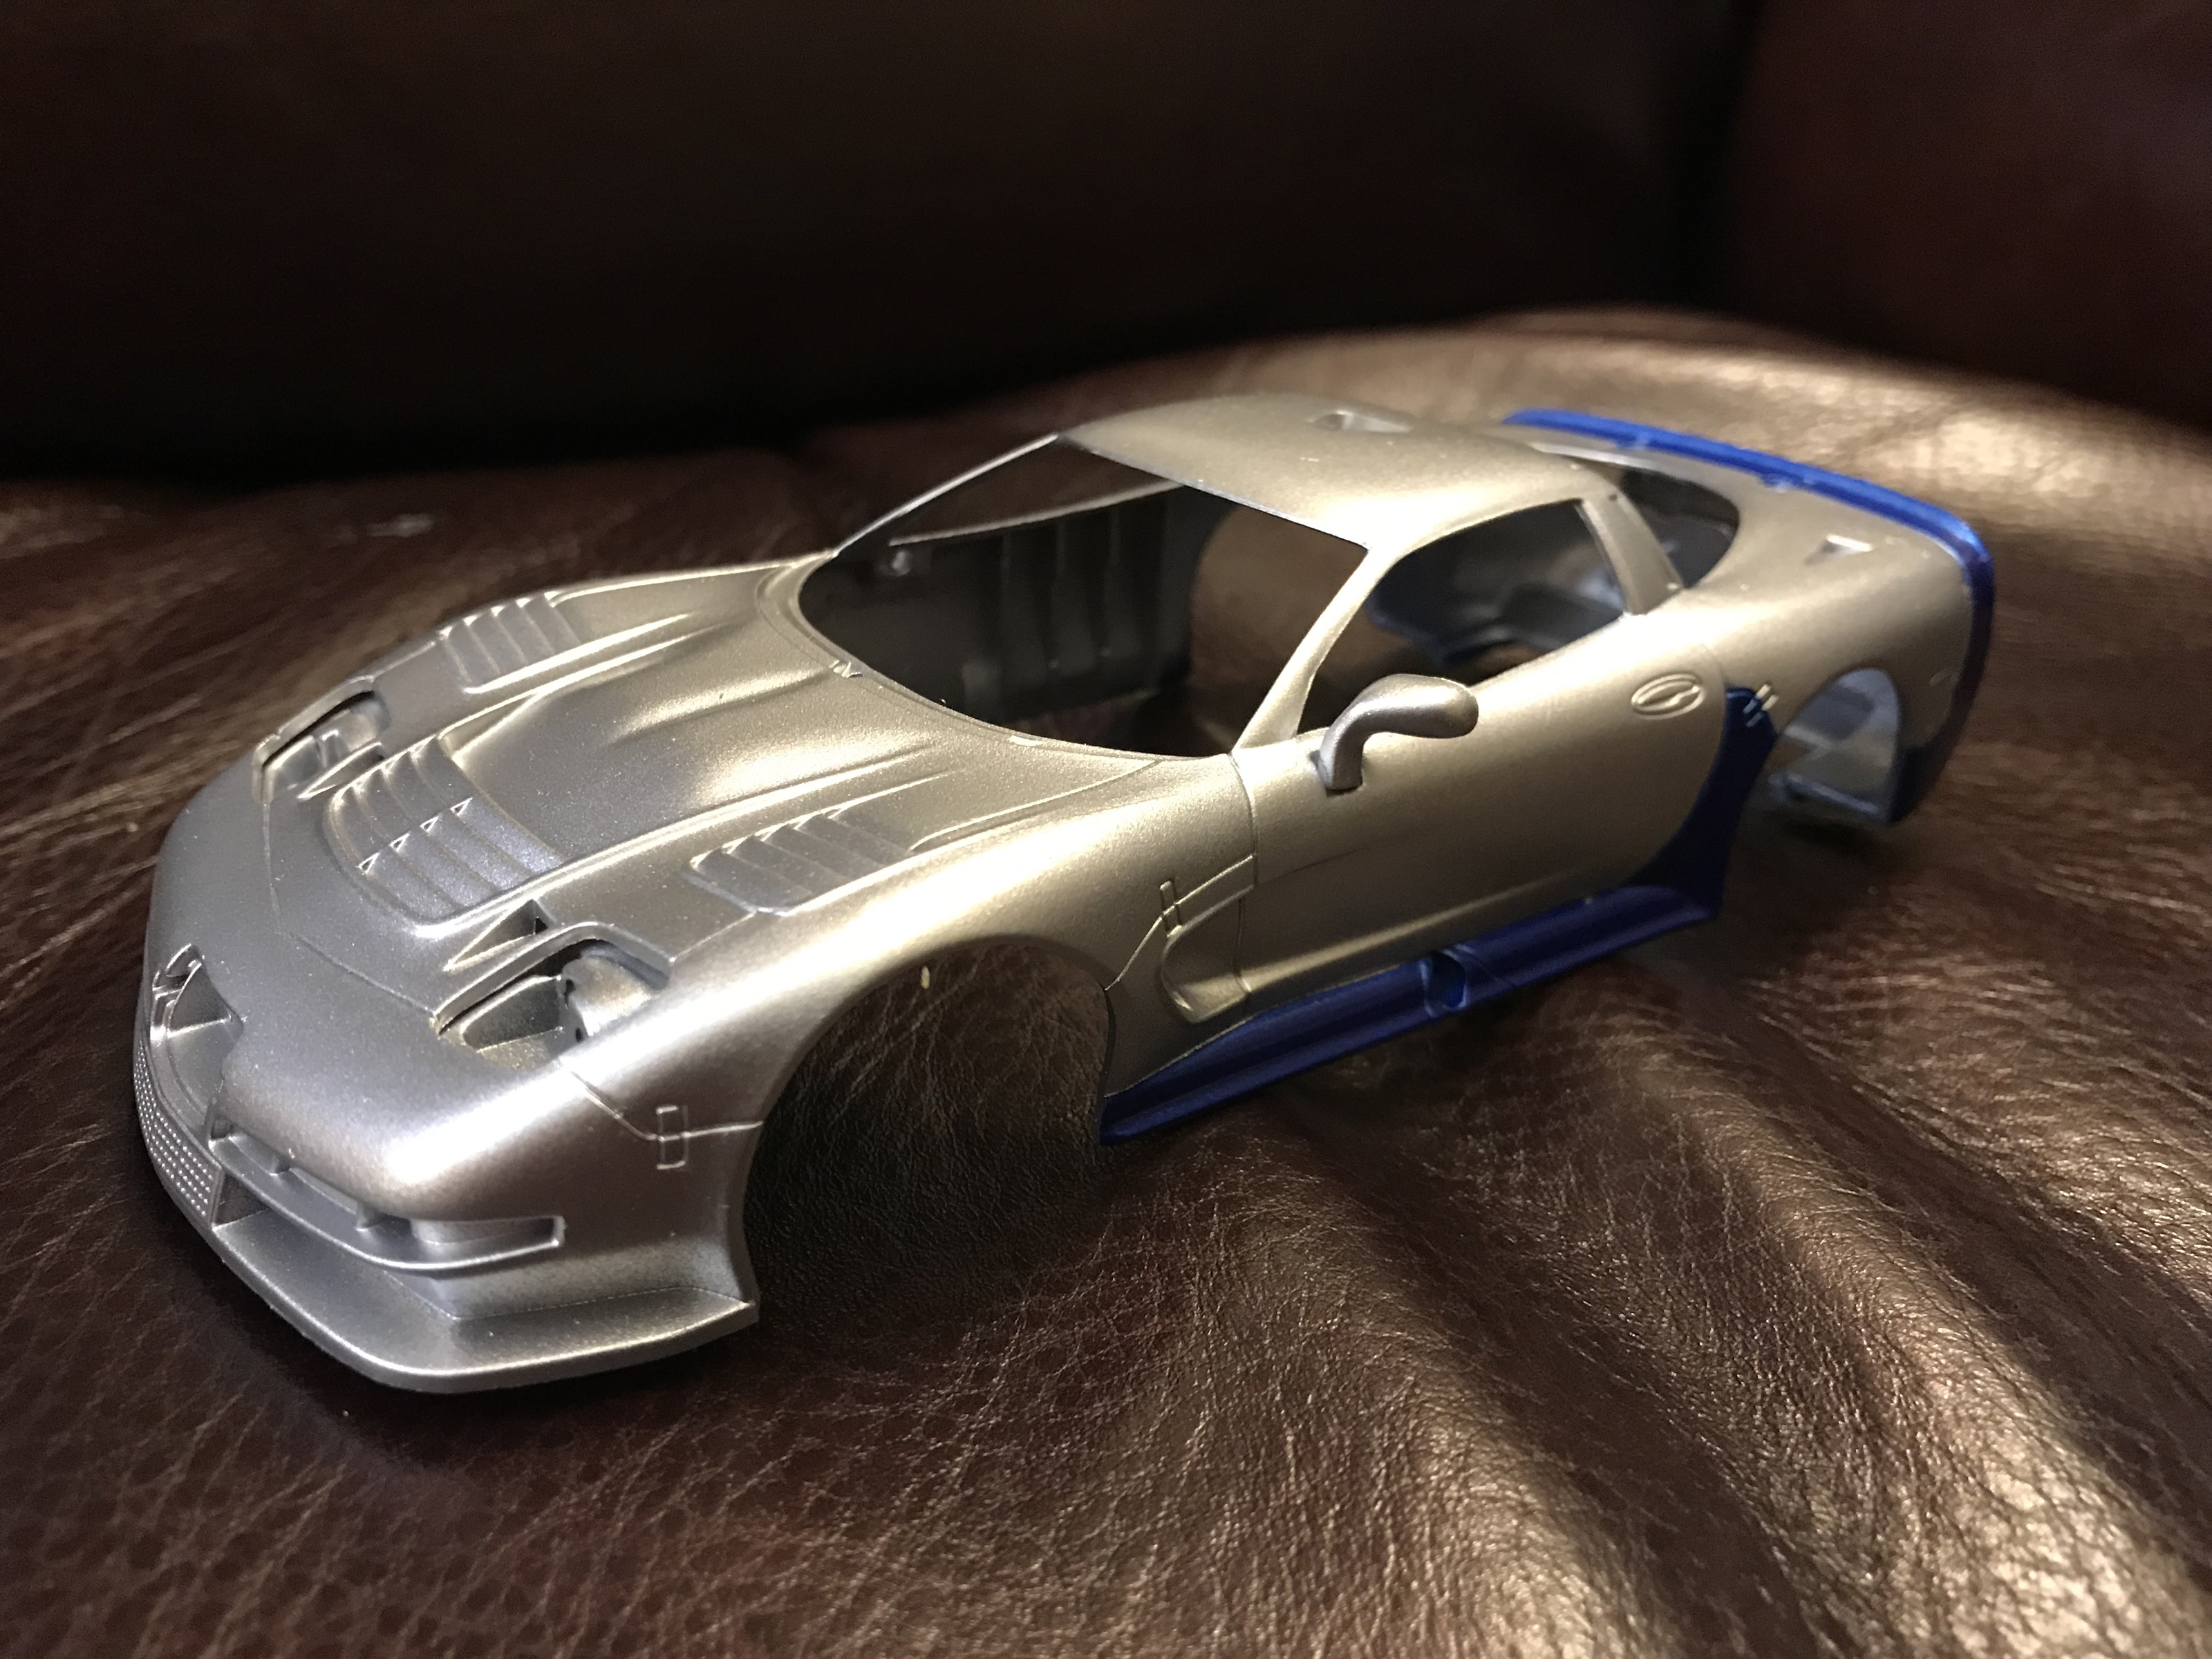
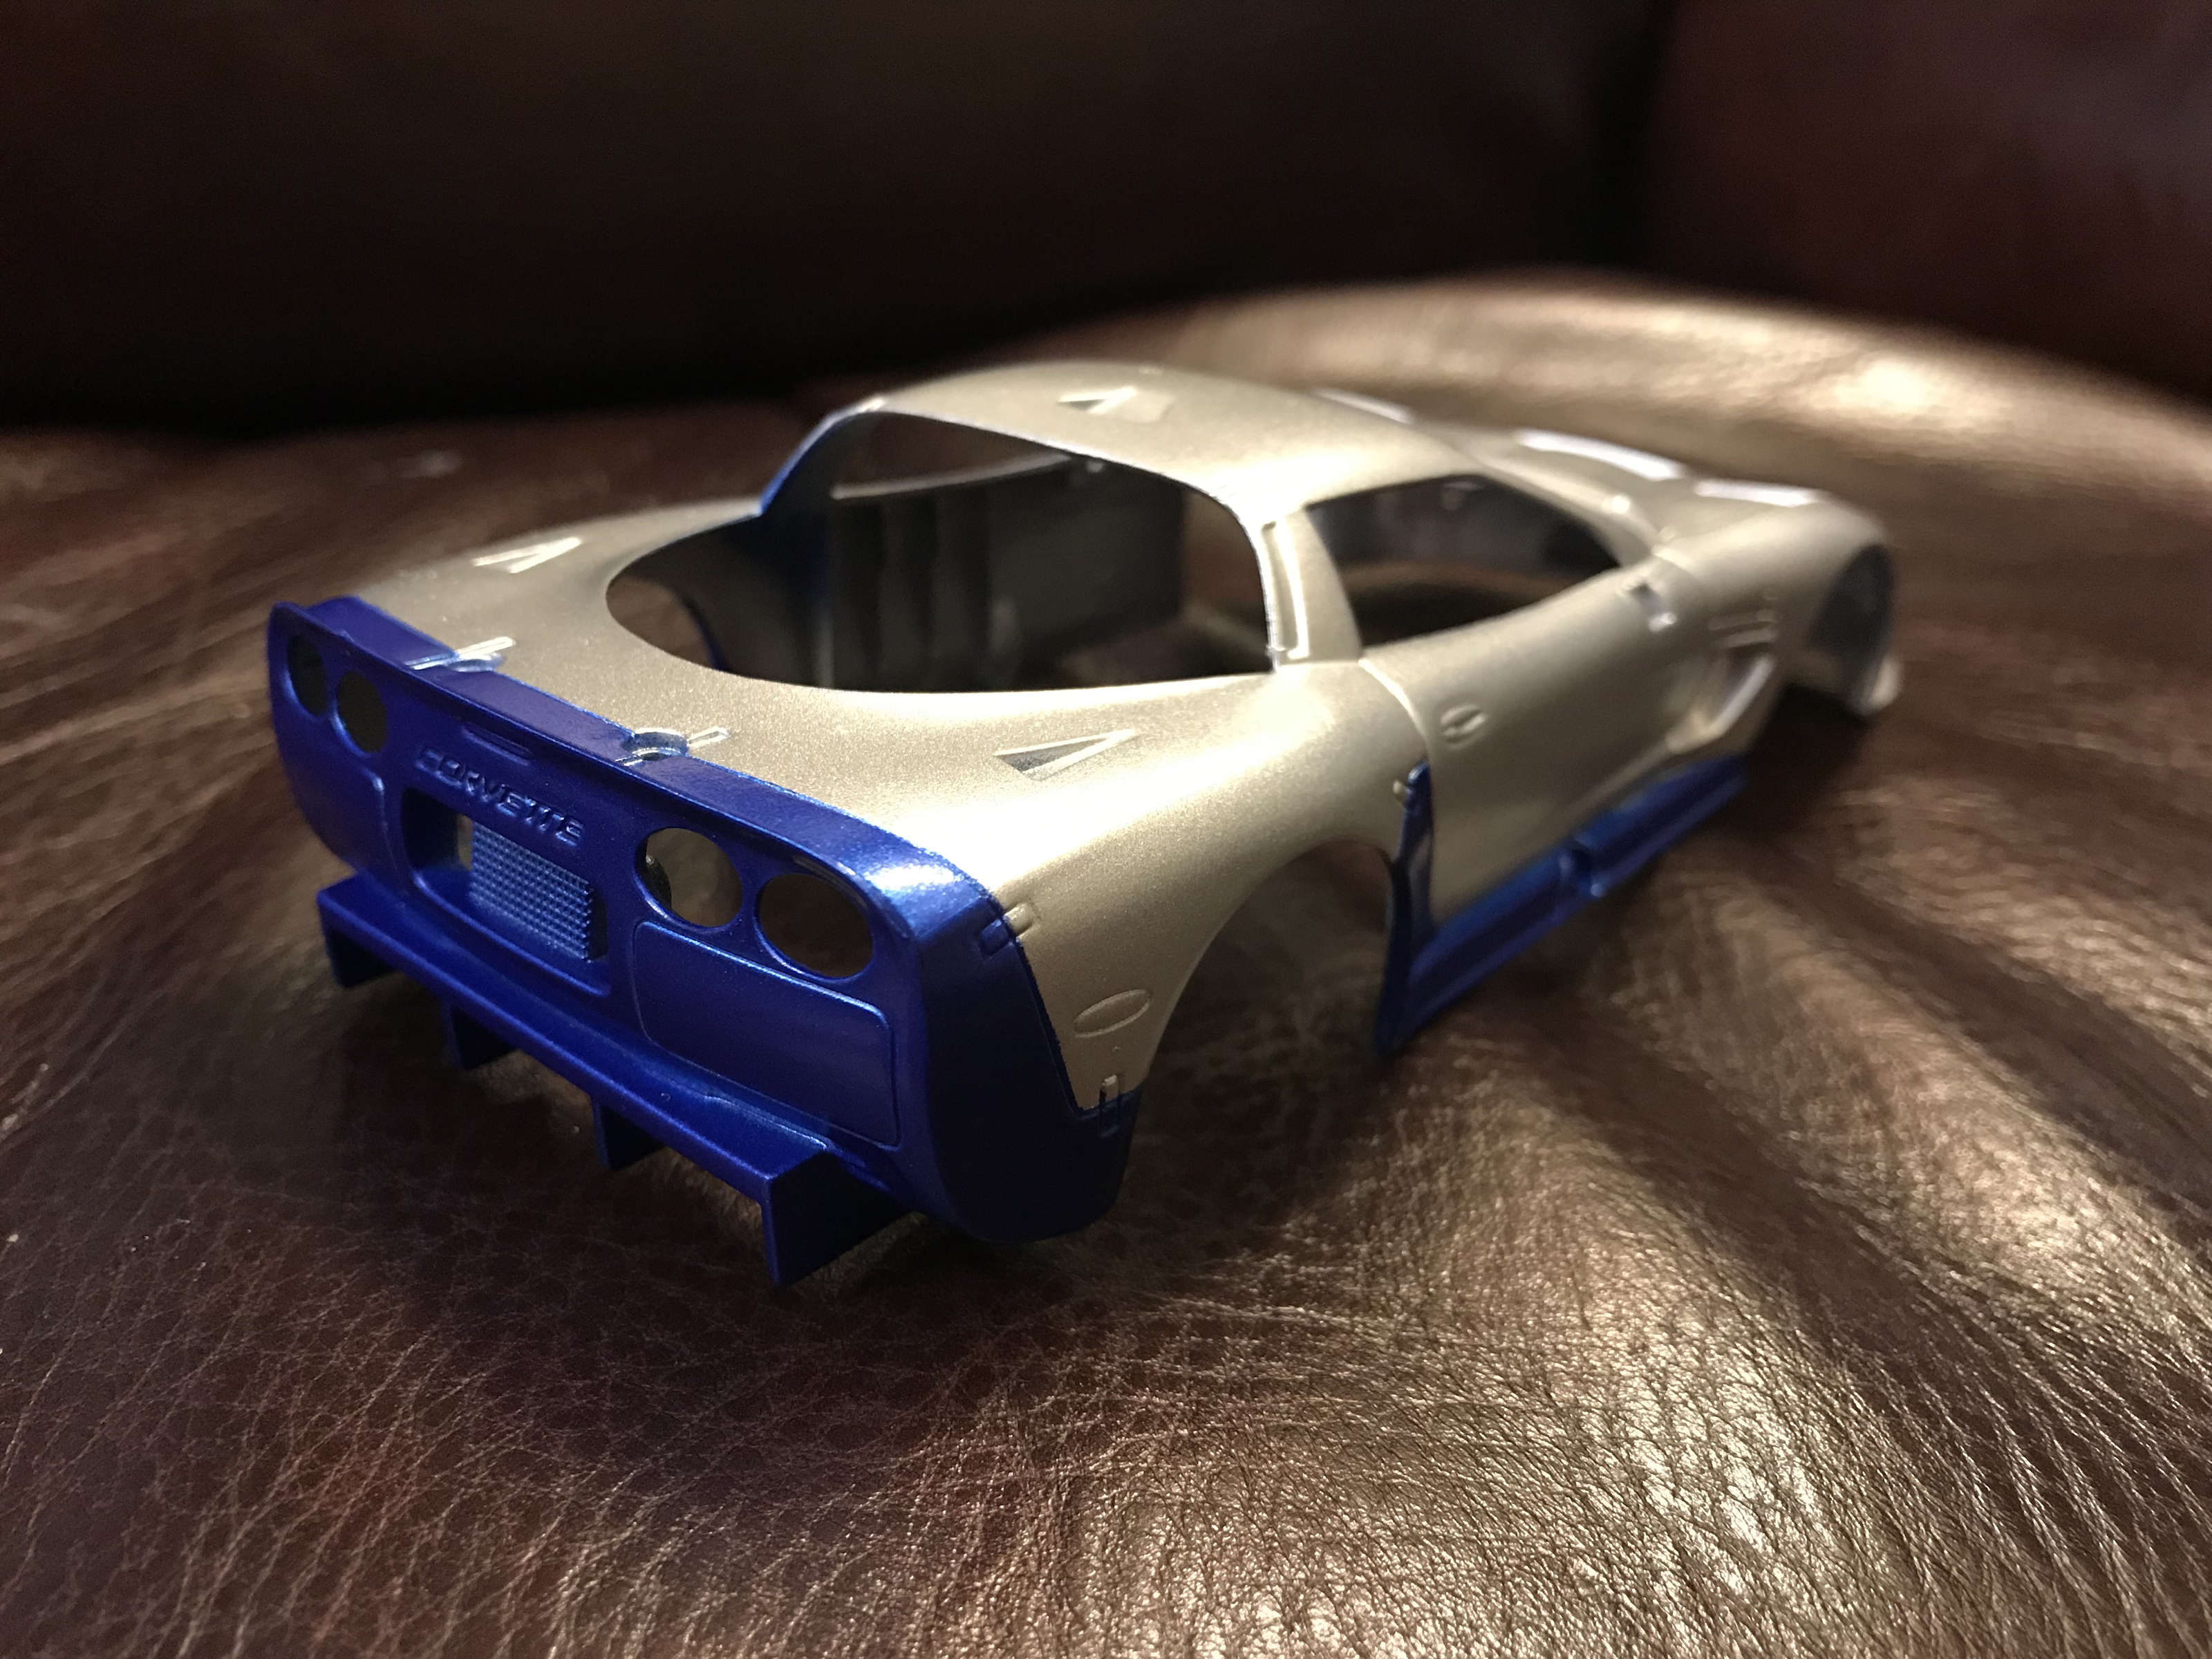
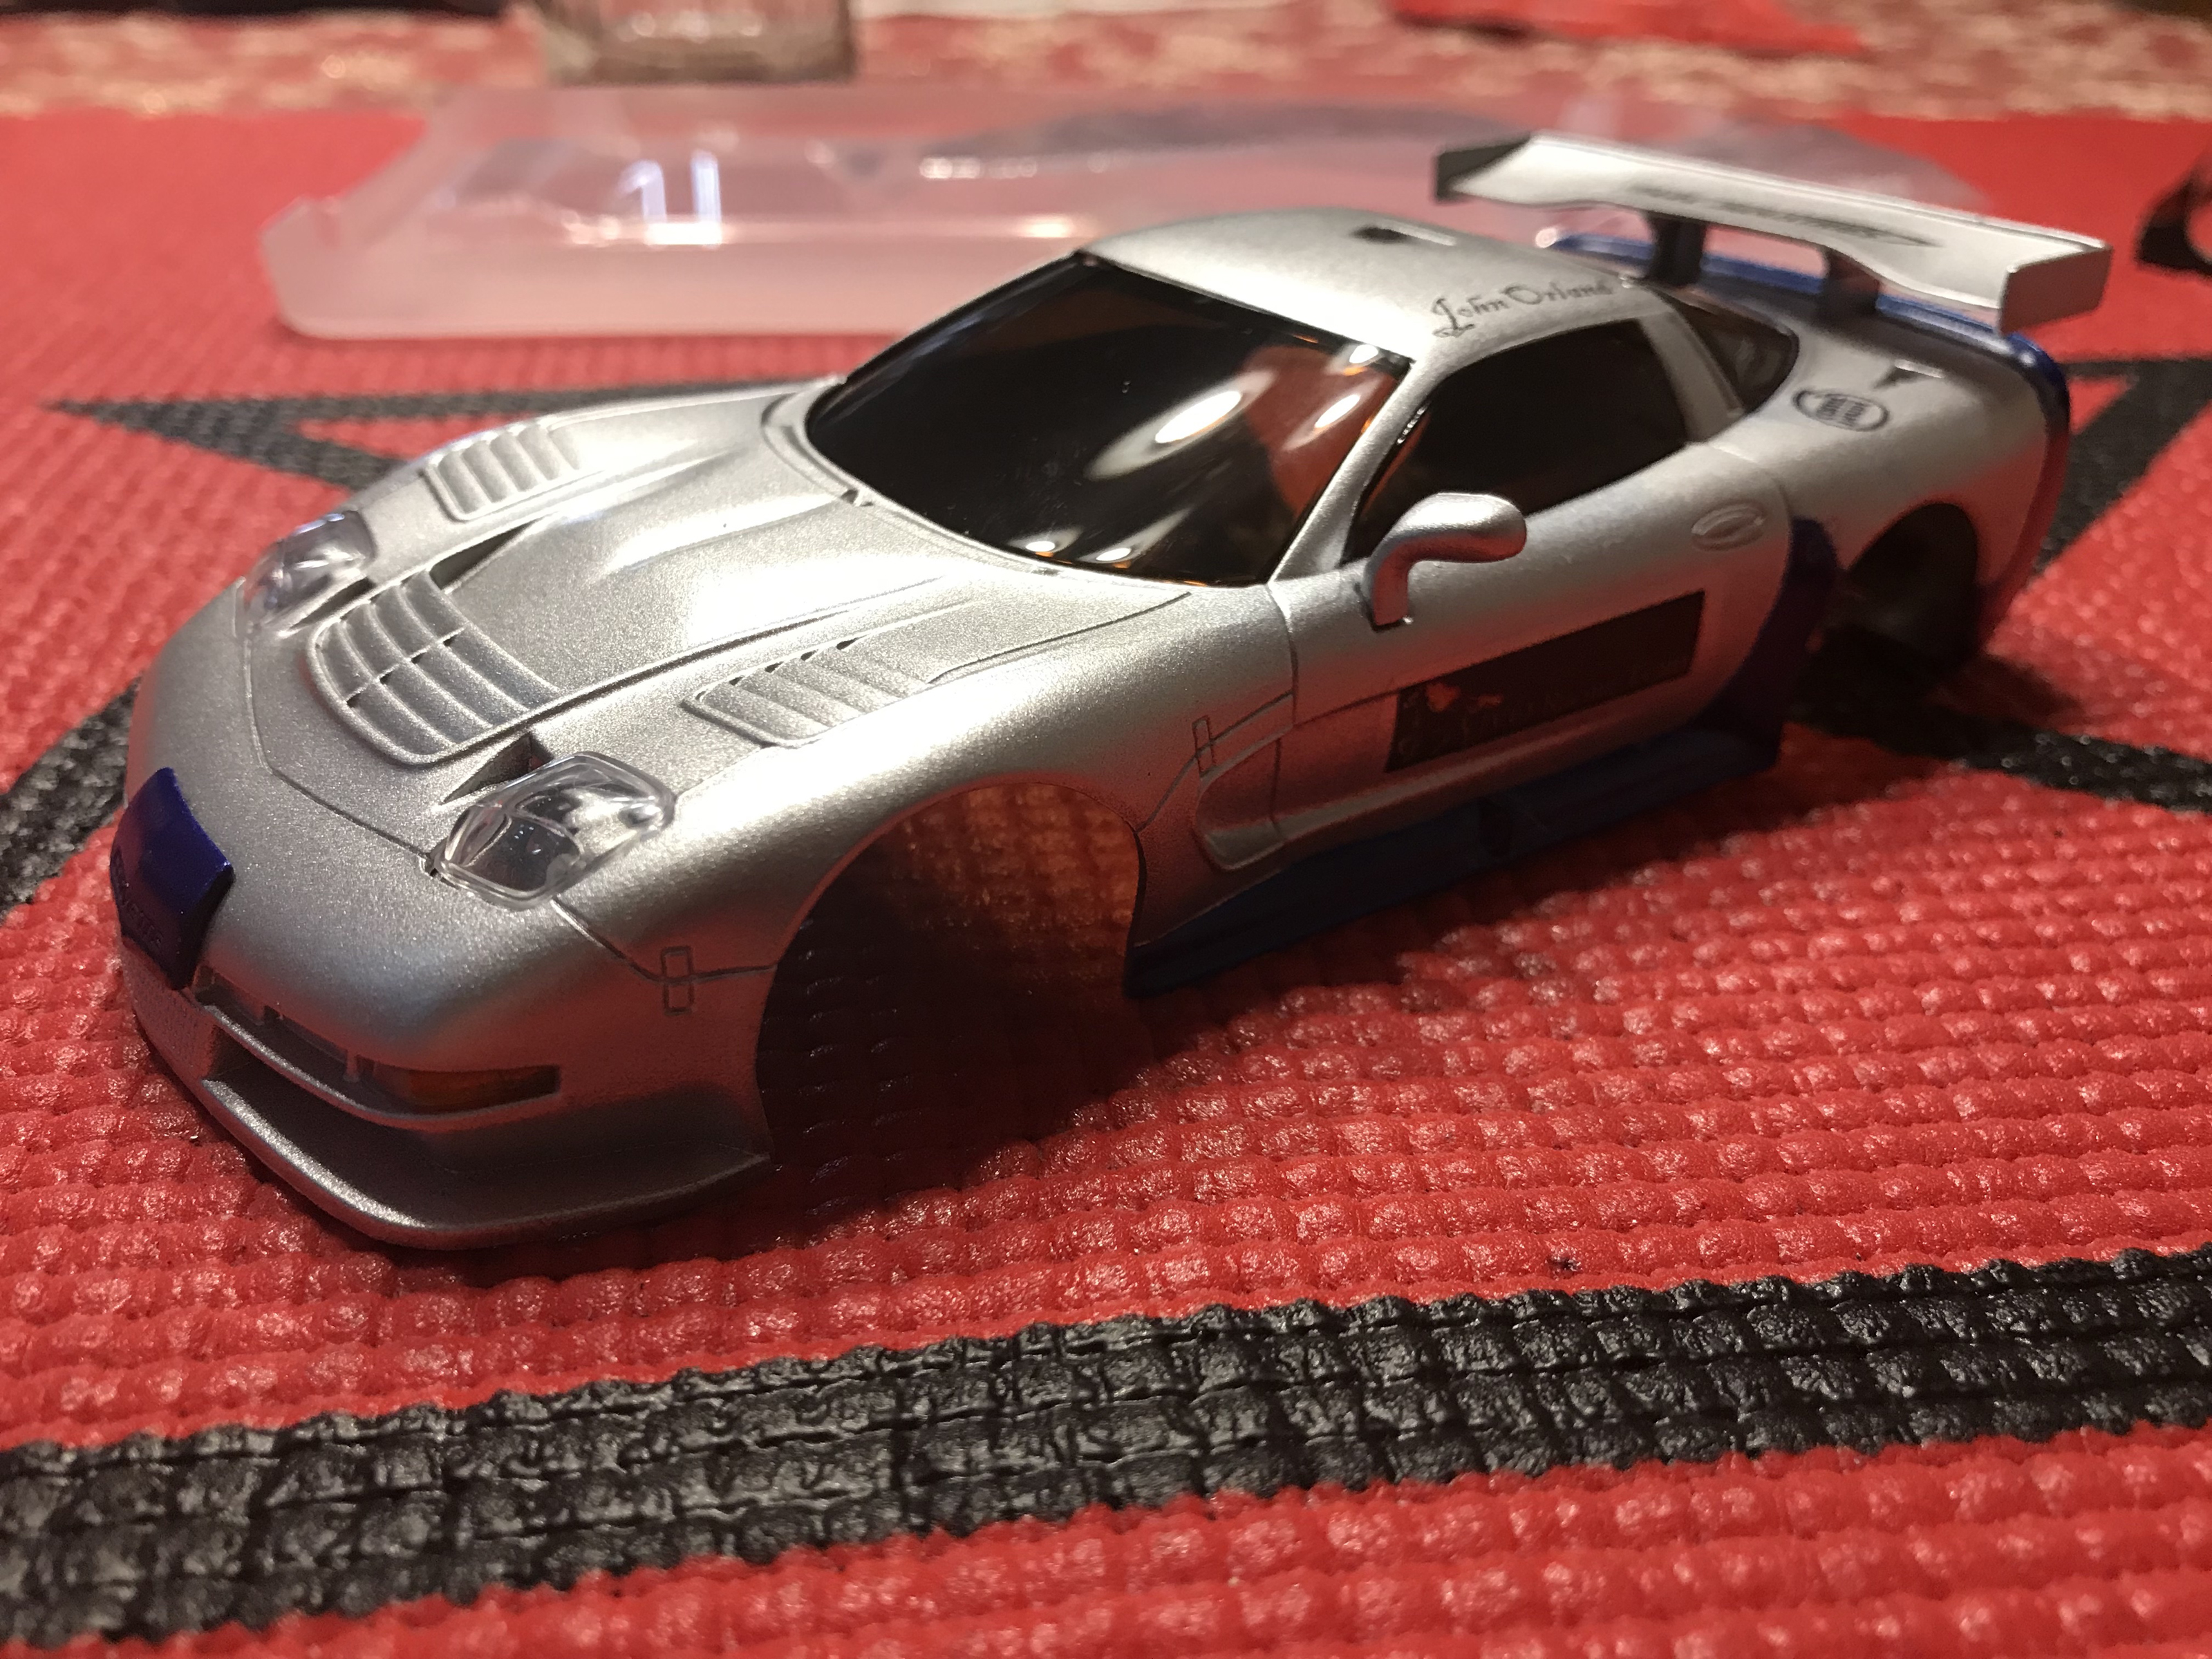
For my Sixth Project, I am painting the Autoscale Corvette C5-R body with my team colors of silver and blue.I am also back to using Lacquer paint that I ended up using on the original projects. I thought that I had a photo of when the body was new and white, but I could not find it, so I needed to pull a photo (figure 1) from the Internet. The photo in figure 3, shows the base silver coat for the car, prior to painting the blue accent color. I have now painted the blue accent color as seen in (figure 4) with a better view in (figure 5). Once have the decals on and clear coated, I will post the final photo.
 |
 |
| Painting Project 6: Figure 1 | Painting Project 6: Figure 2 |
 |
 |
| Painting Project 6: Figure 3 | Painting Project 6: Figure 4 |
 |
 |
| Painting Project 6: Figure 5 | Painting Project 6: Figure 6 |
Painting Project - Seventh Project
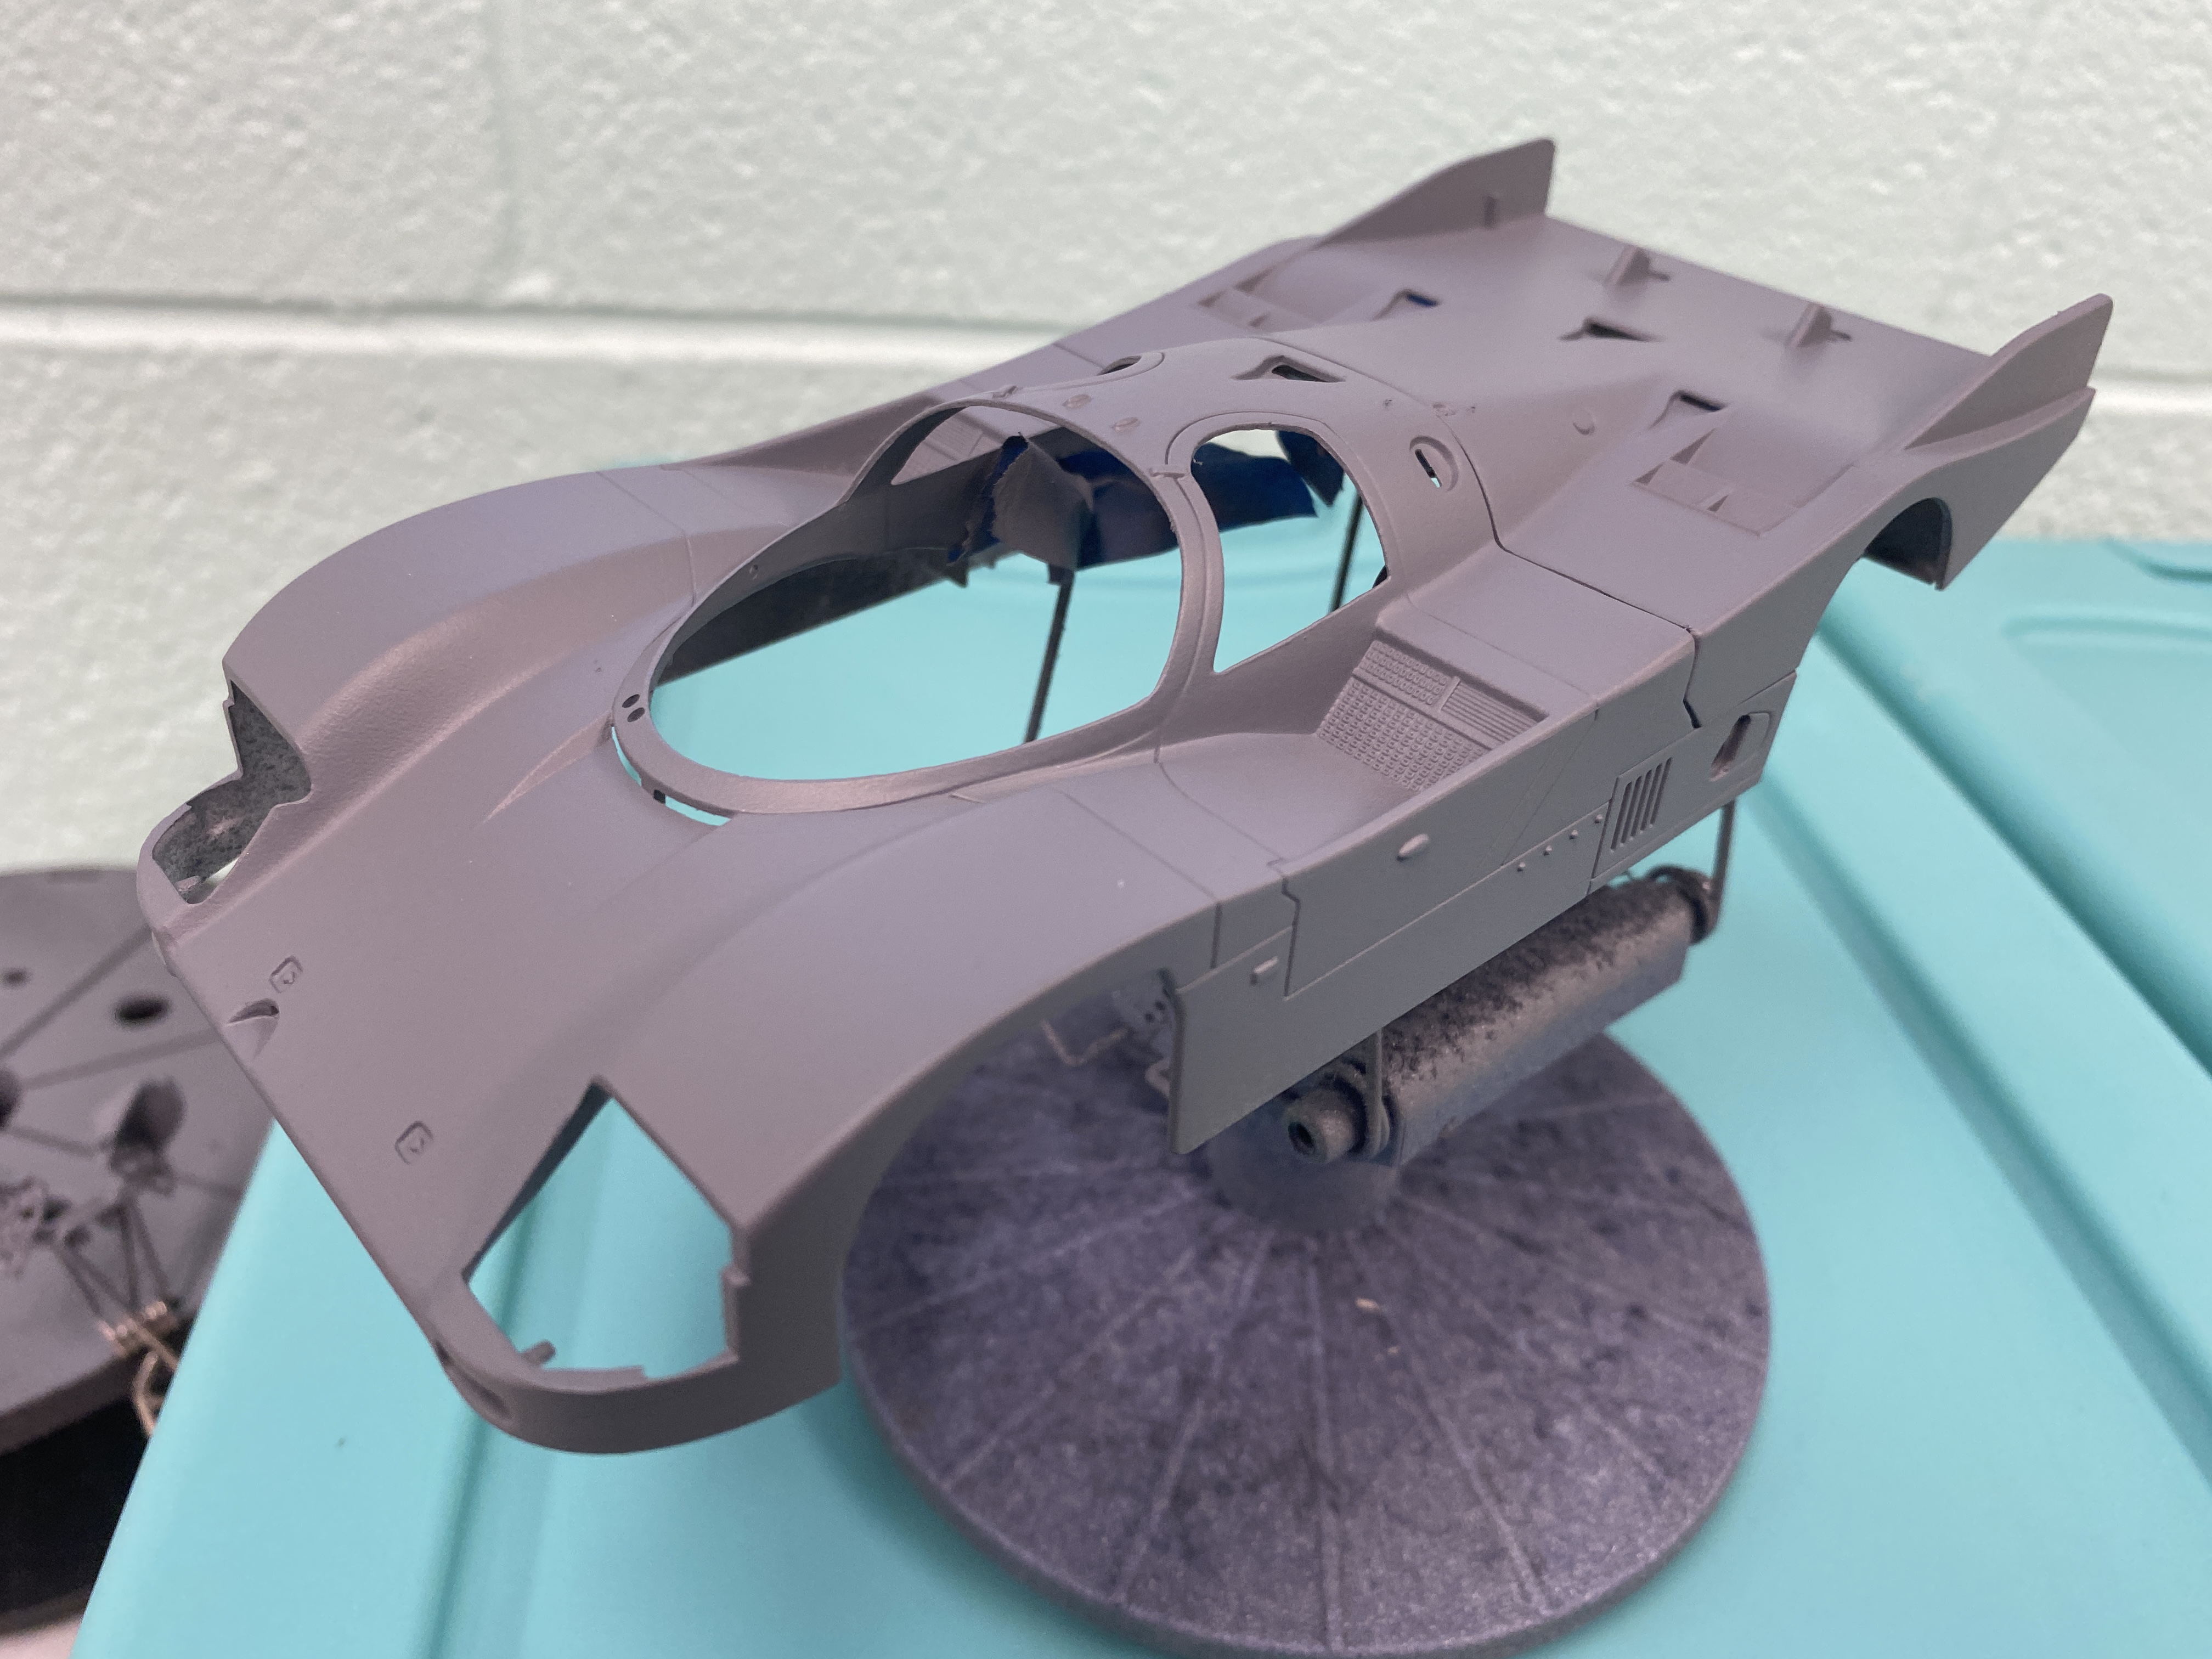
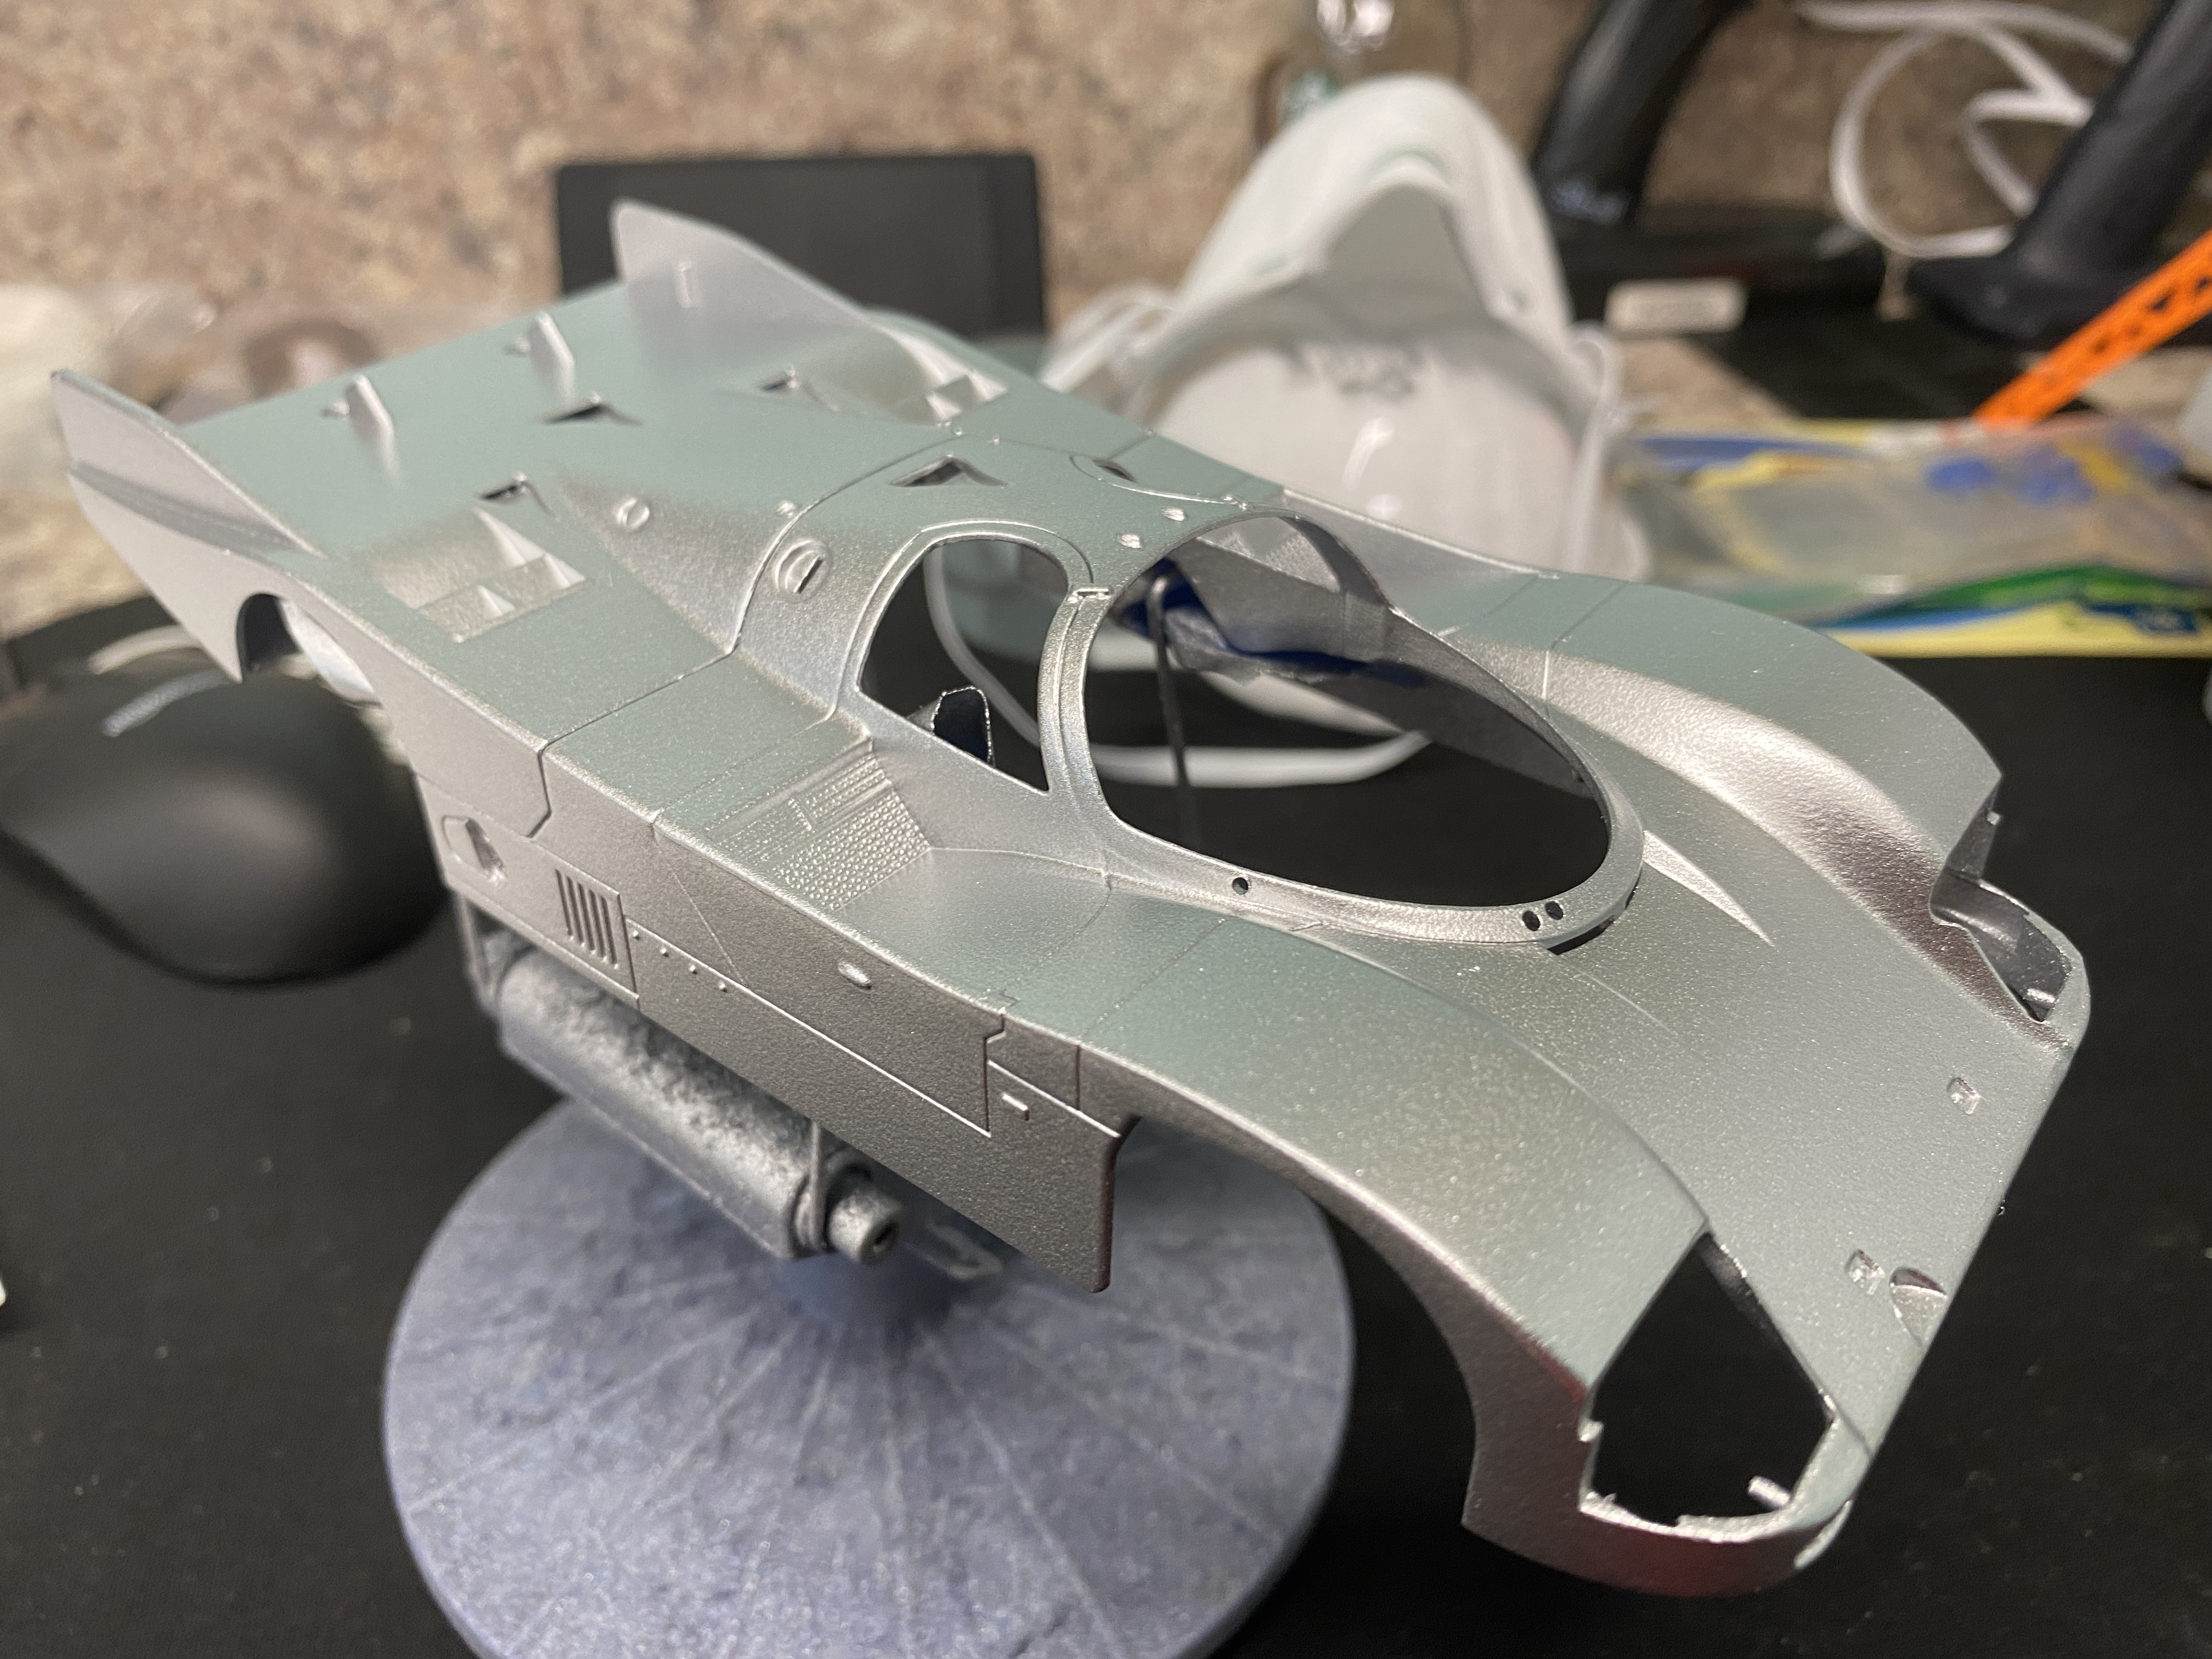
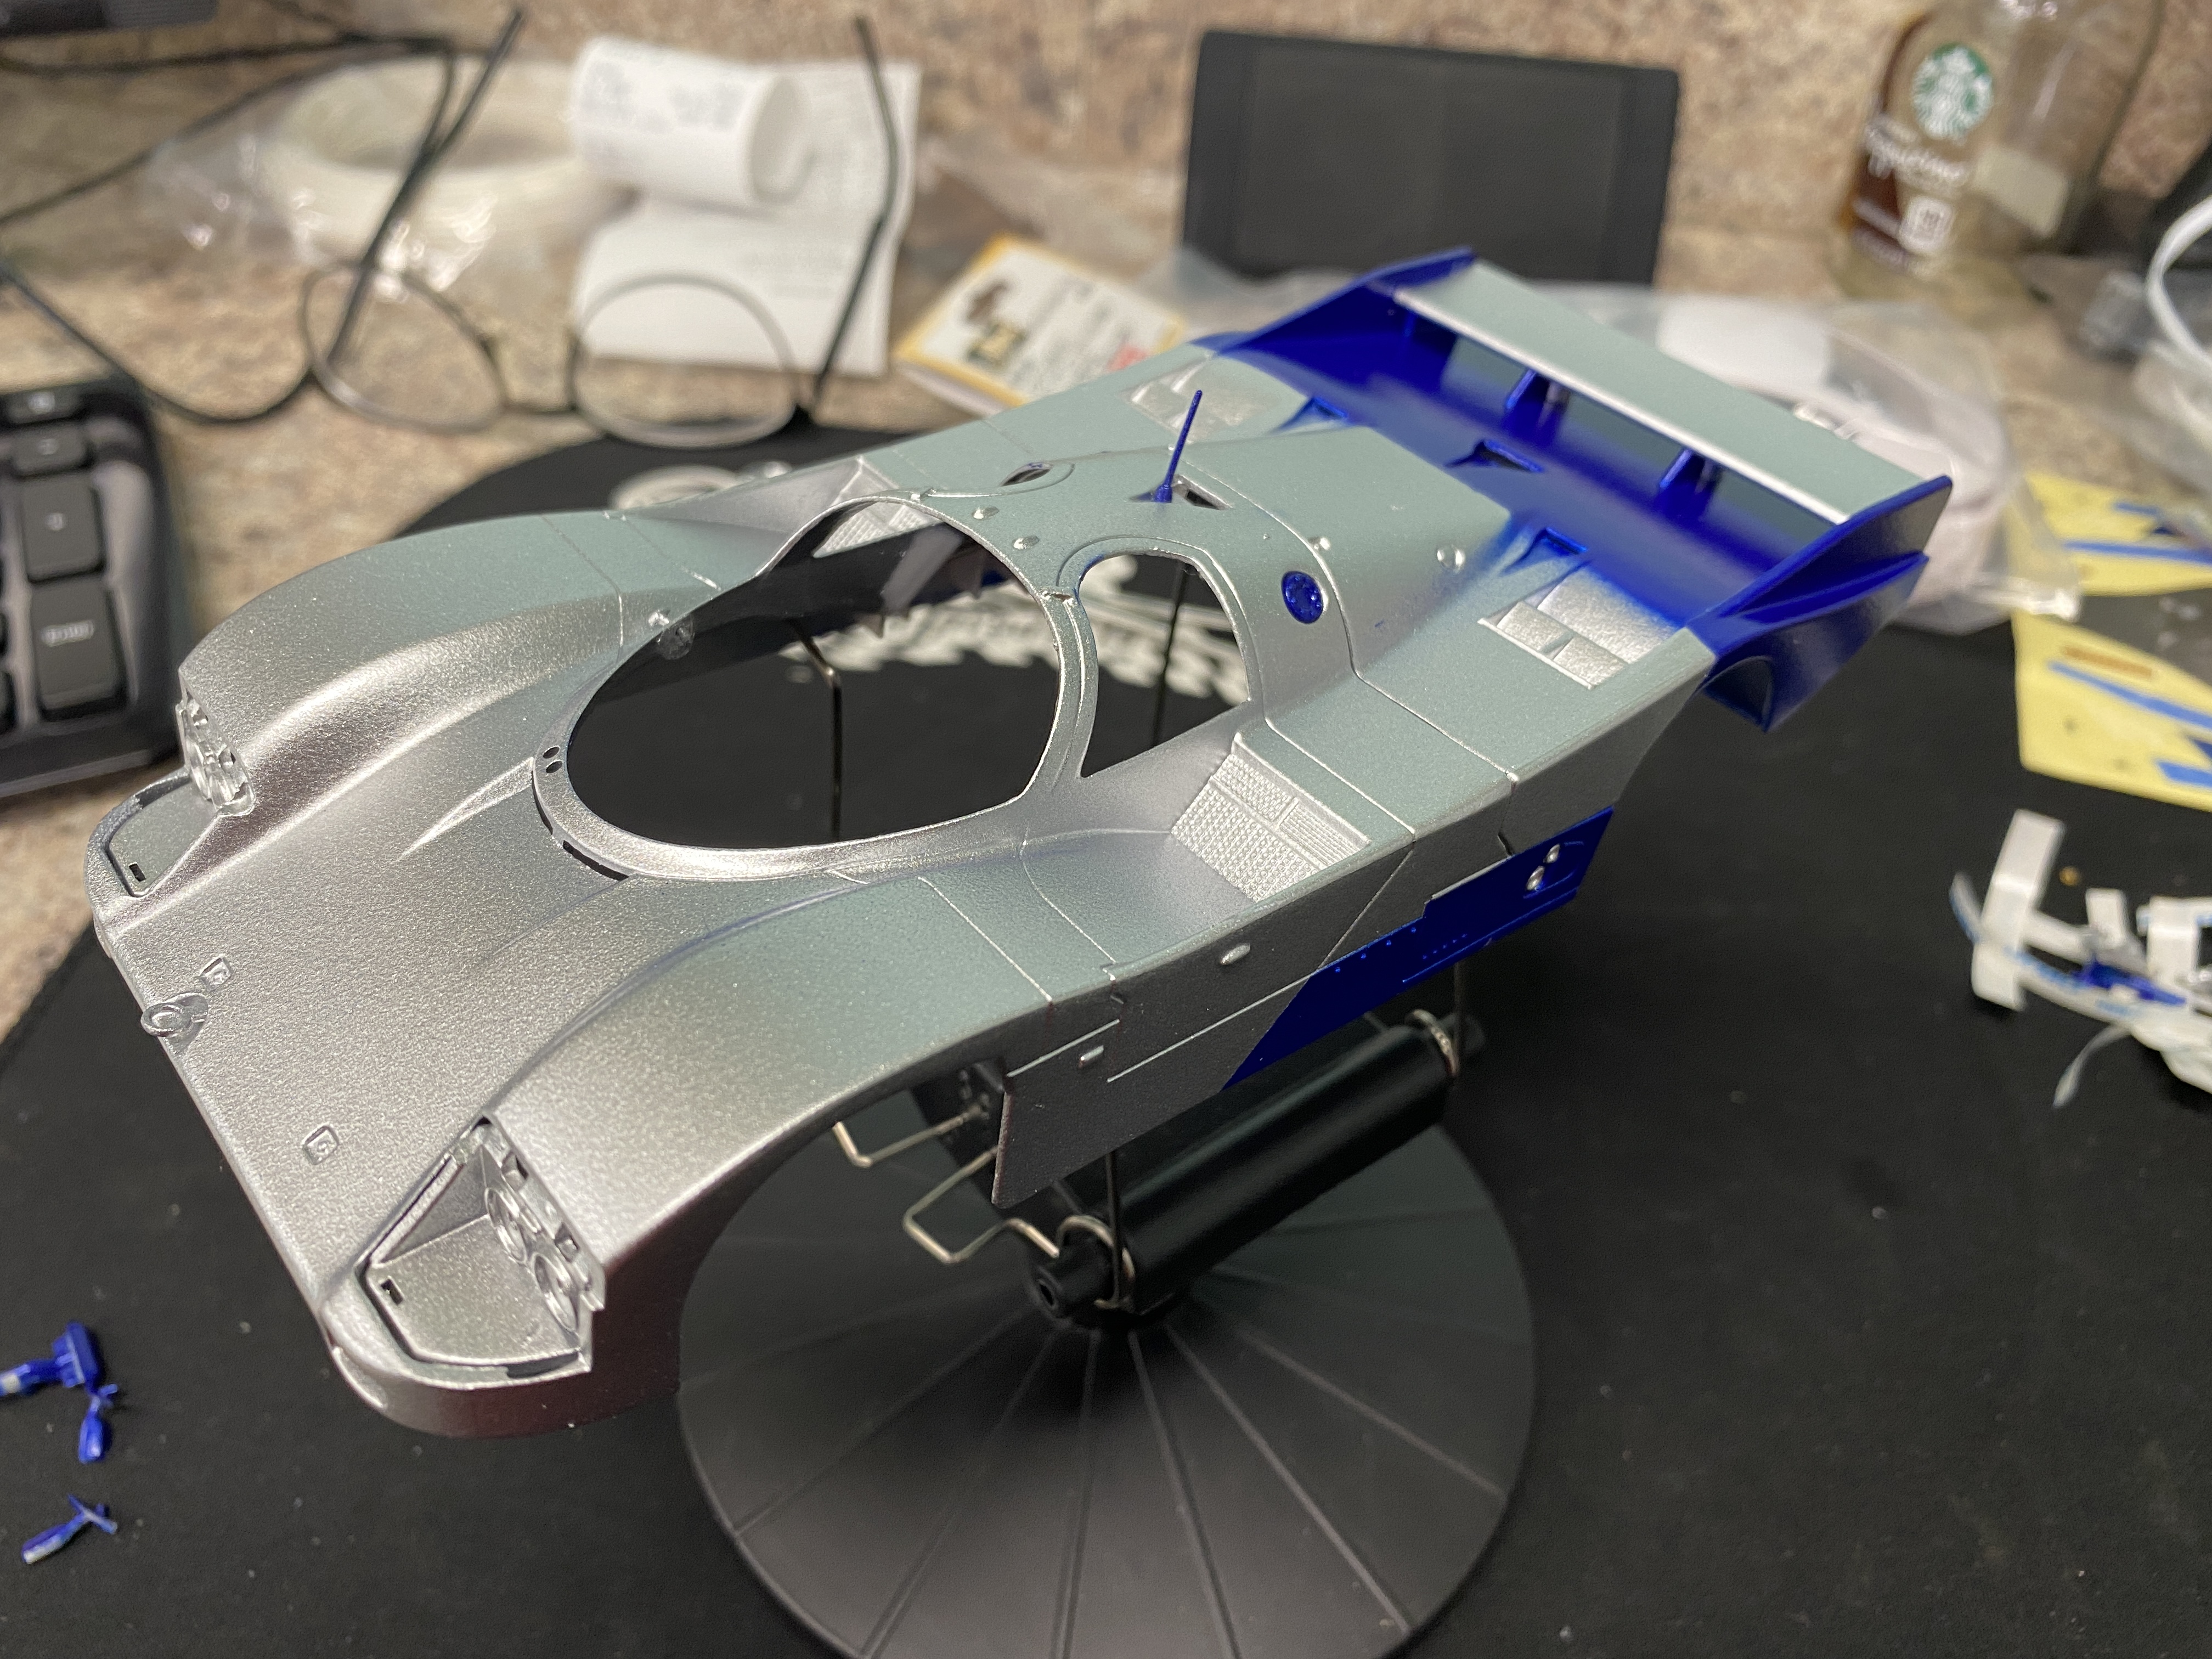
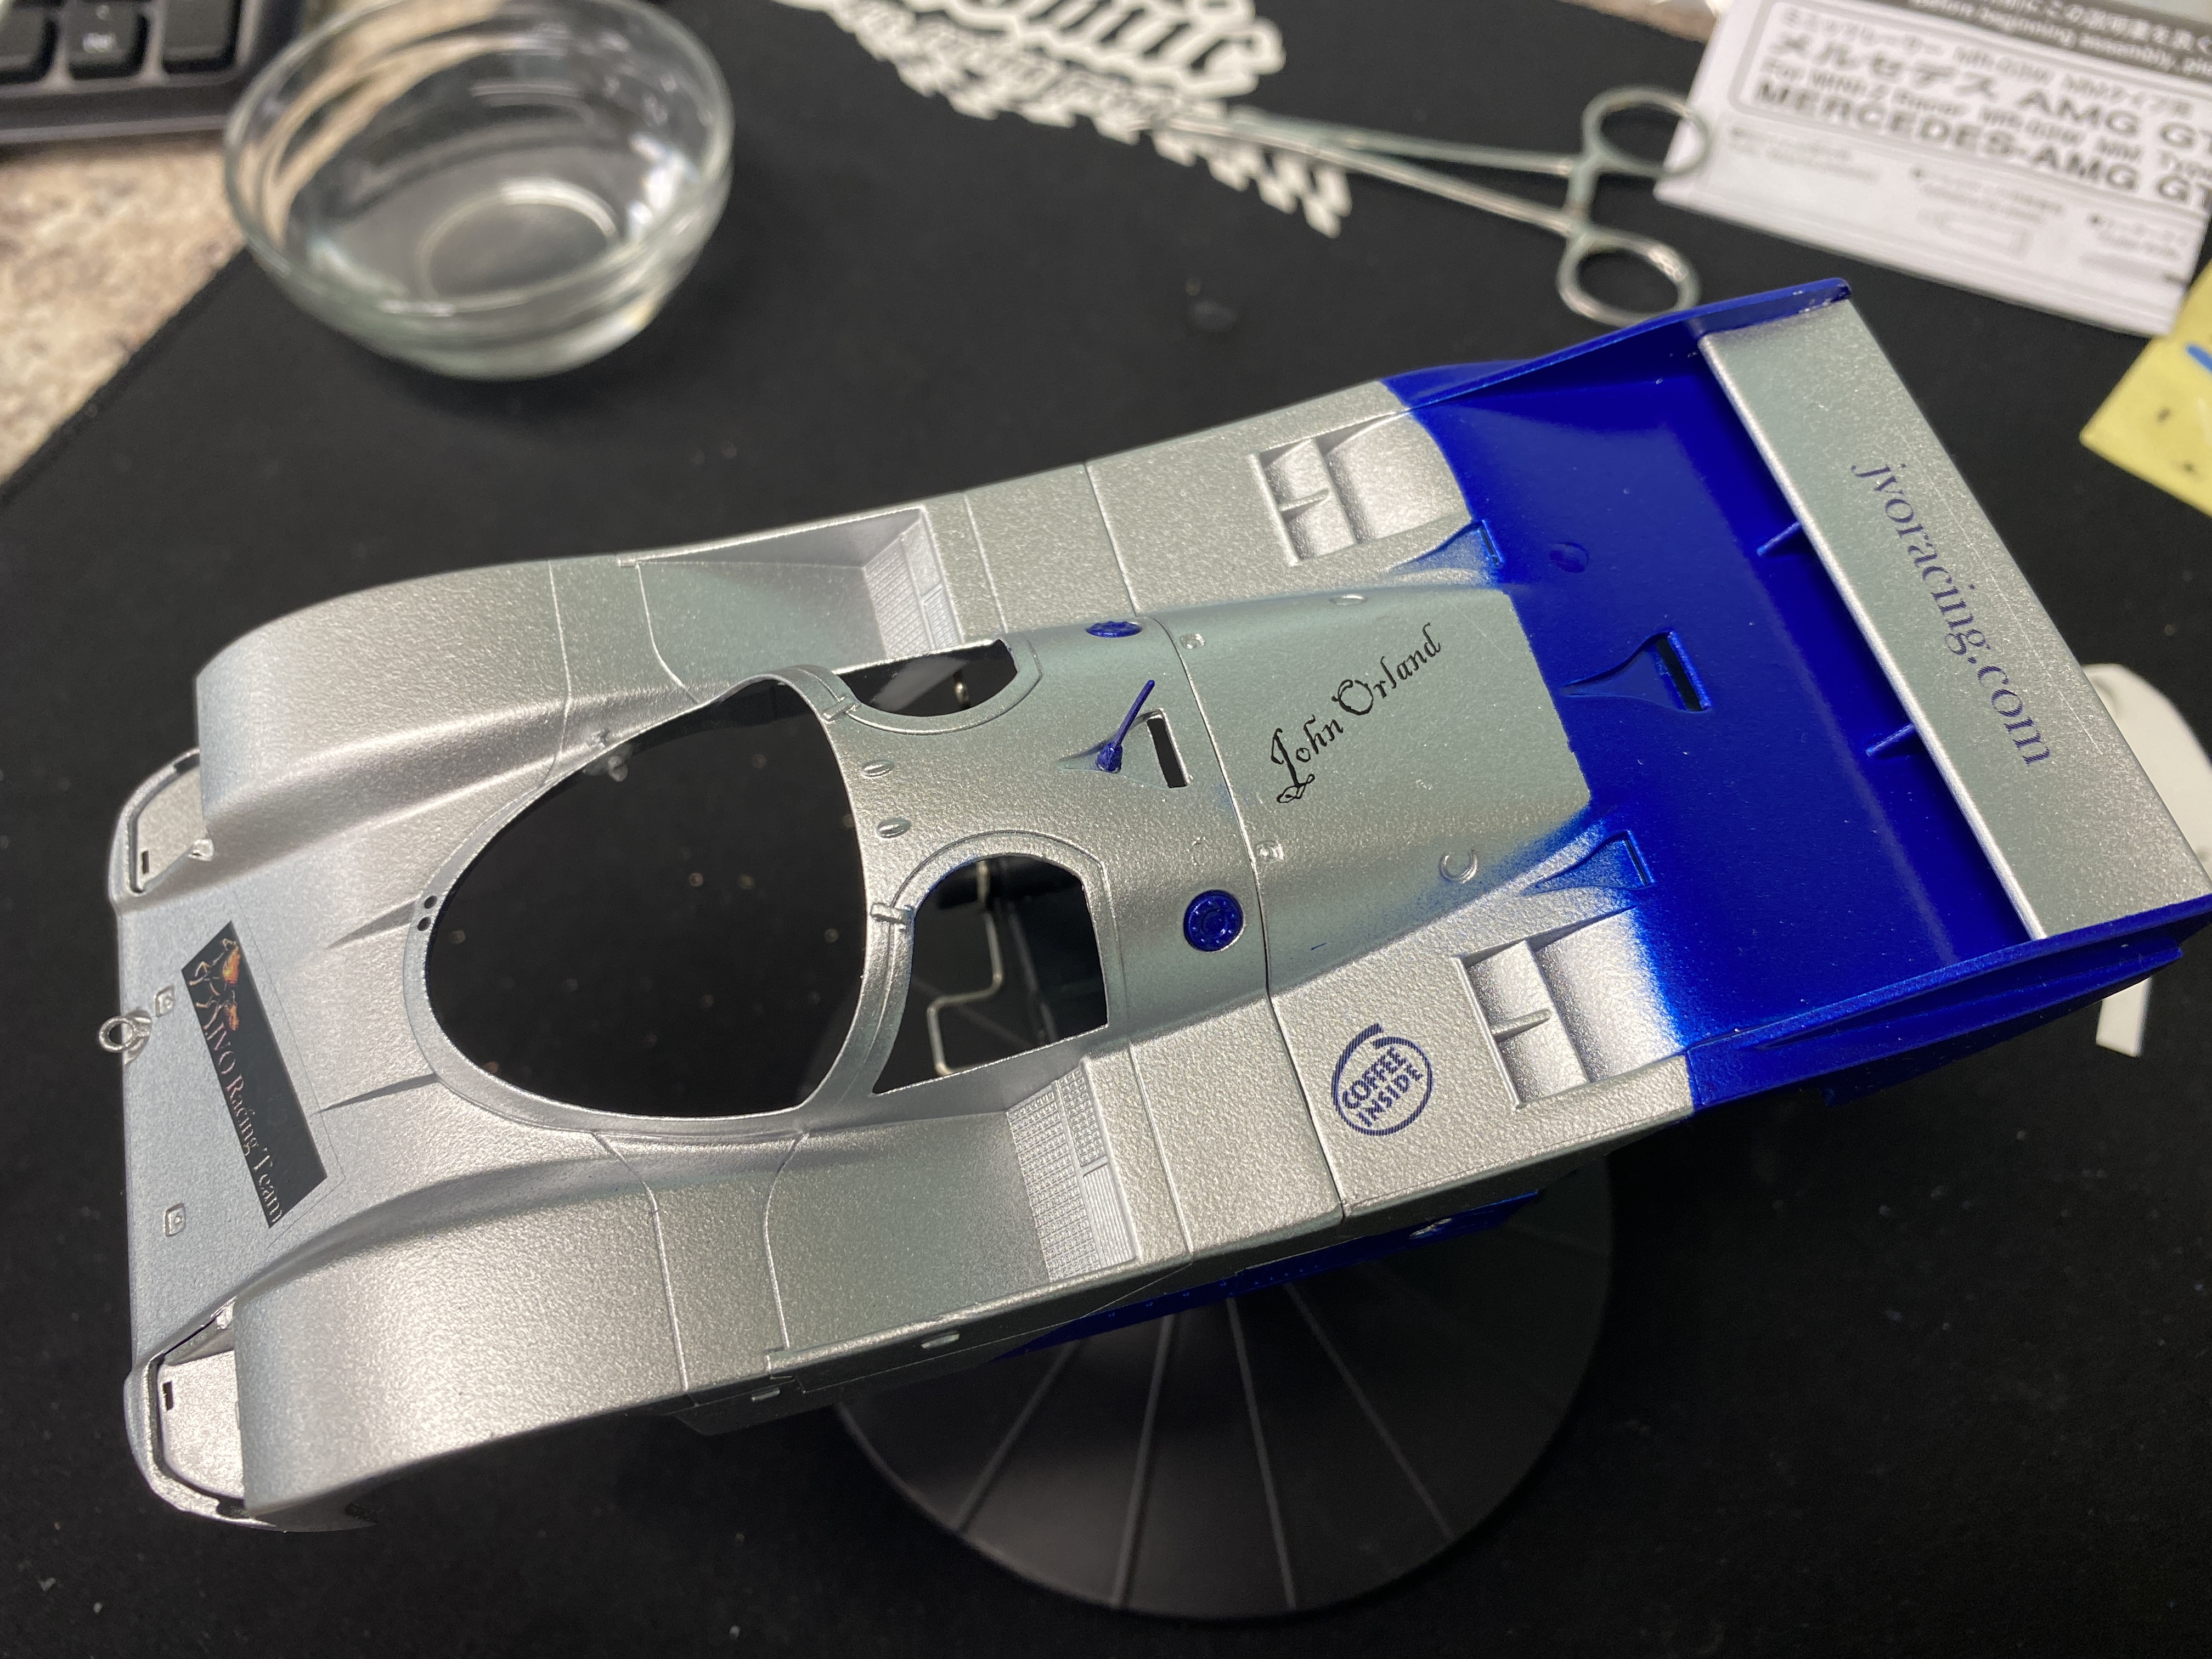
For Project number 7, I decided to paint the Low-motor Porsche 962 body. I had been running the blue and white autoscale body, which was pre-painted, but a few accidents have damaged the body enough to get this project going. I ended up priming the body using the Model Master Lacquer gray primer (see figure 1), as I have in previous projects. I then stuck with my typical team colors and went went the silver and Pearl Blue. I updated the decals and used a Ultra Gloss Clear coat to finish up the job. You can see all of the photos as I took them in stages as I went through the process, with figures 5 and 6 being the completed fully assembled car body.
 |
 |
| Painting Project 7: Figure 1 | Painting Project 7: Figure 2 |
 |
 |
| Painting Project 7: Figure 3 | Painting Project 7: Figure 4 |
 |
 |
| Painting Project 7: Figure 5 | Painting Project 7: Figure 6 |
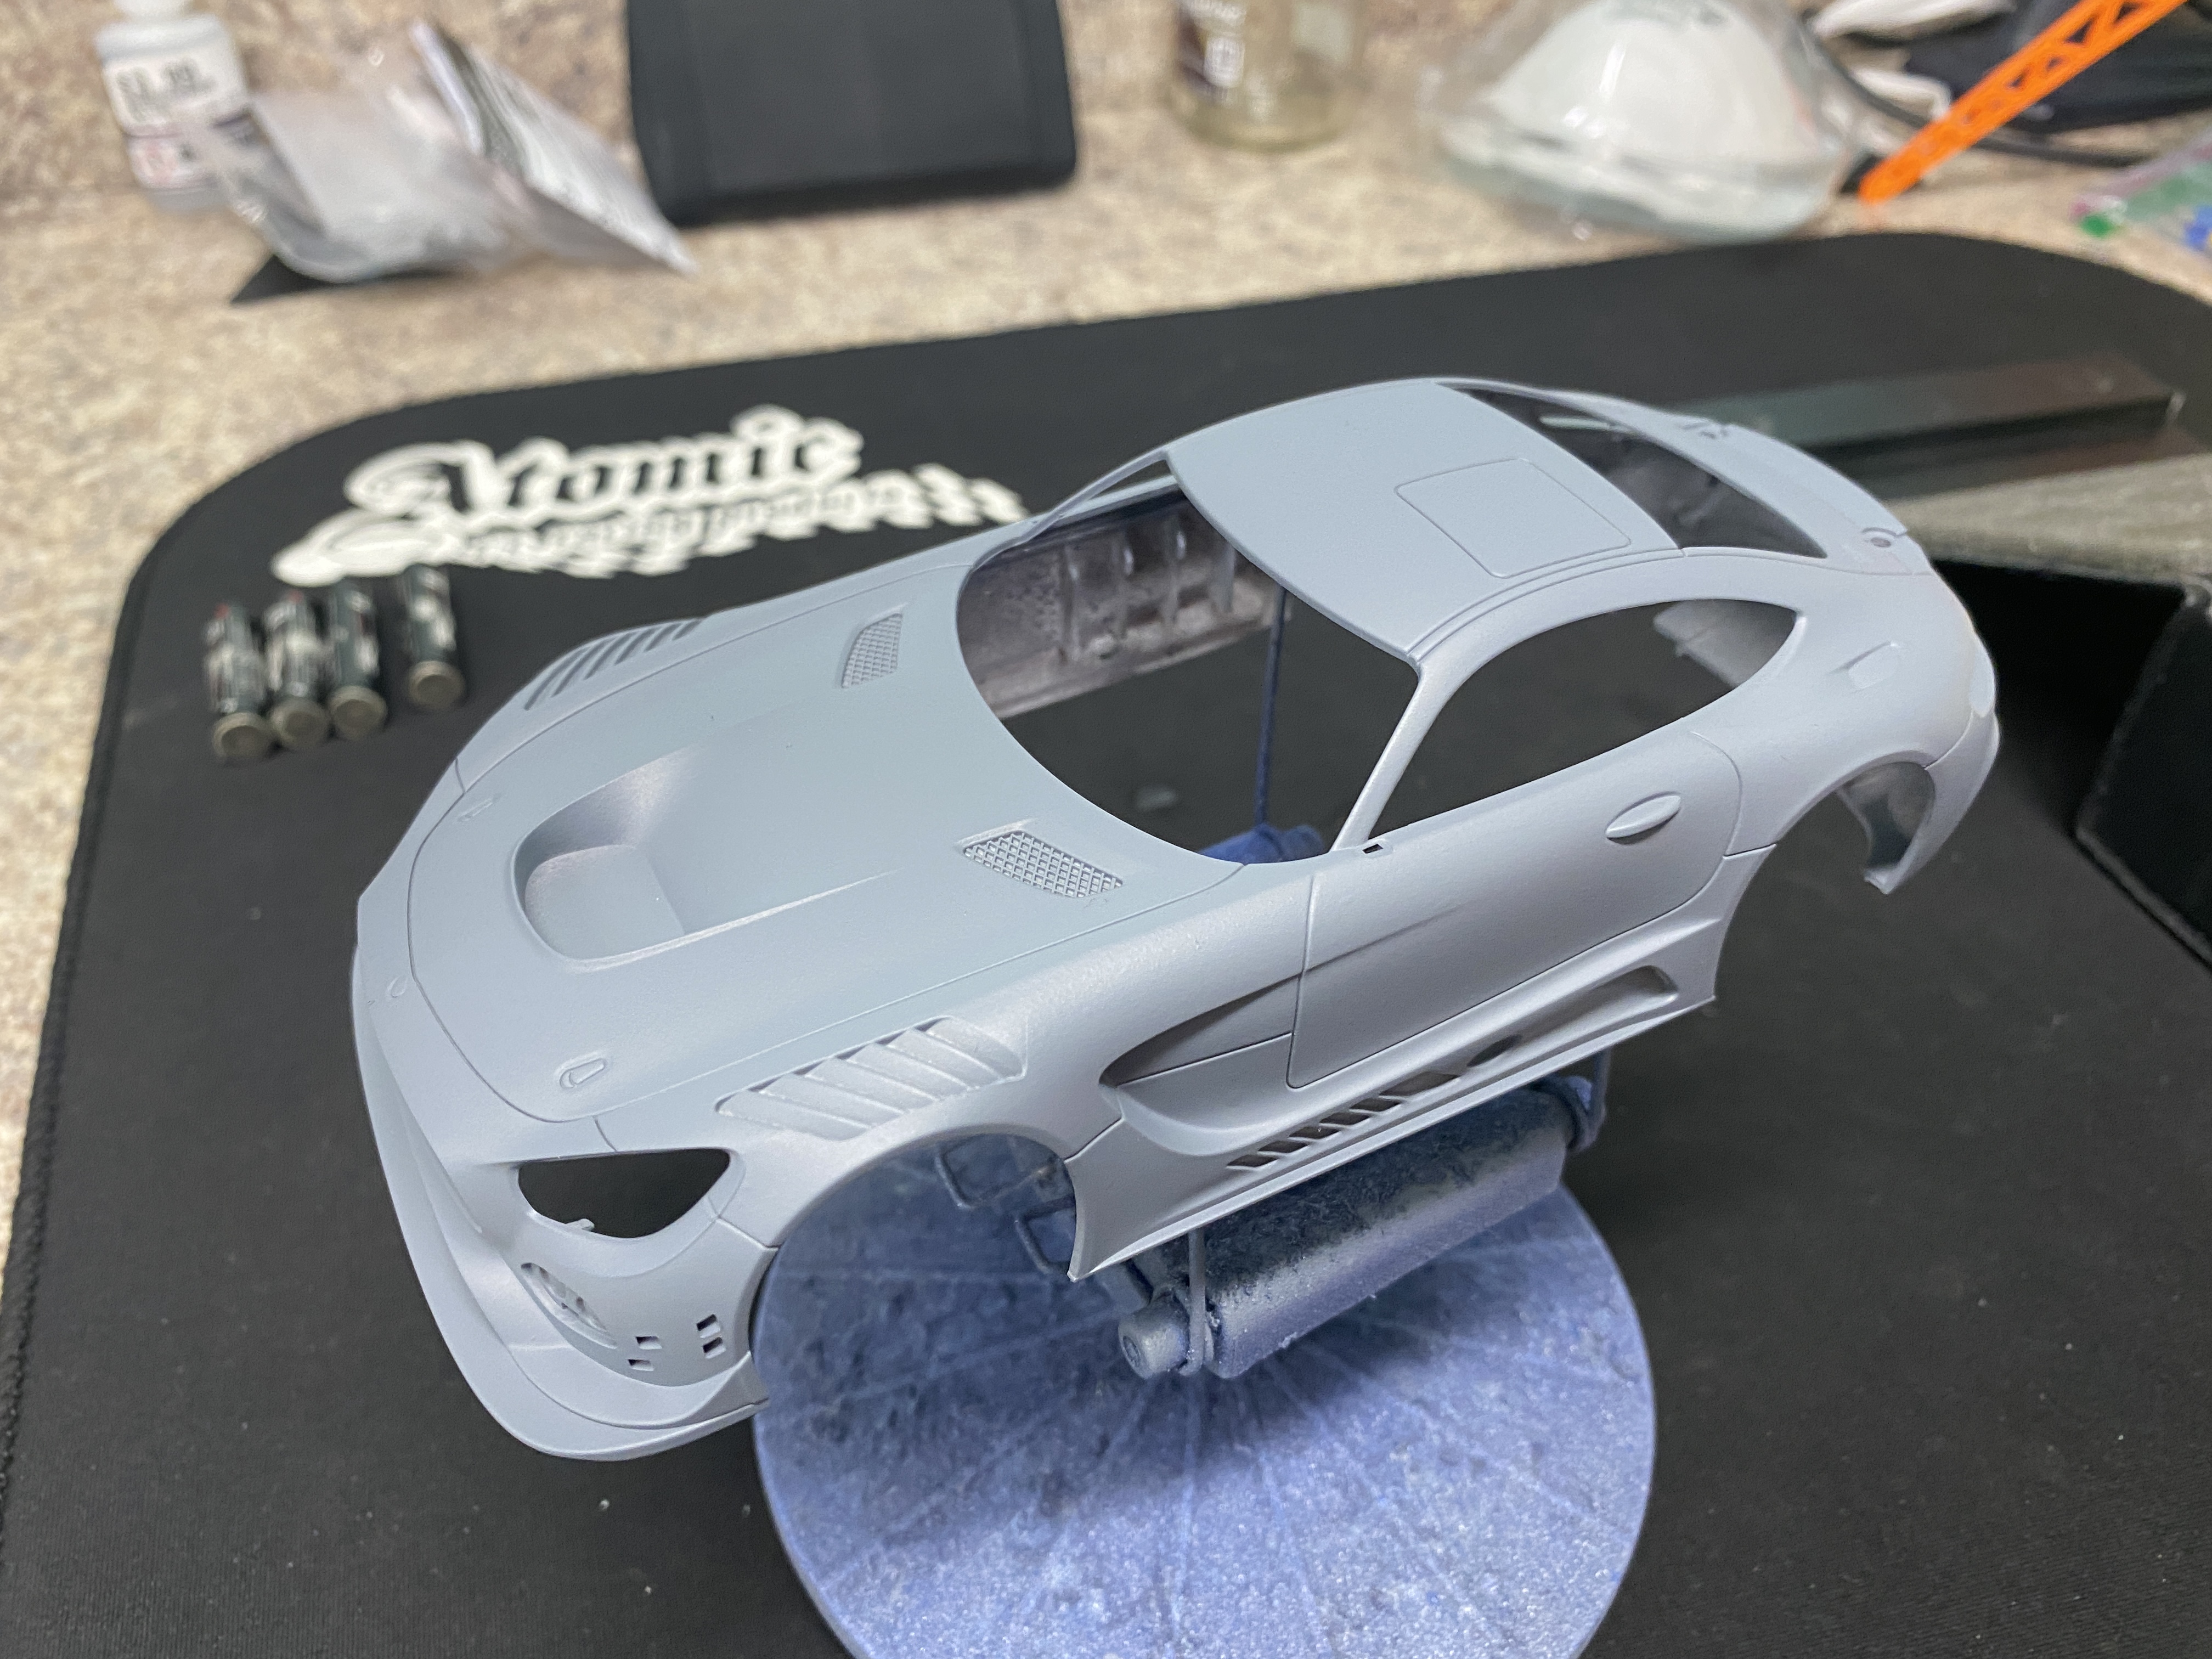
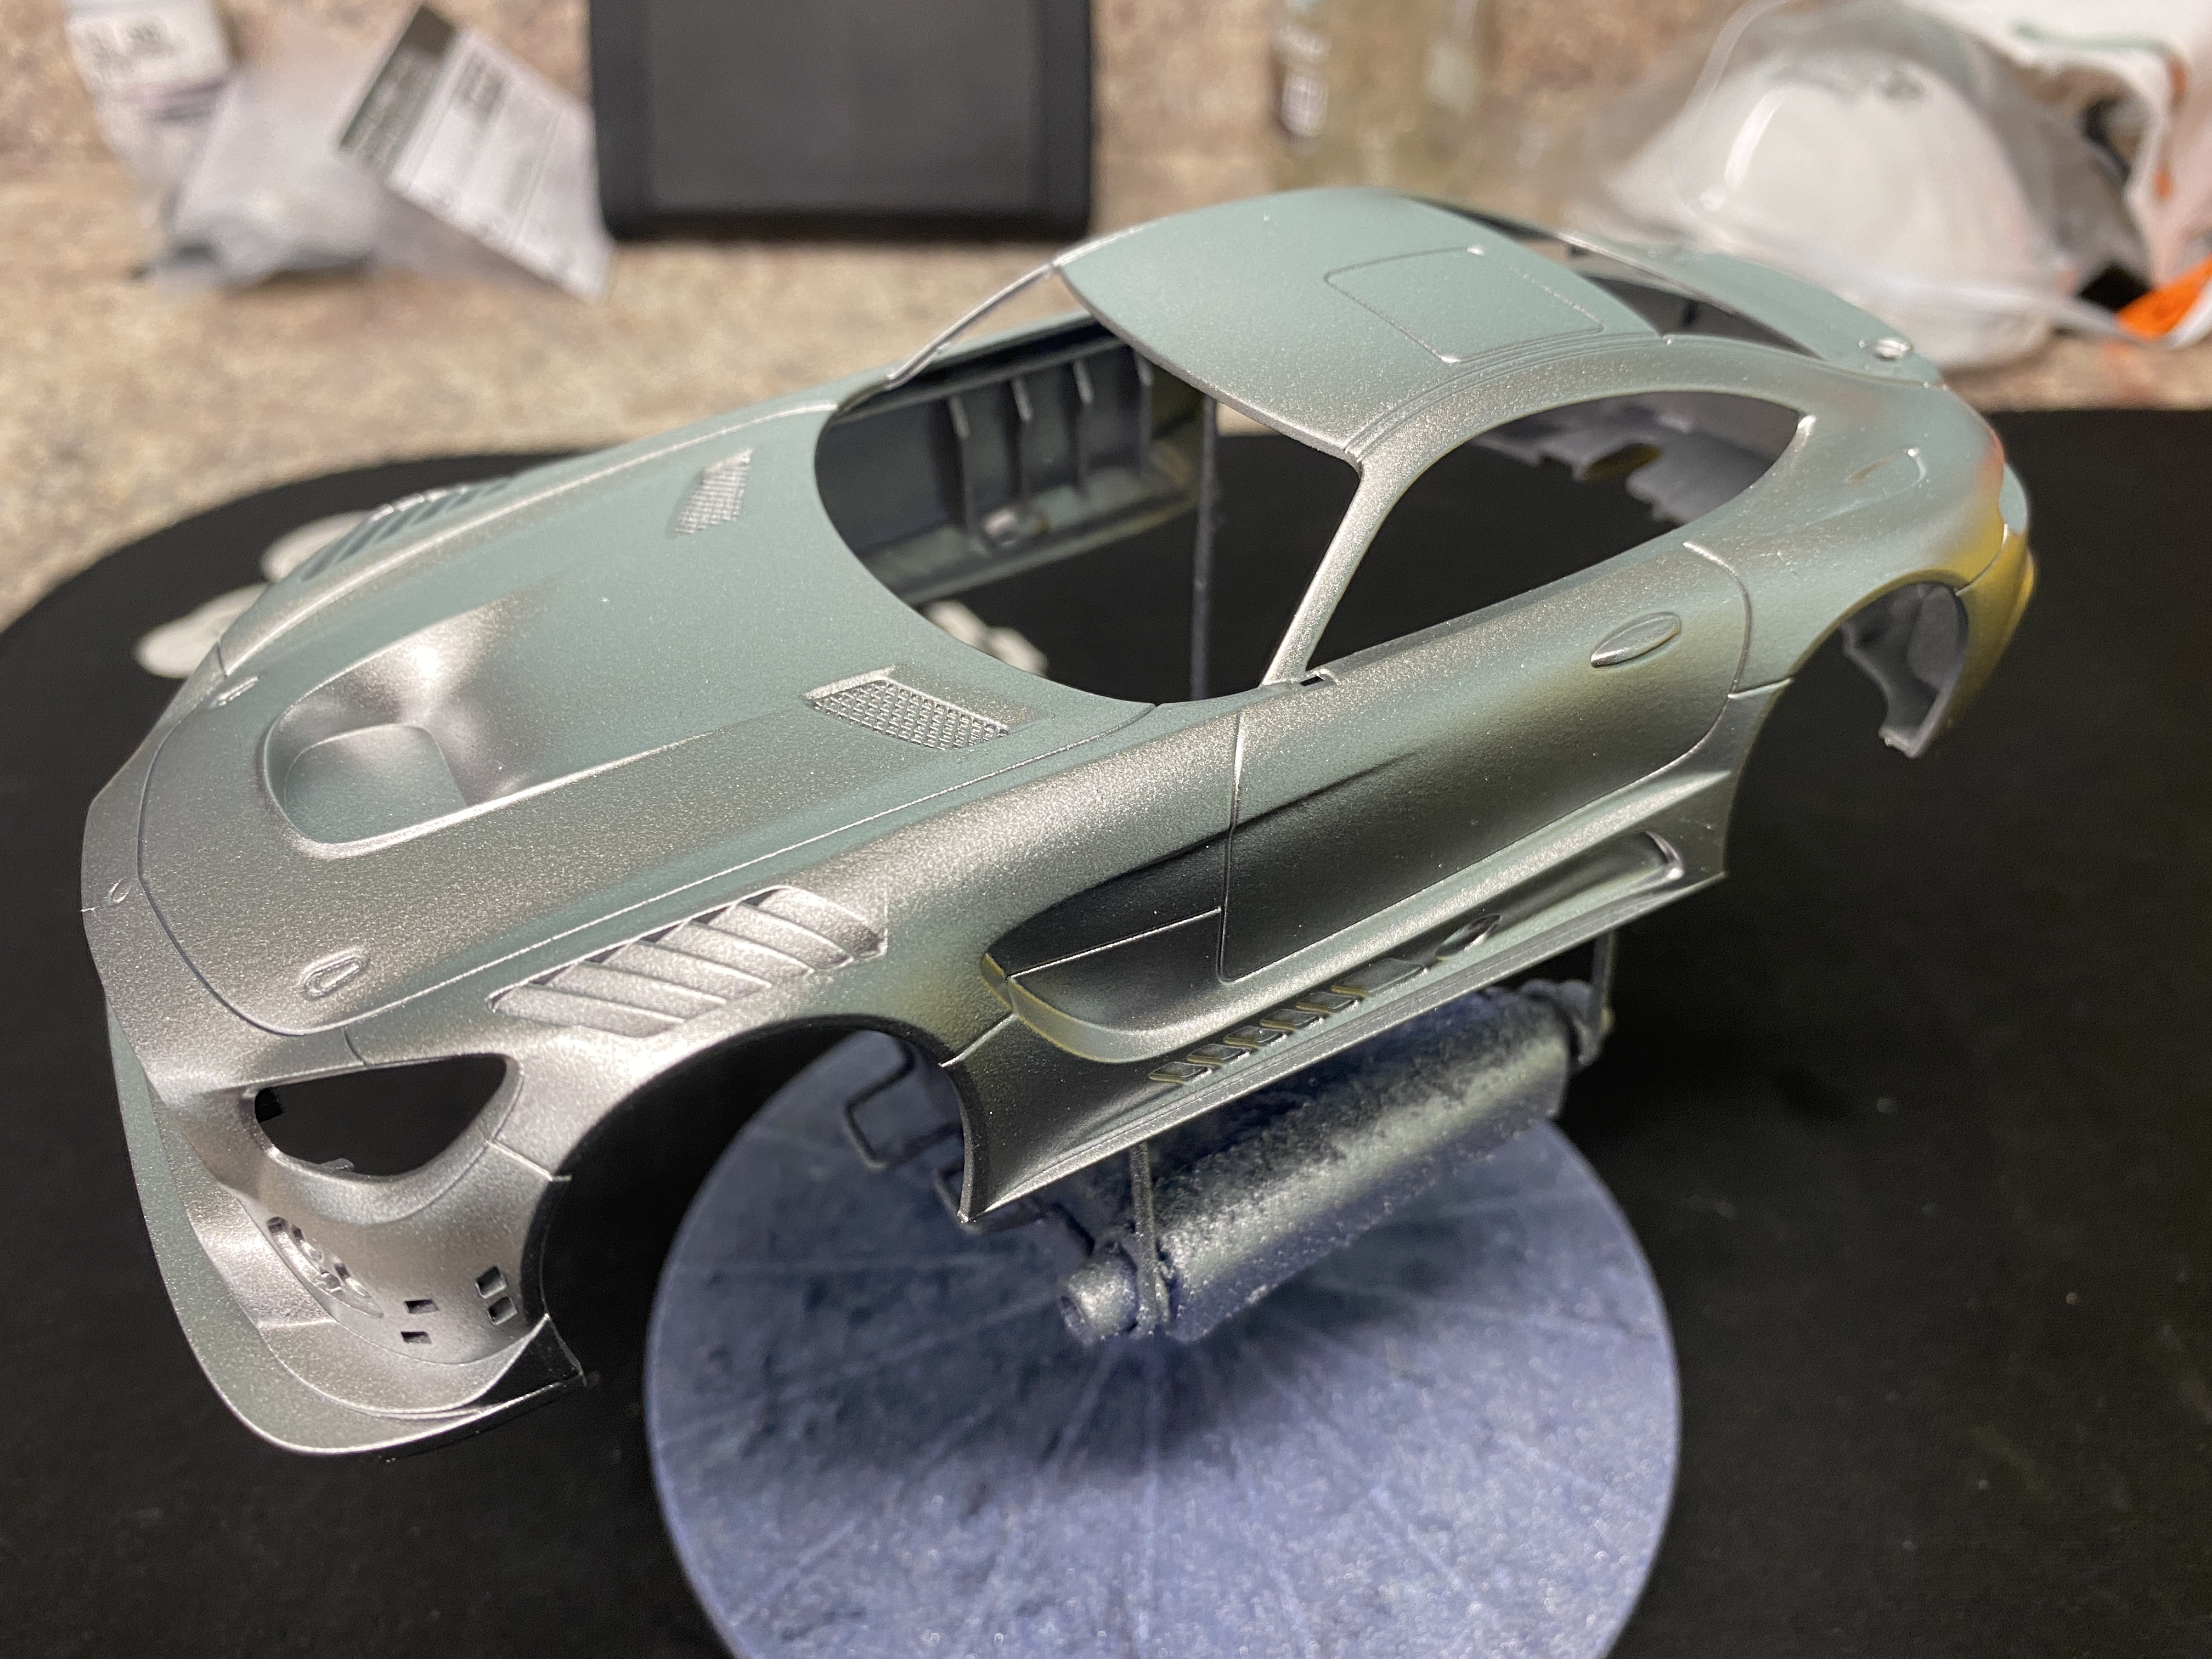
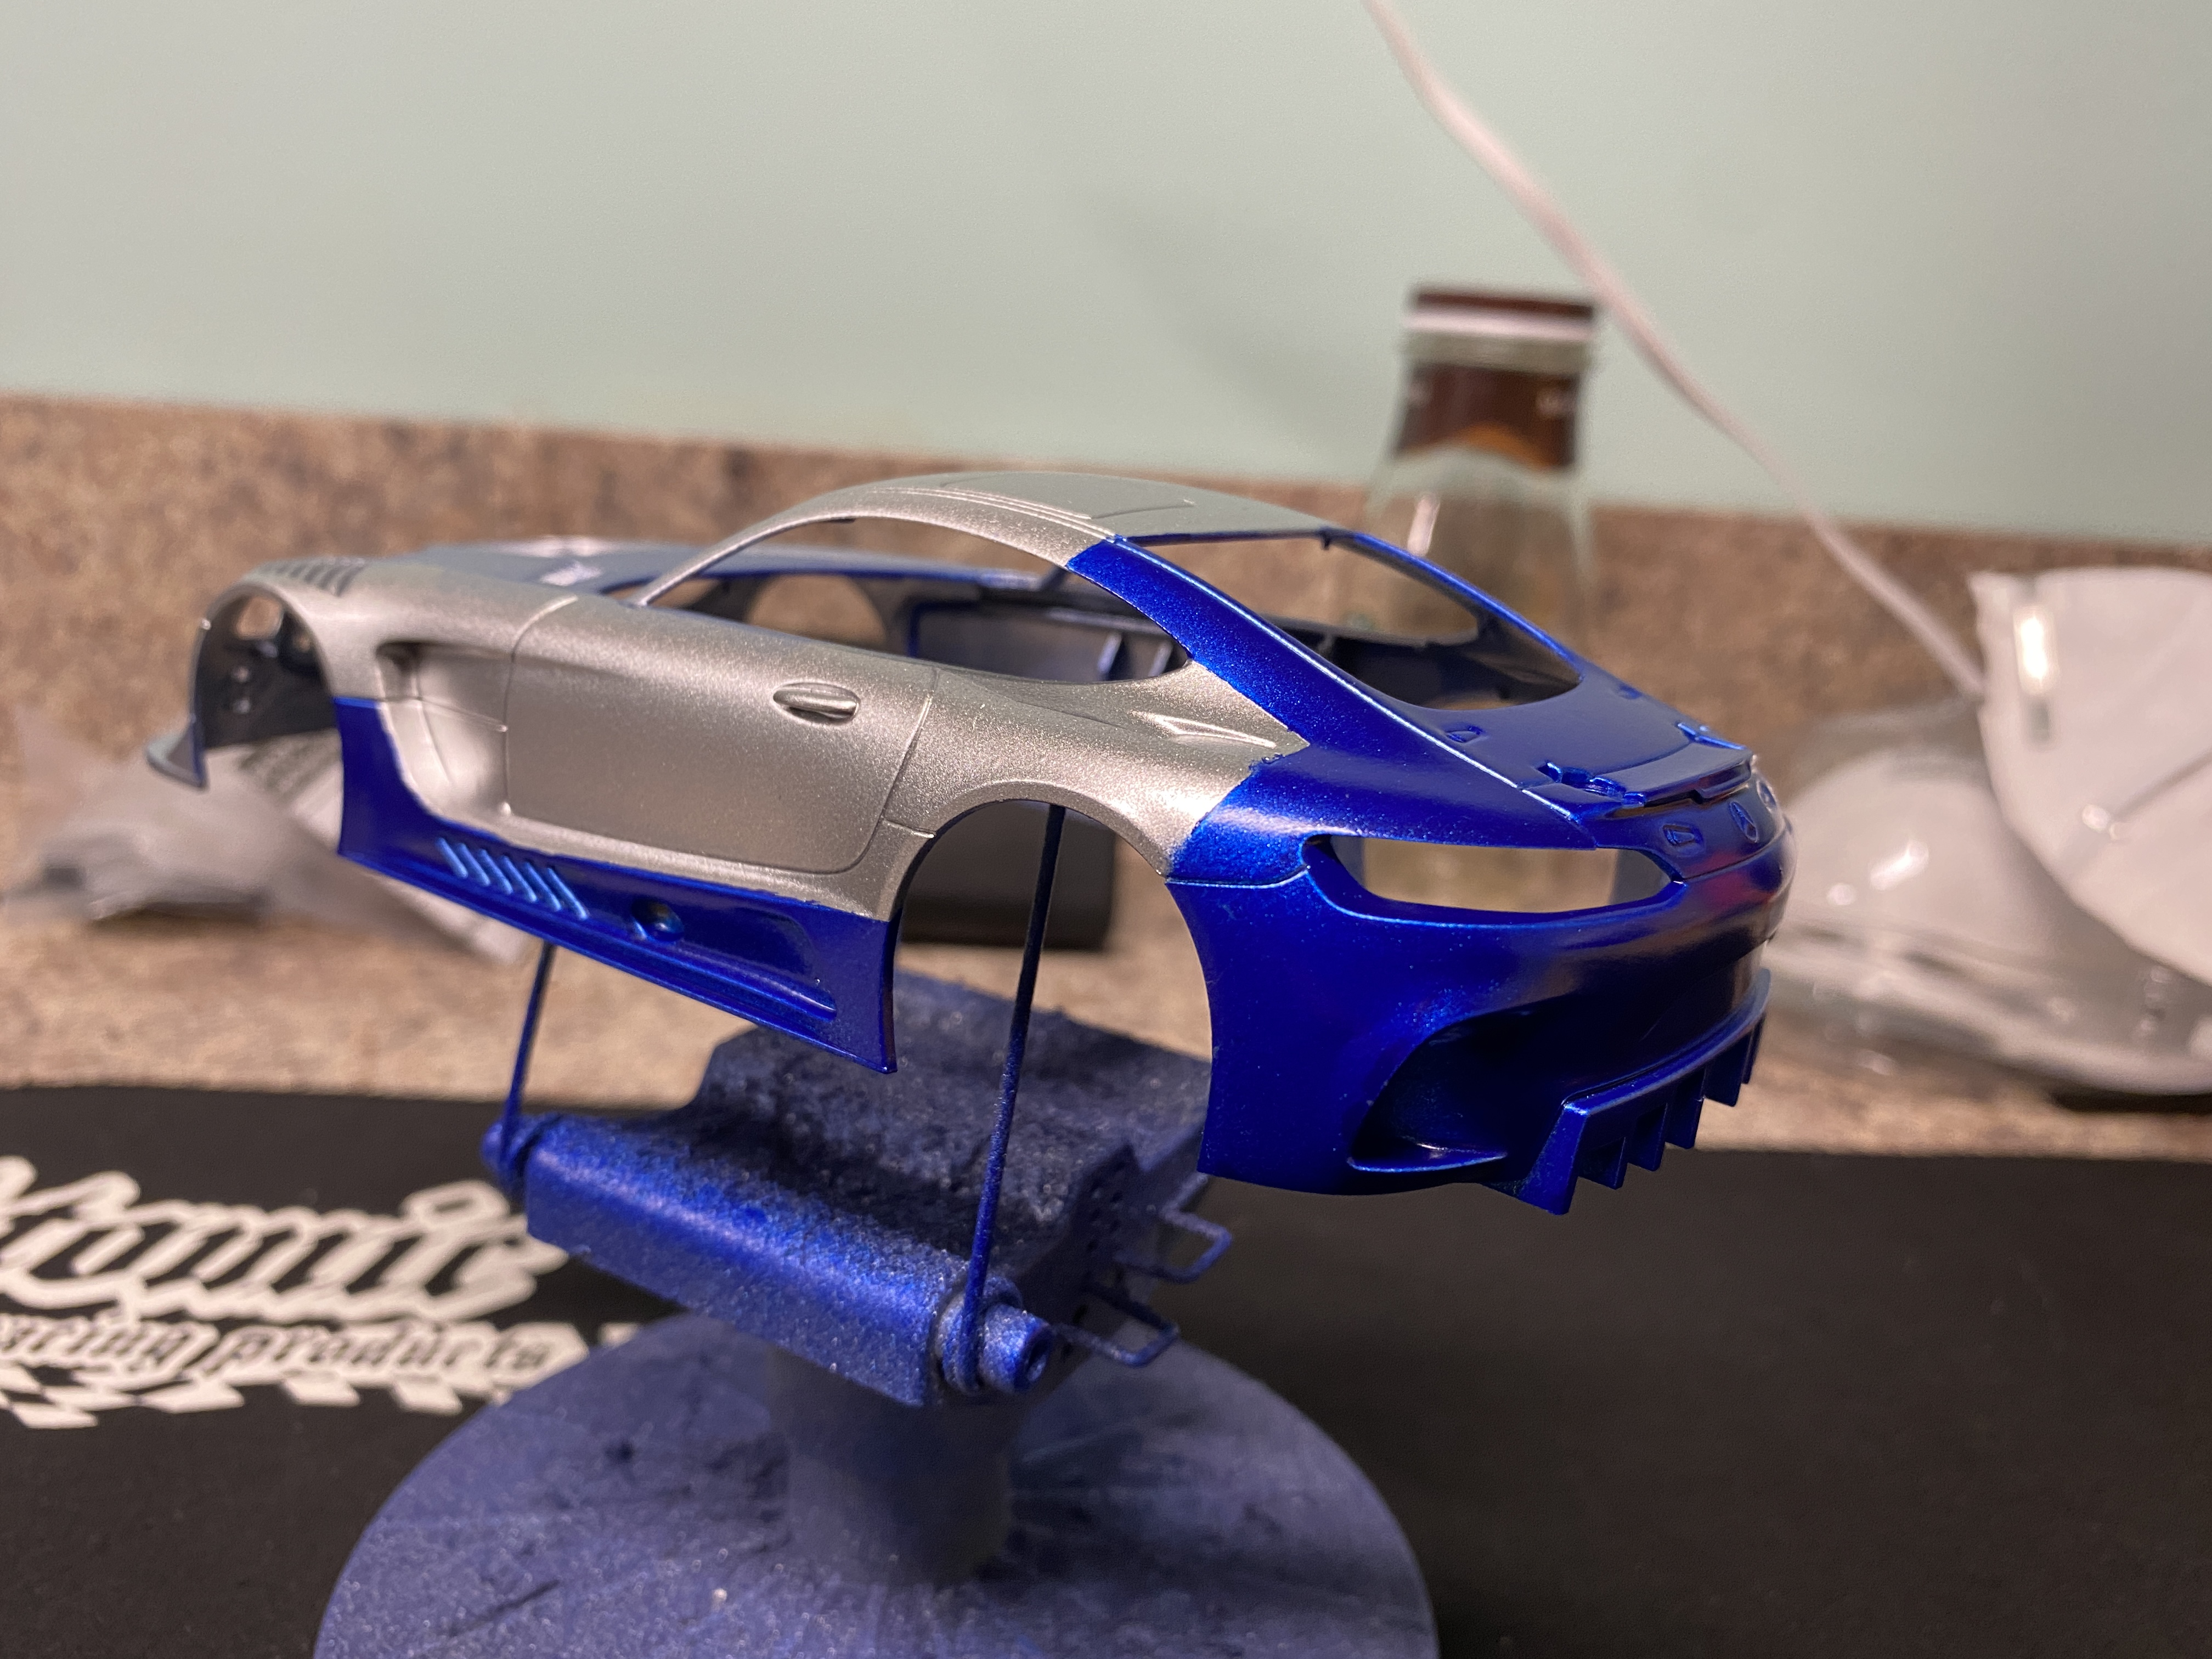
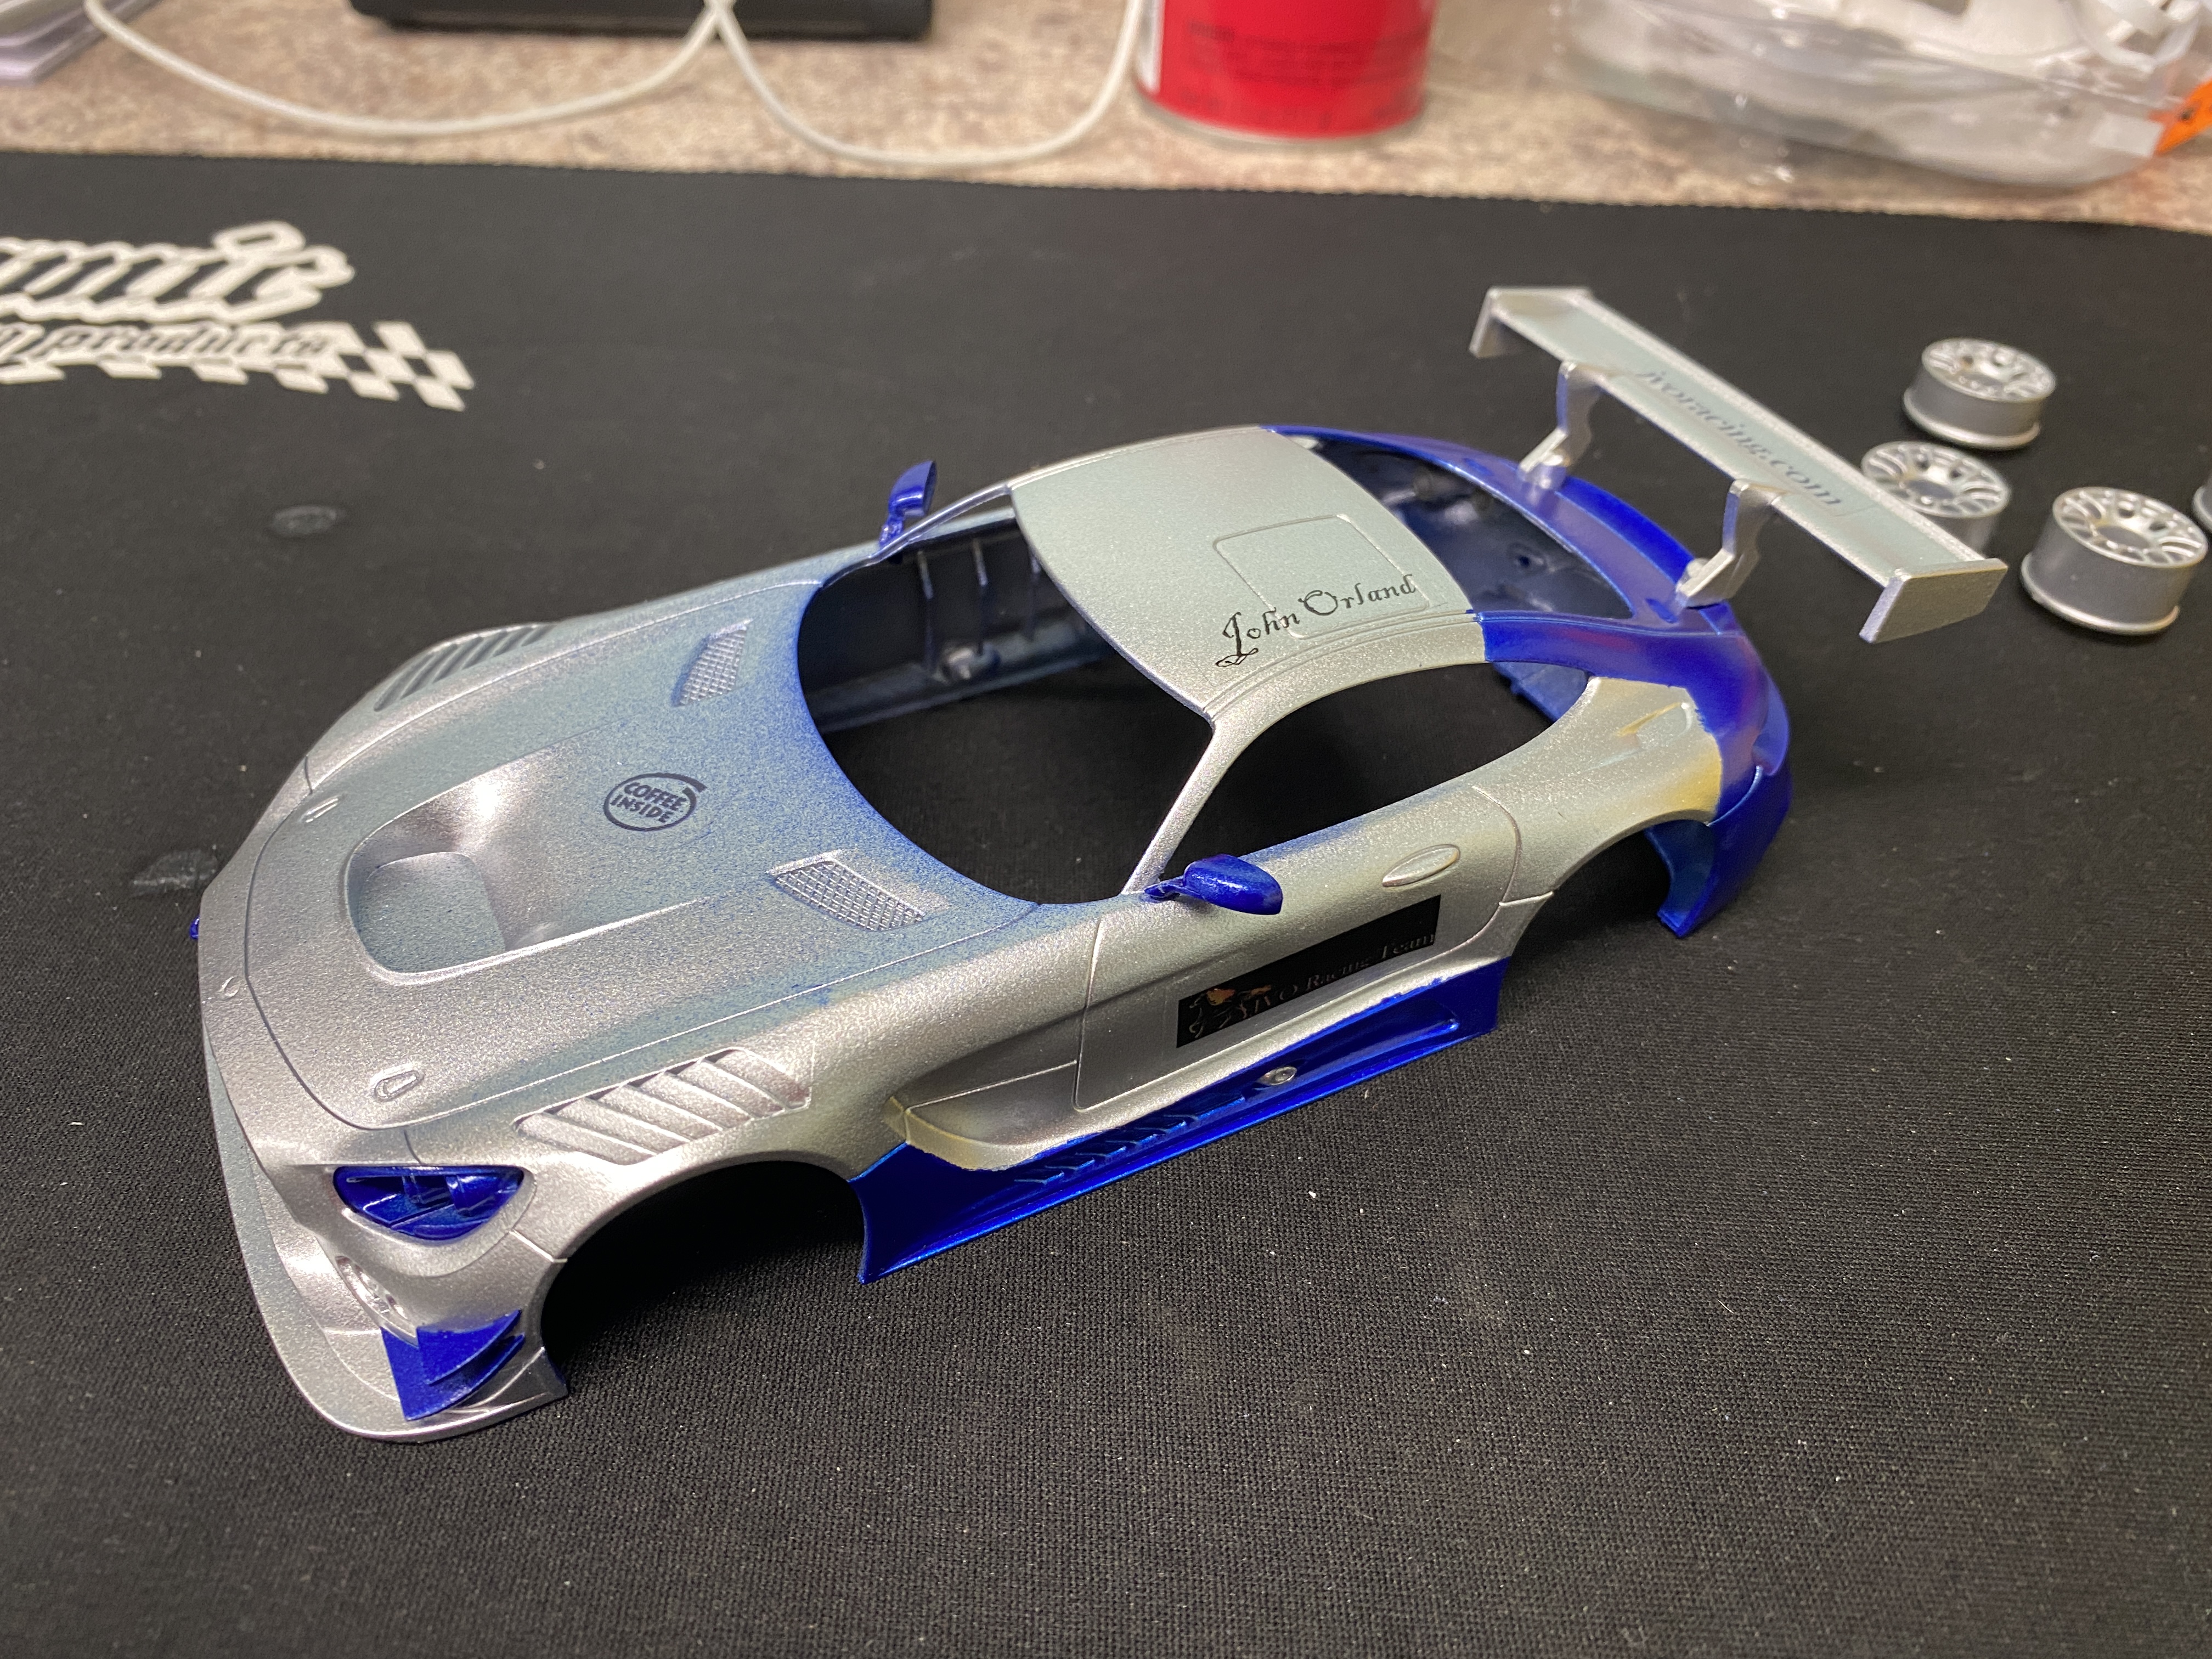
Painting Project - Eighth Project
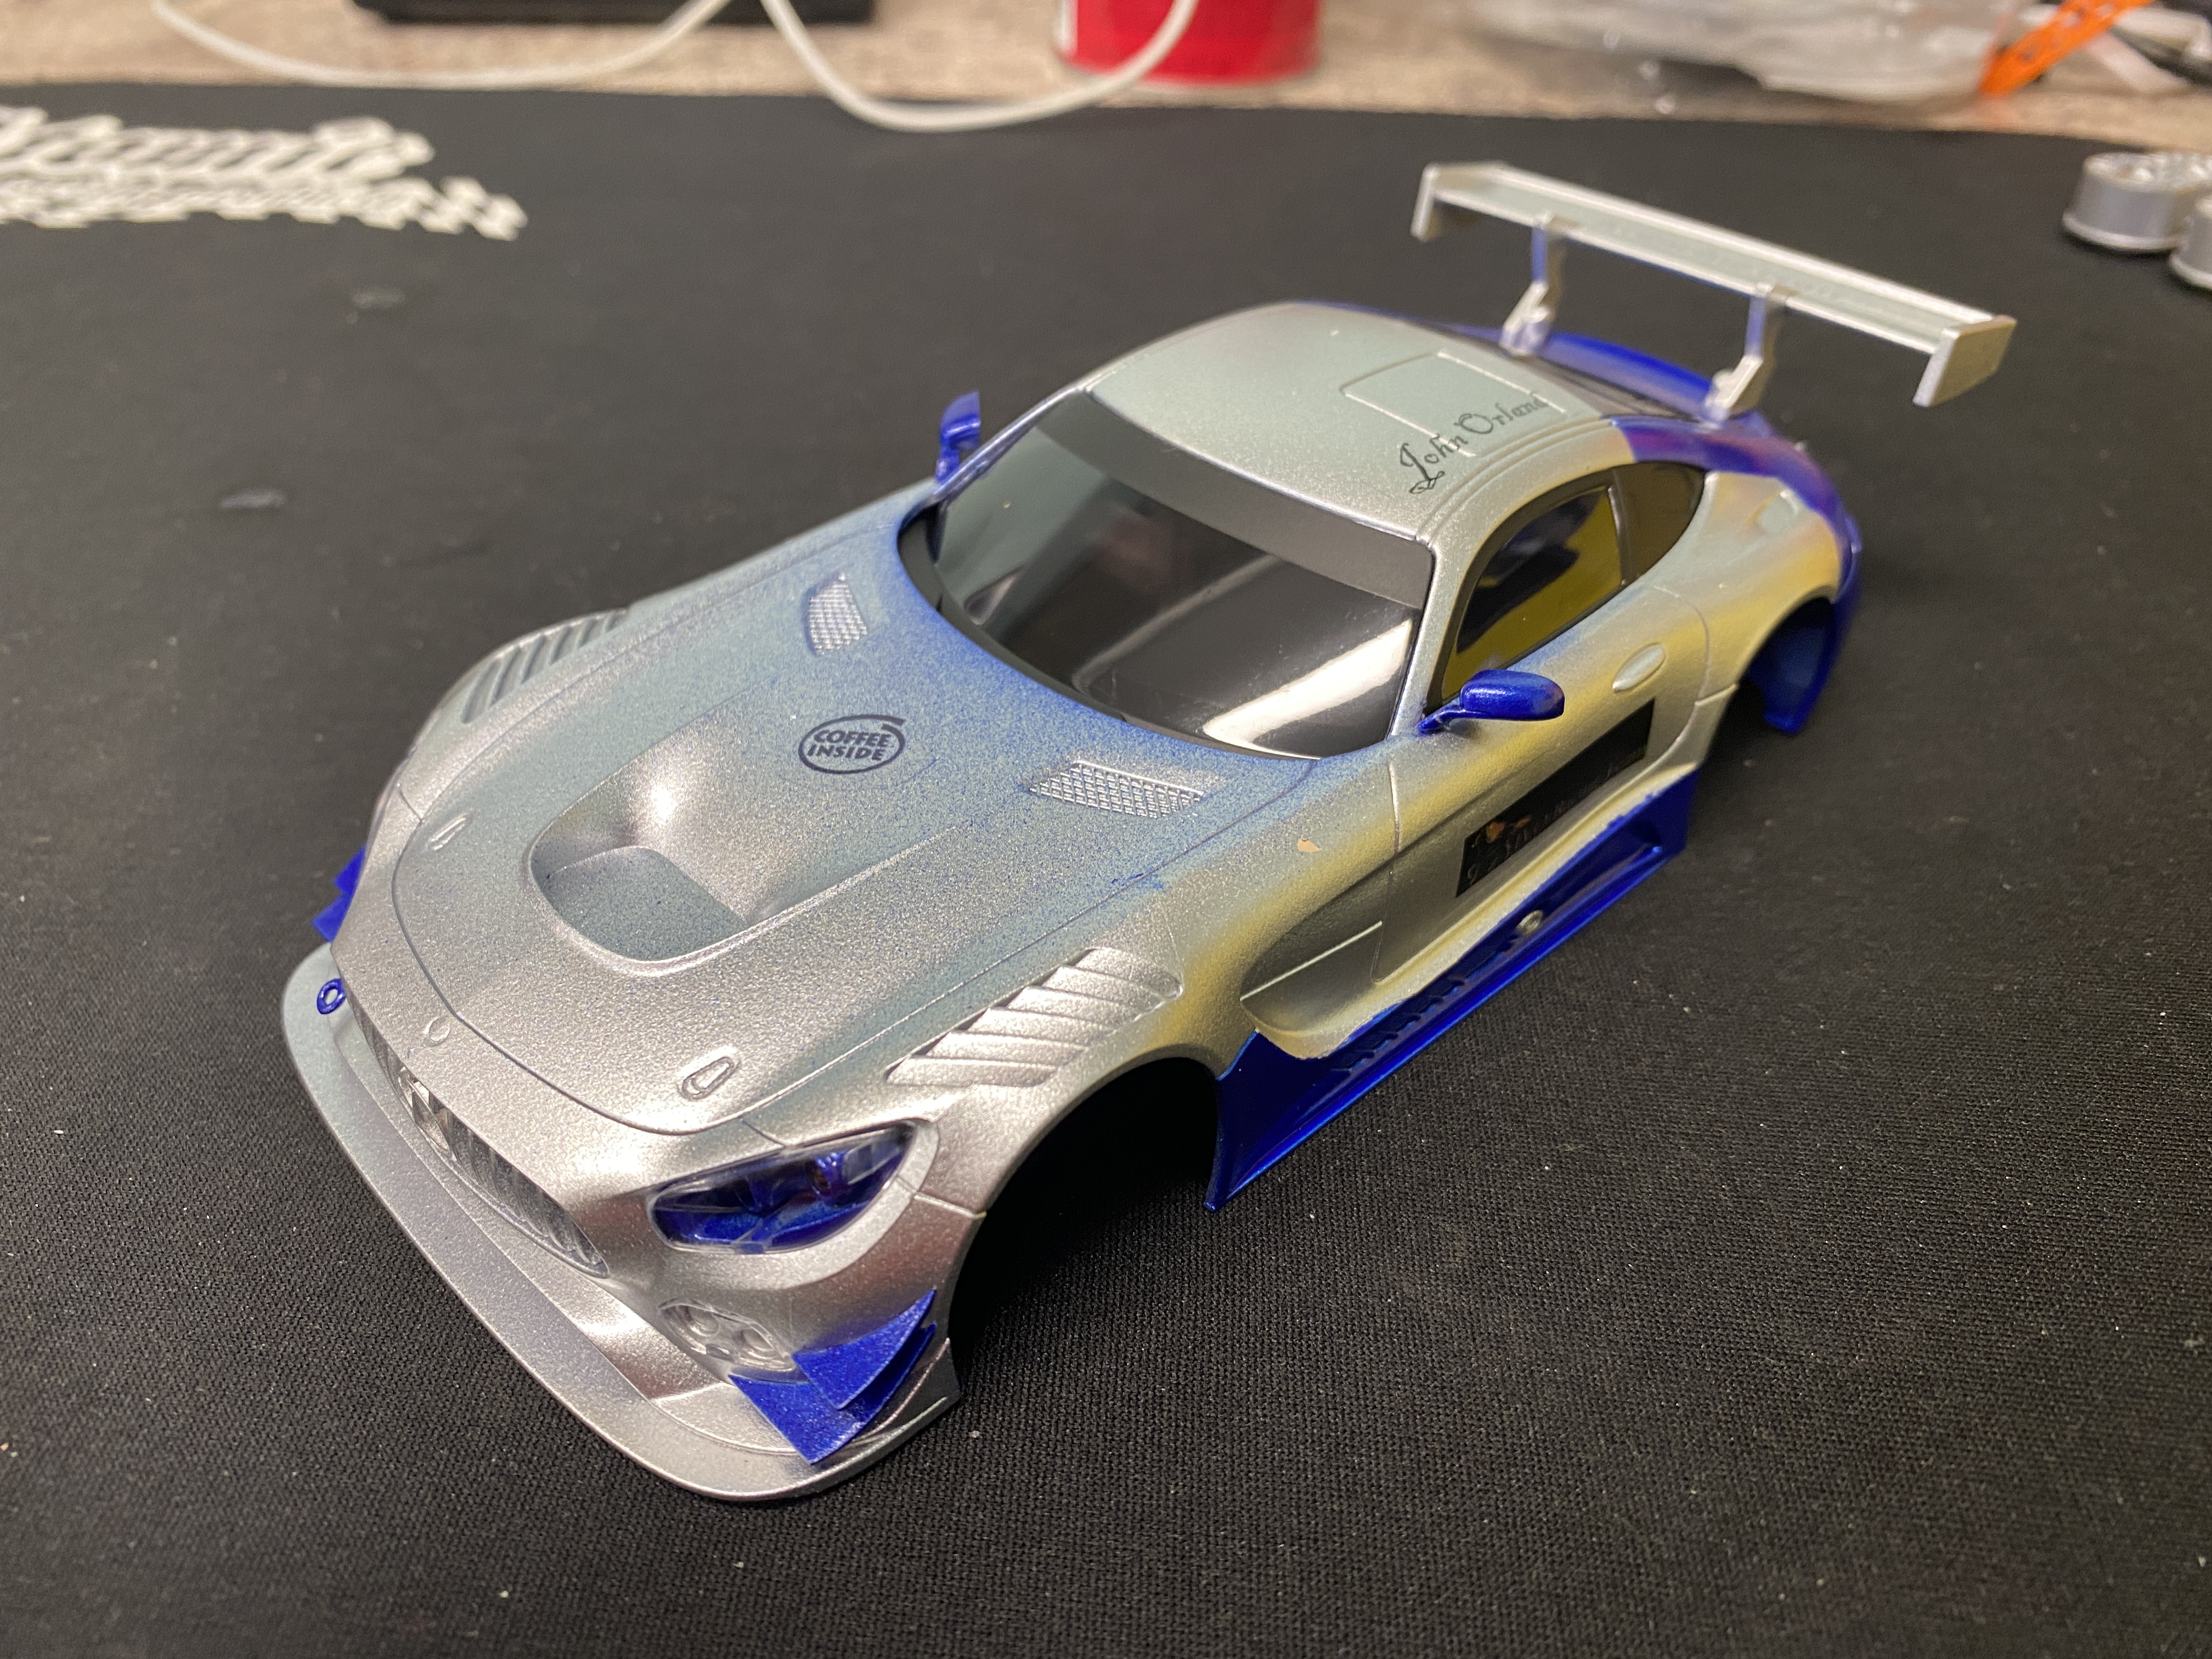
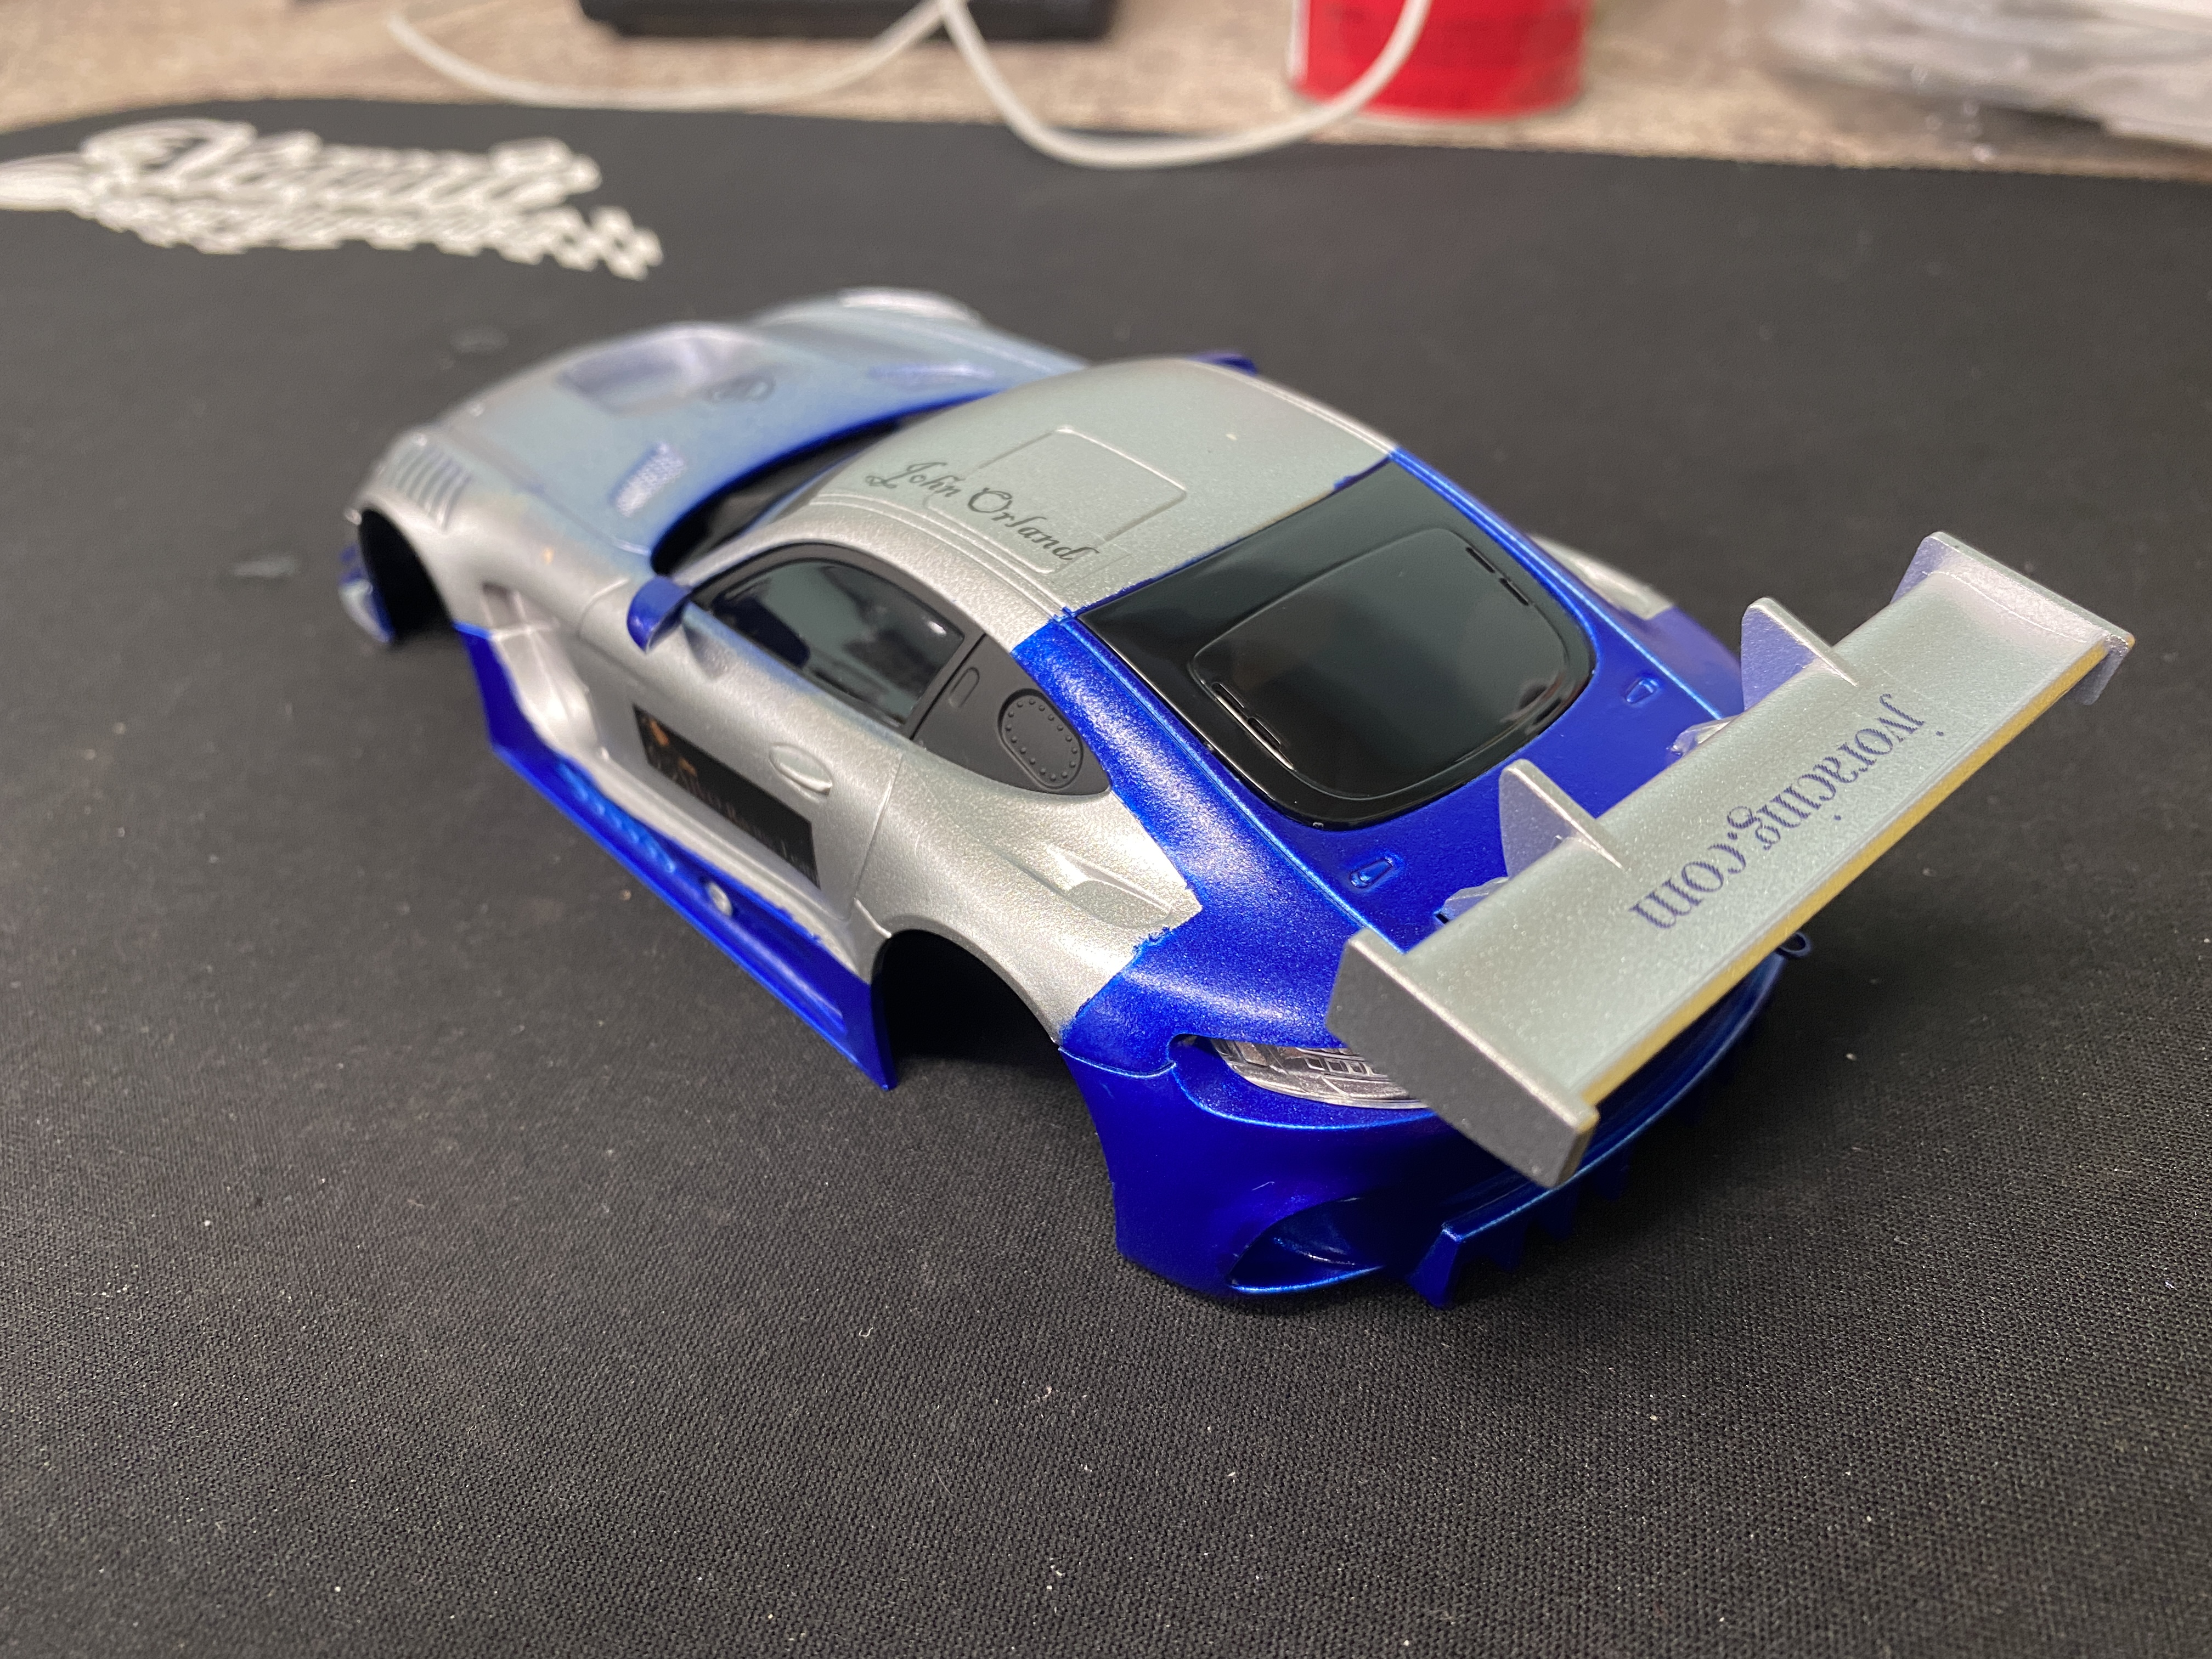
For Project number 8, I wanted to paint the new Mercedes AMG body. This painted body ended up replacing the Lamborghini that I ended up painting for the Third Project listed above. I have temporarily retired the Lamborghini body for now, but may end up putting it back on the car in the future. After going through the painting process, I really think that I should have painted the front clip blue and make the toe hook silver. If I end up painting another Mercedes AMG body, I will absolutely do that and post the photos here as usual.
 |
 |
| Painting Project 8: Figure 1 | Painting Project 8: Figure 2 |
 |
 |
| Painting Project 8: Figure 3 | Painting Project 8: Figure 4 |
 |
 |
| Painting Project 8: Figure 5 | Painting Project 8: Figure 6 |
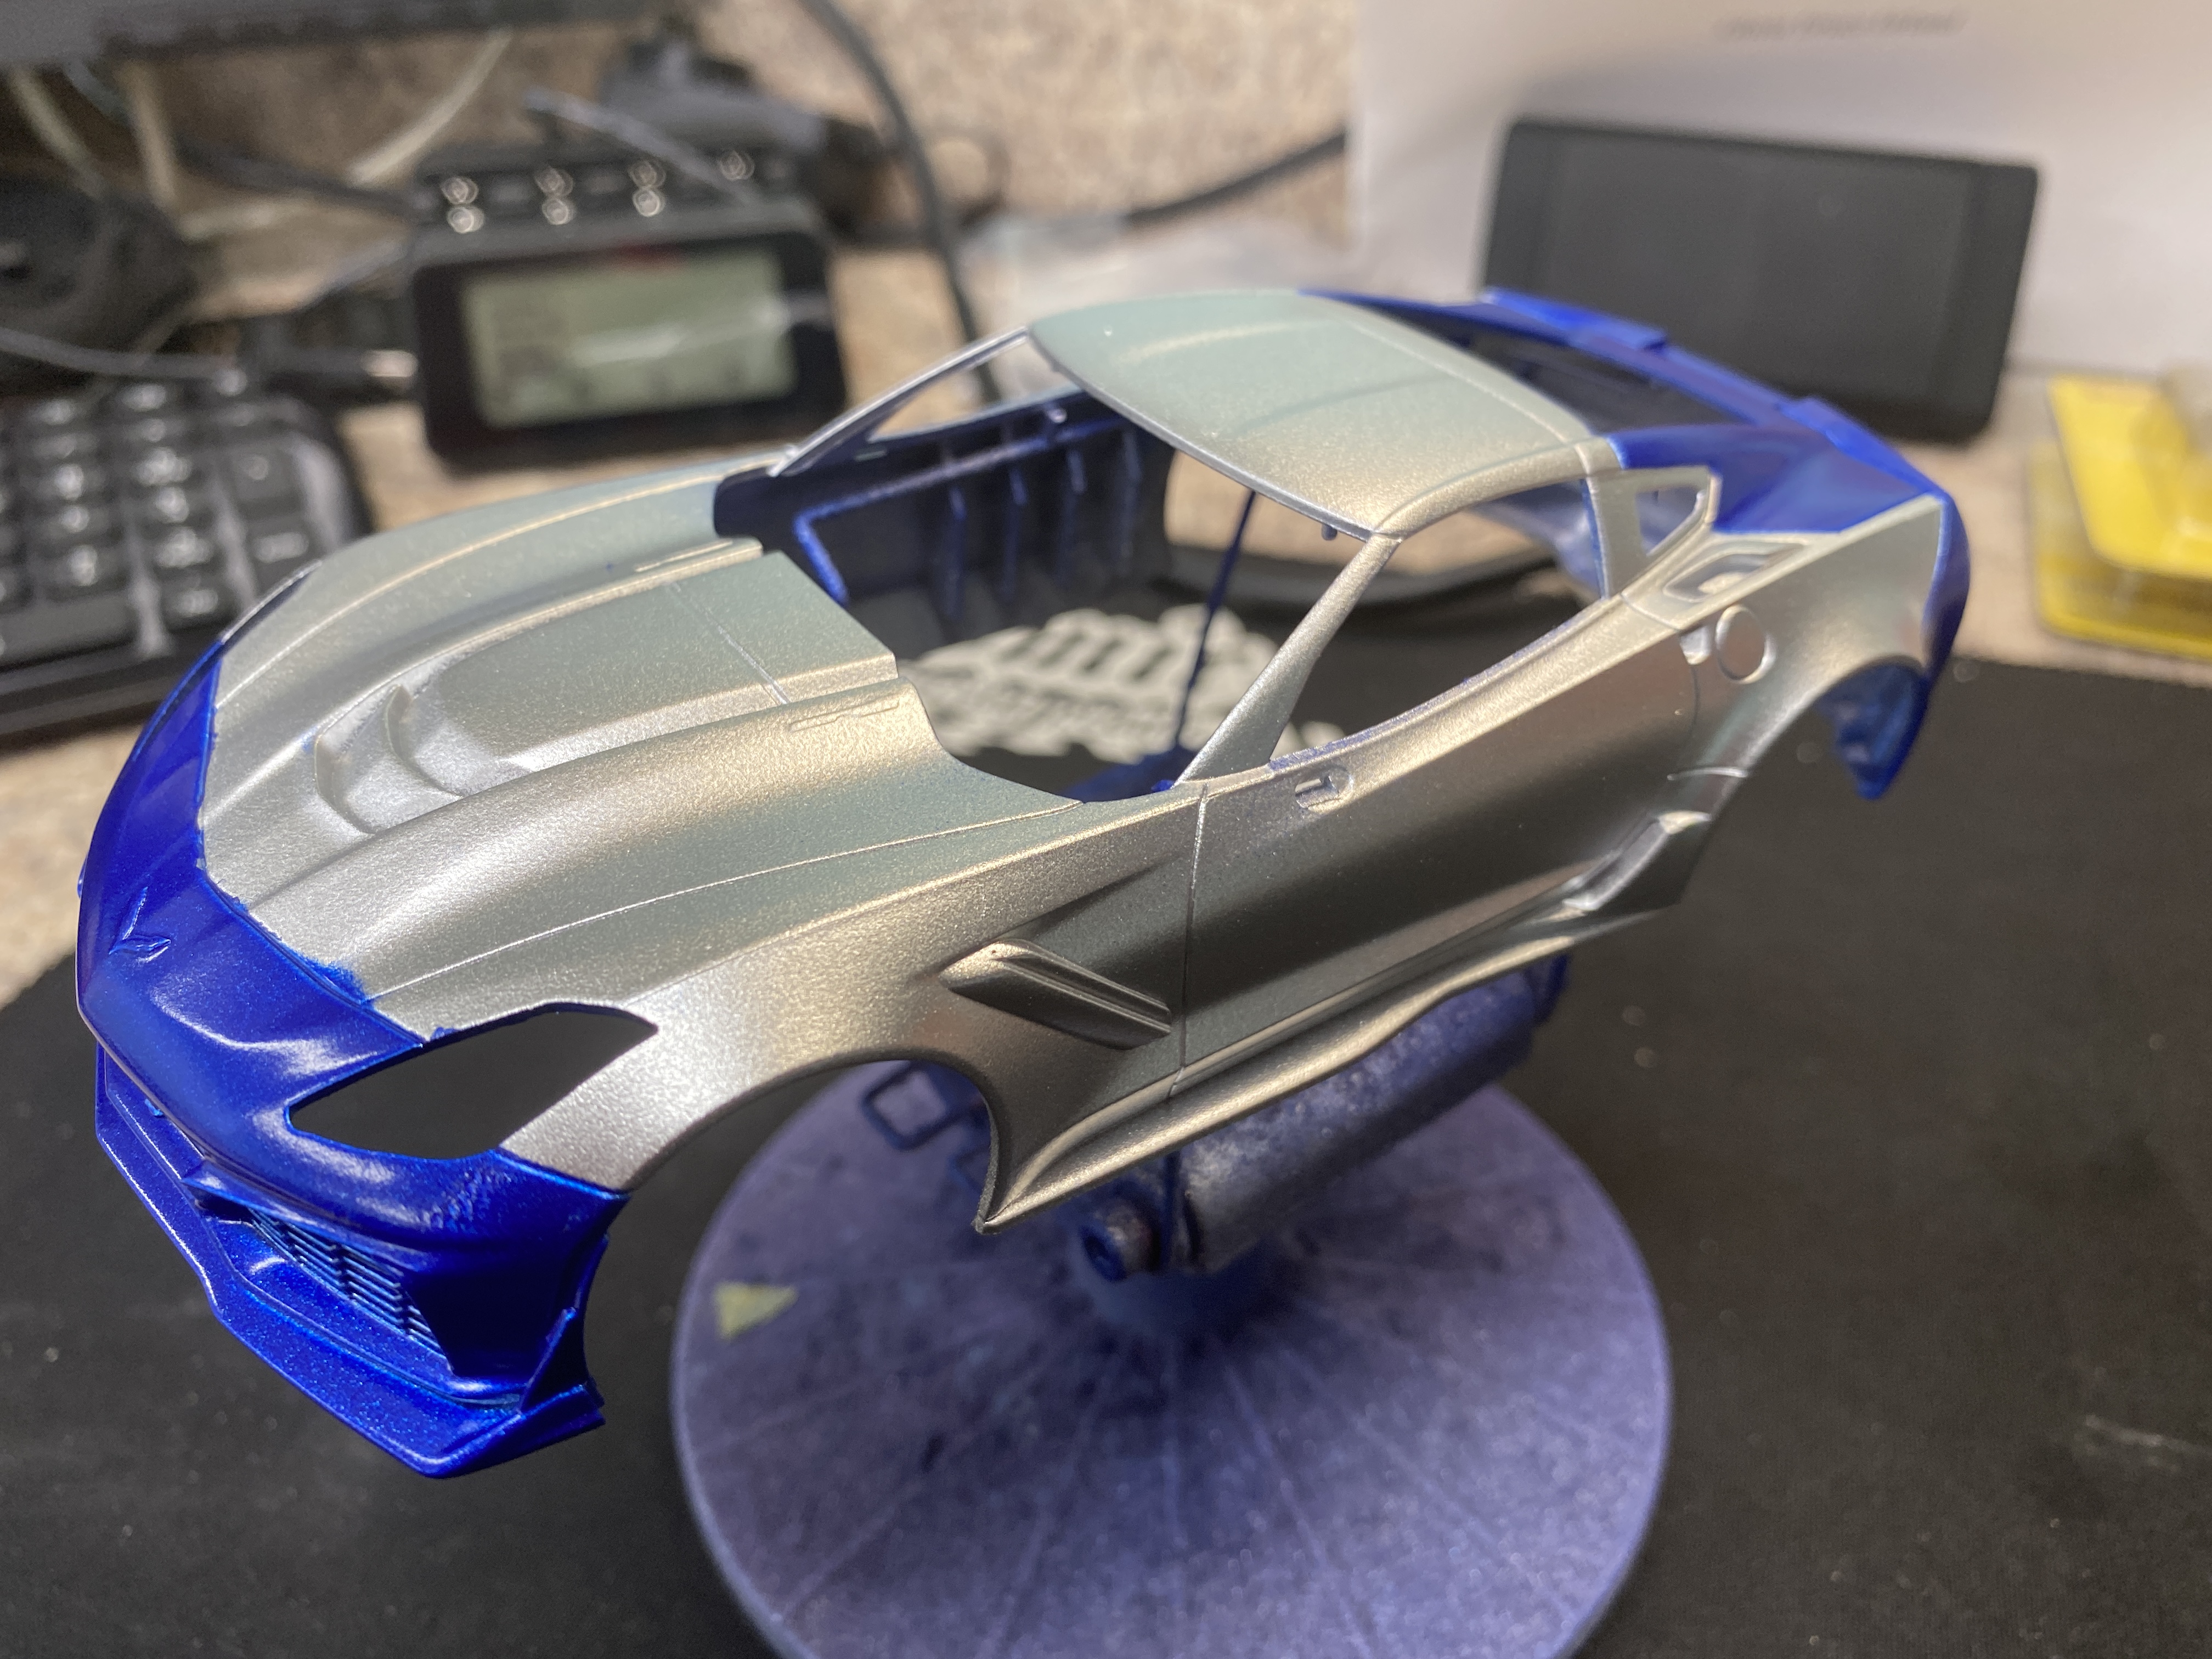
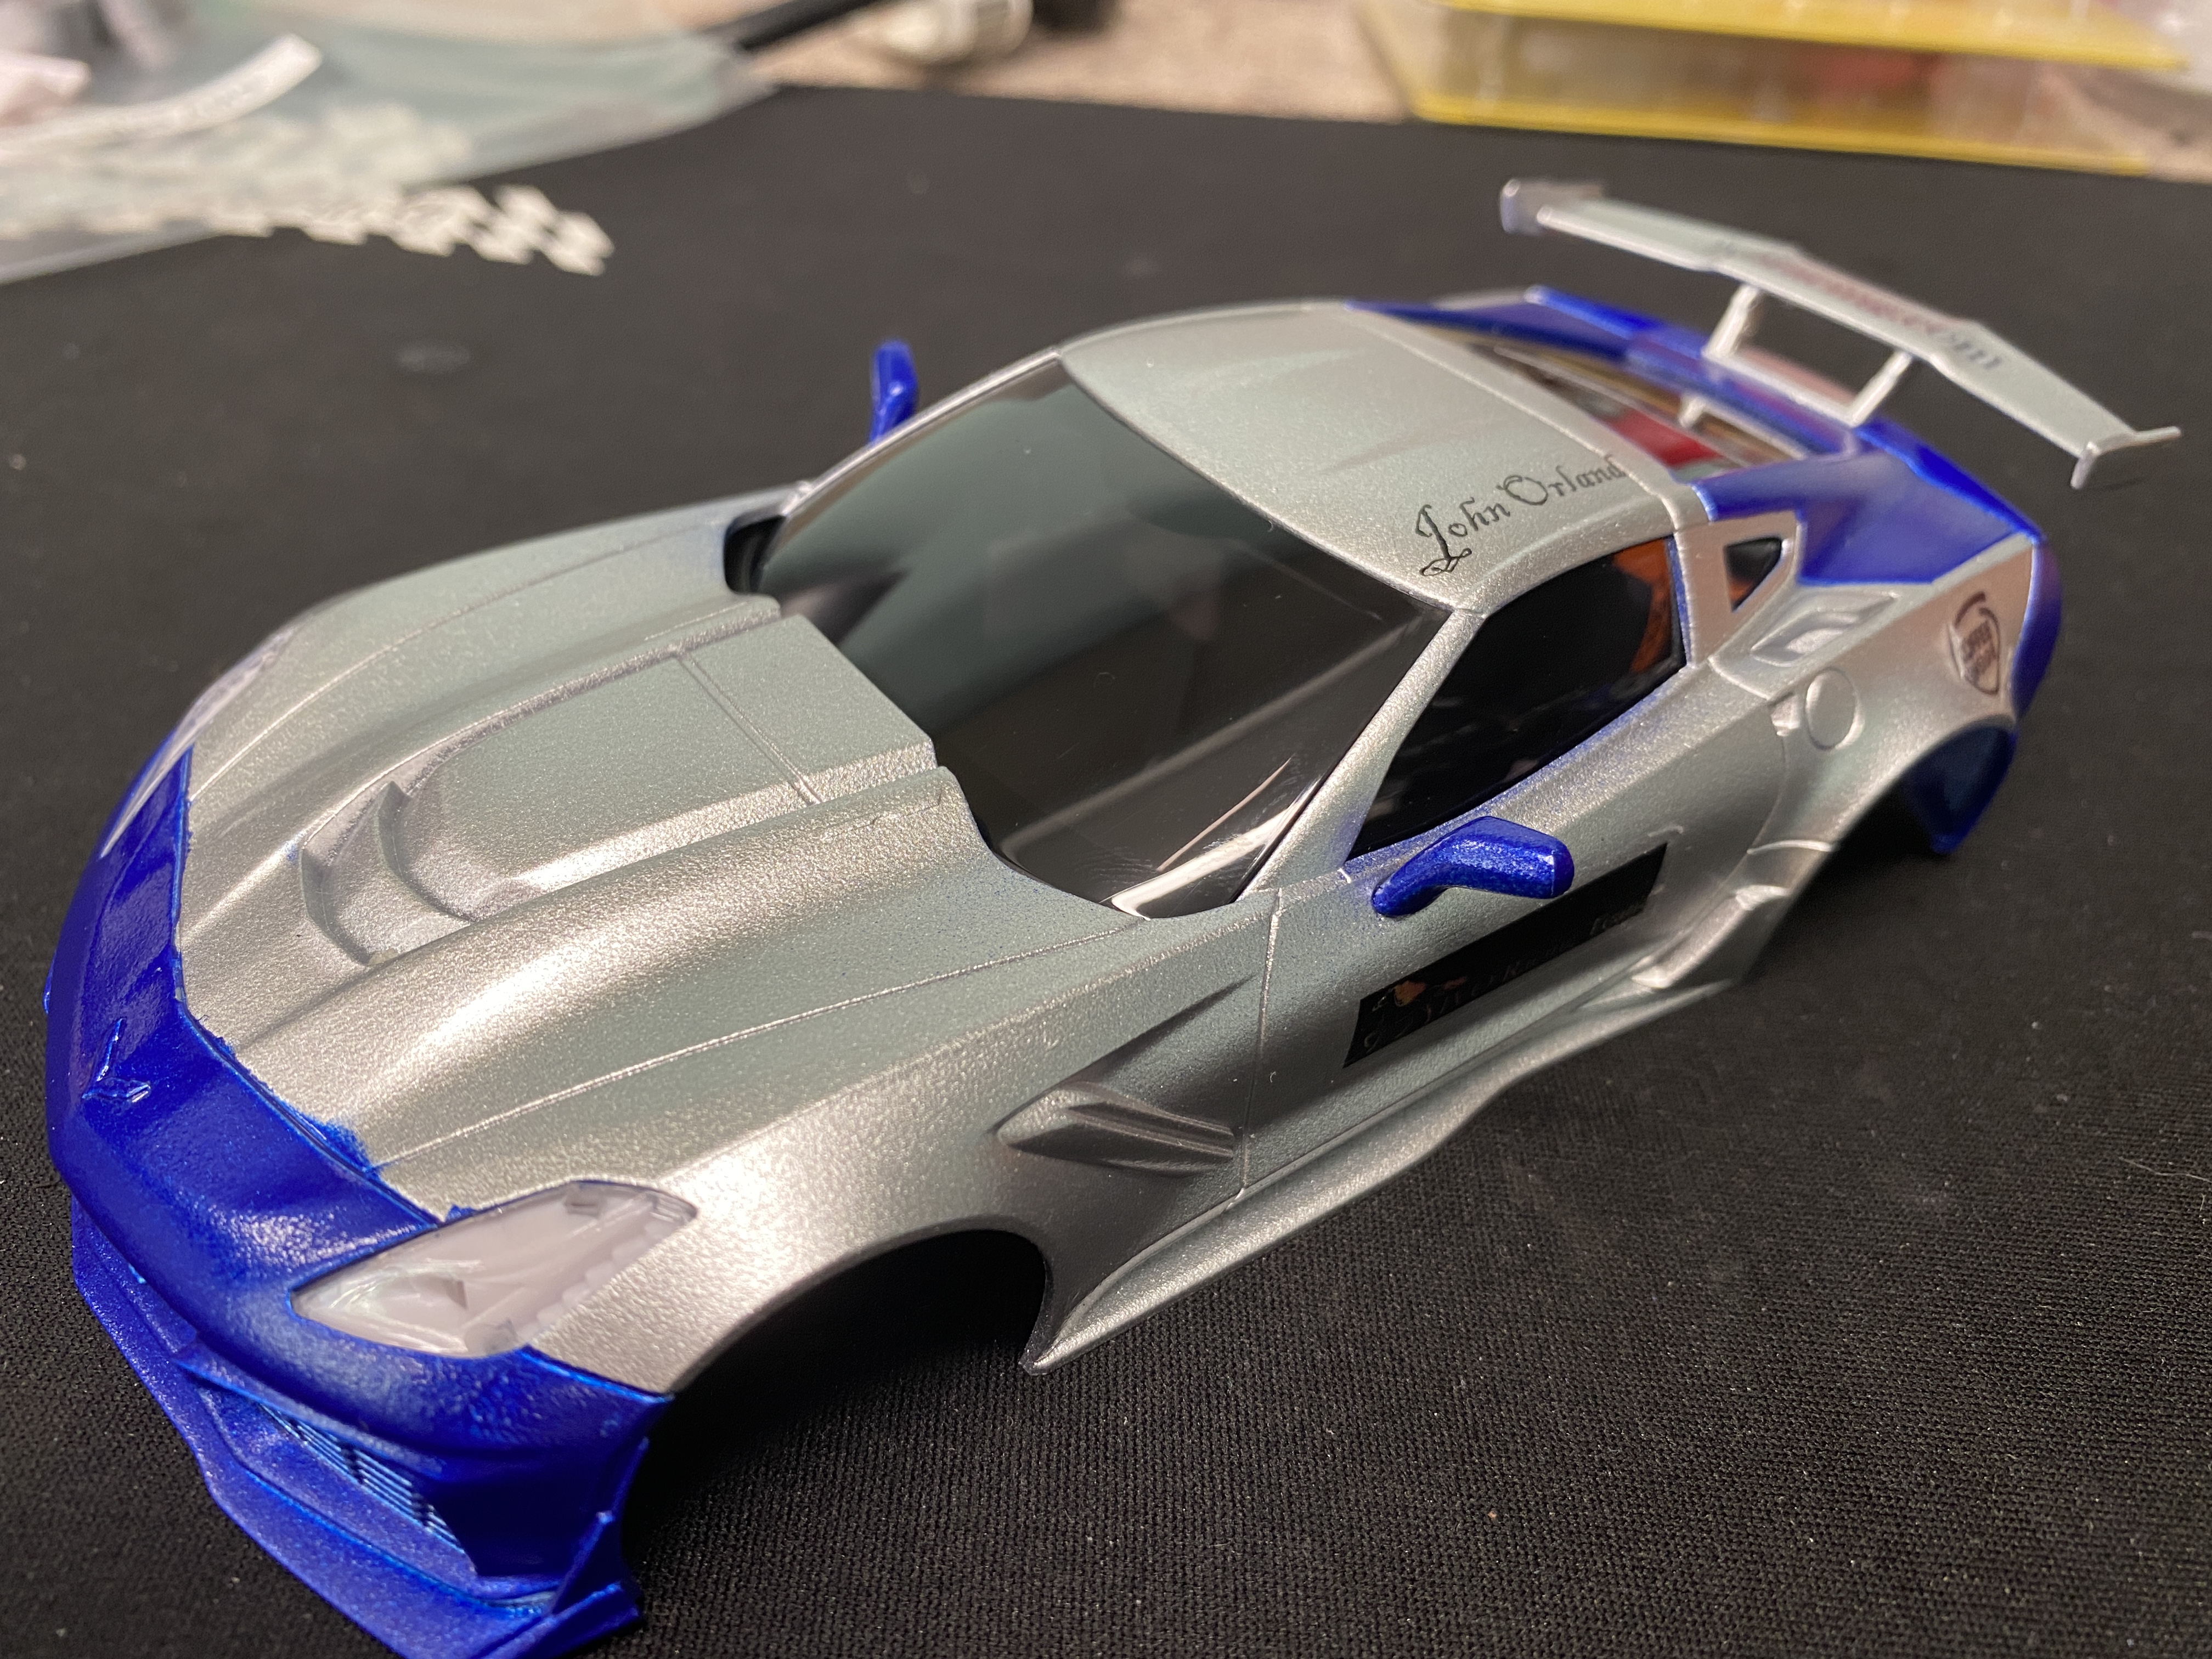
Painting Project - Ninth Project
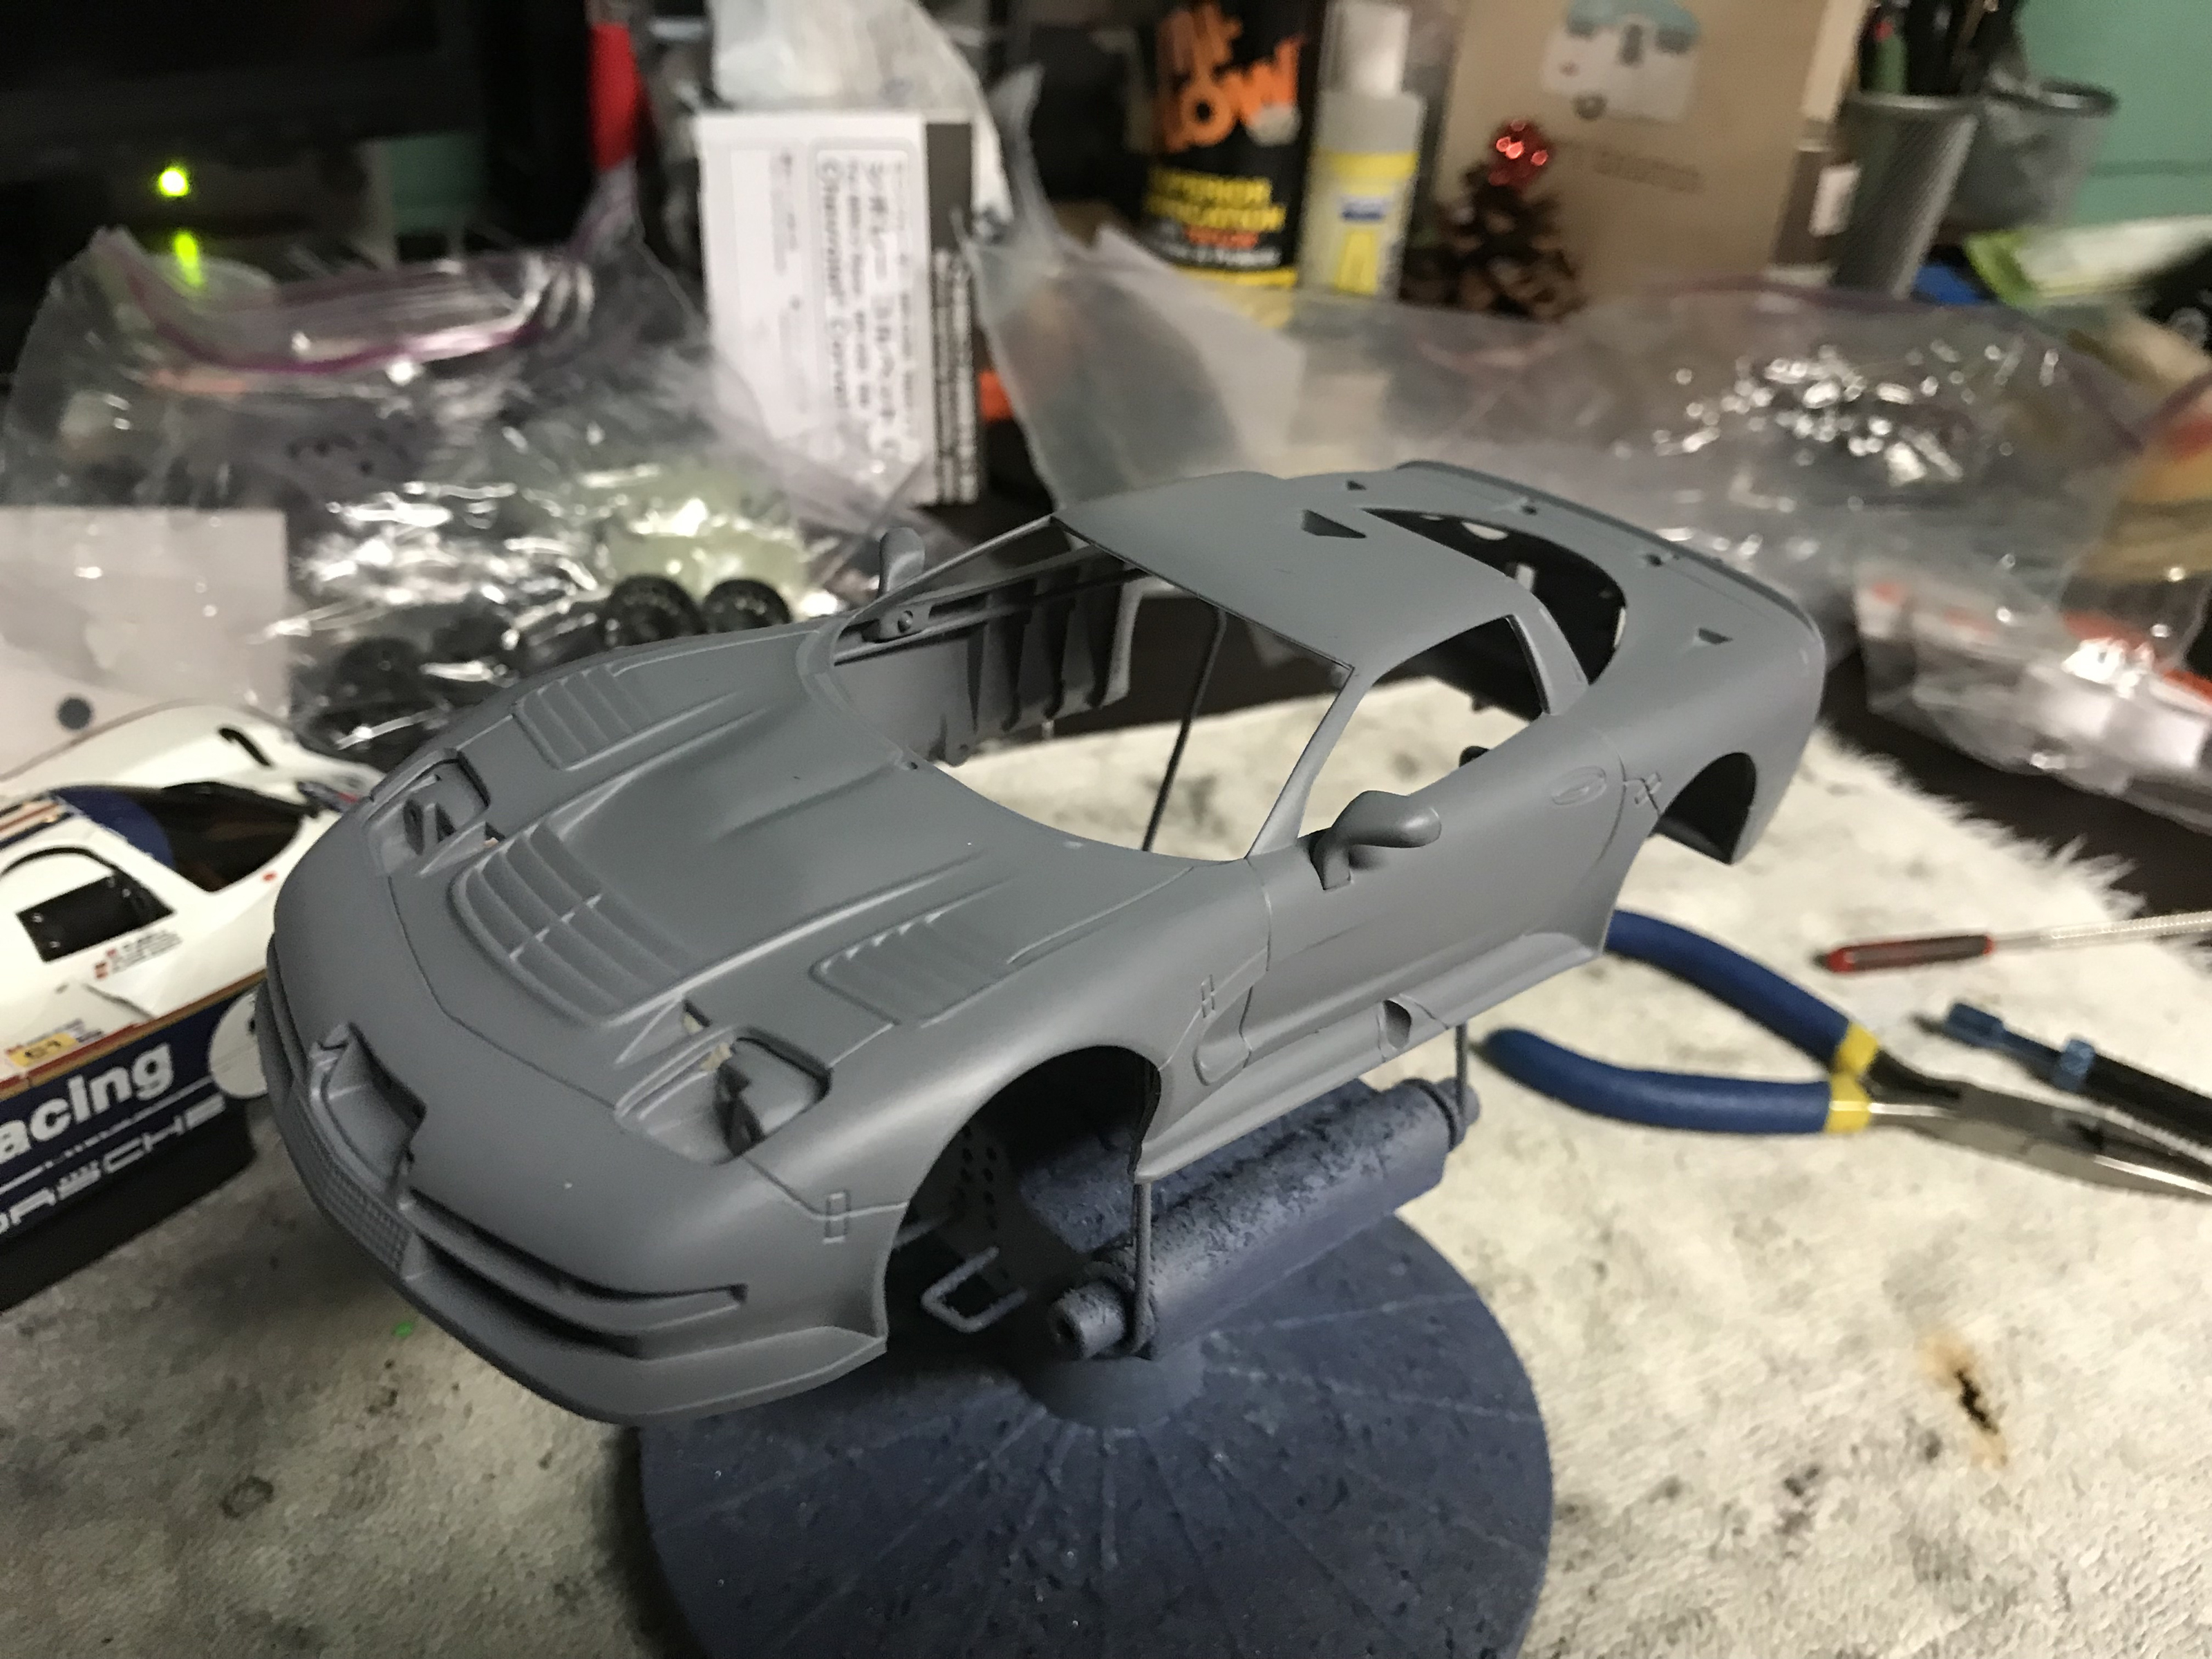
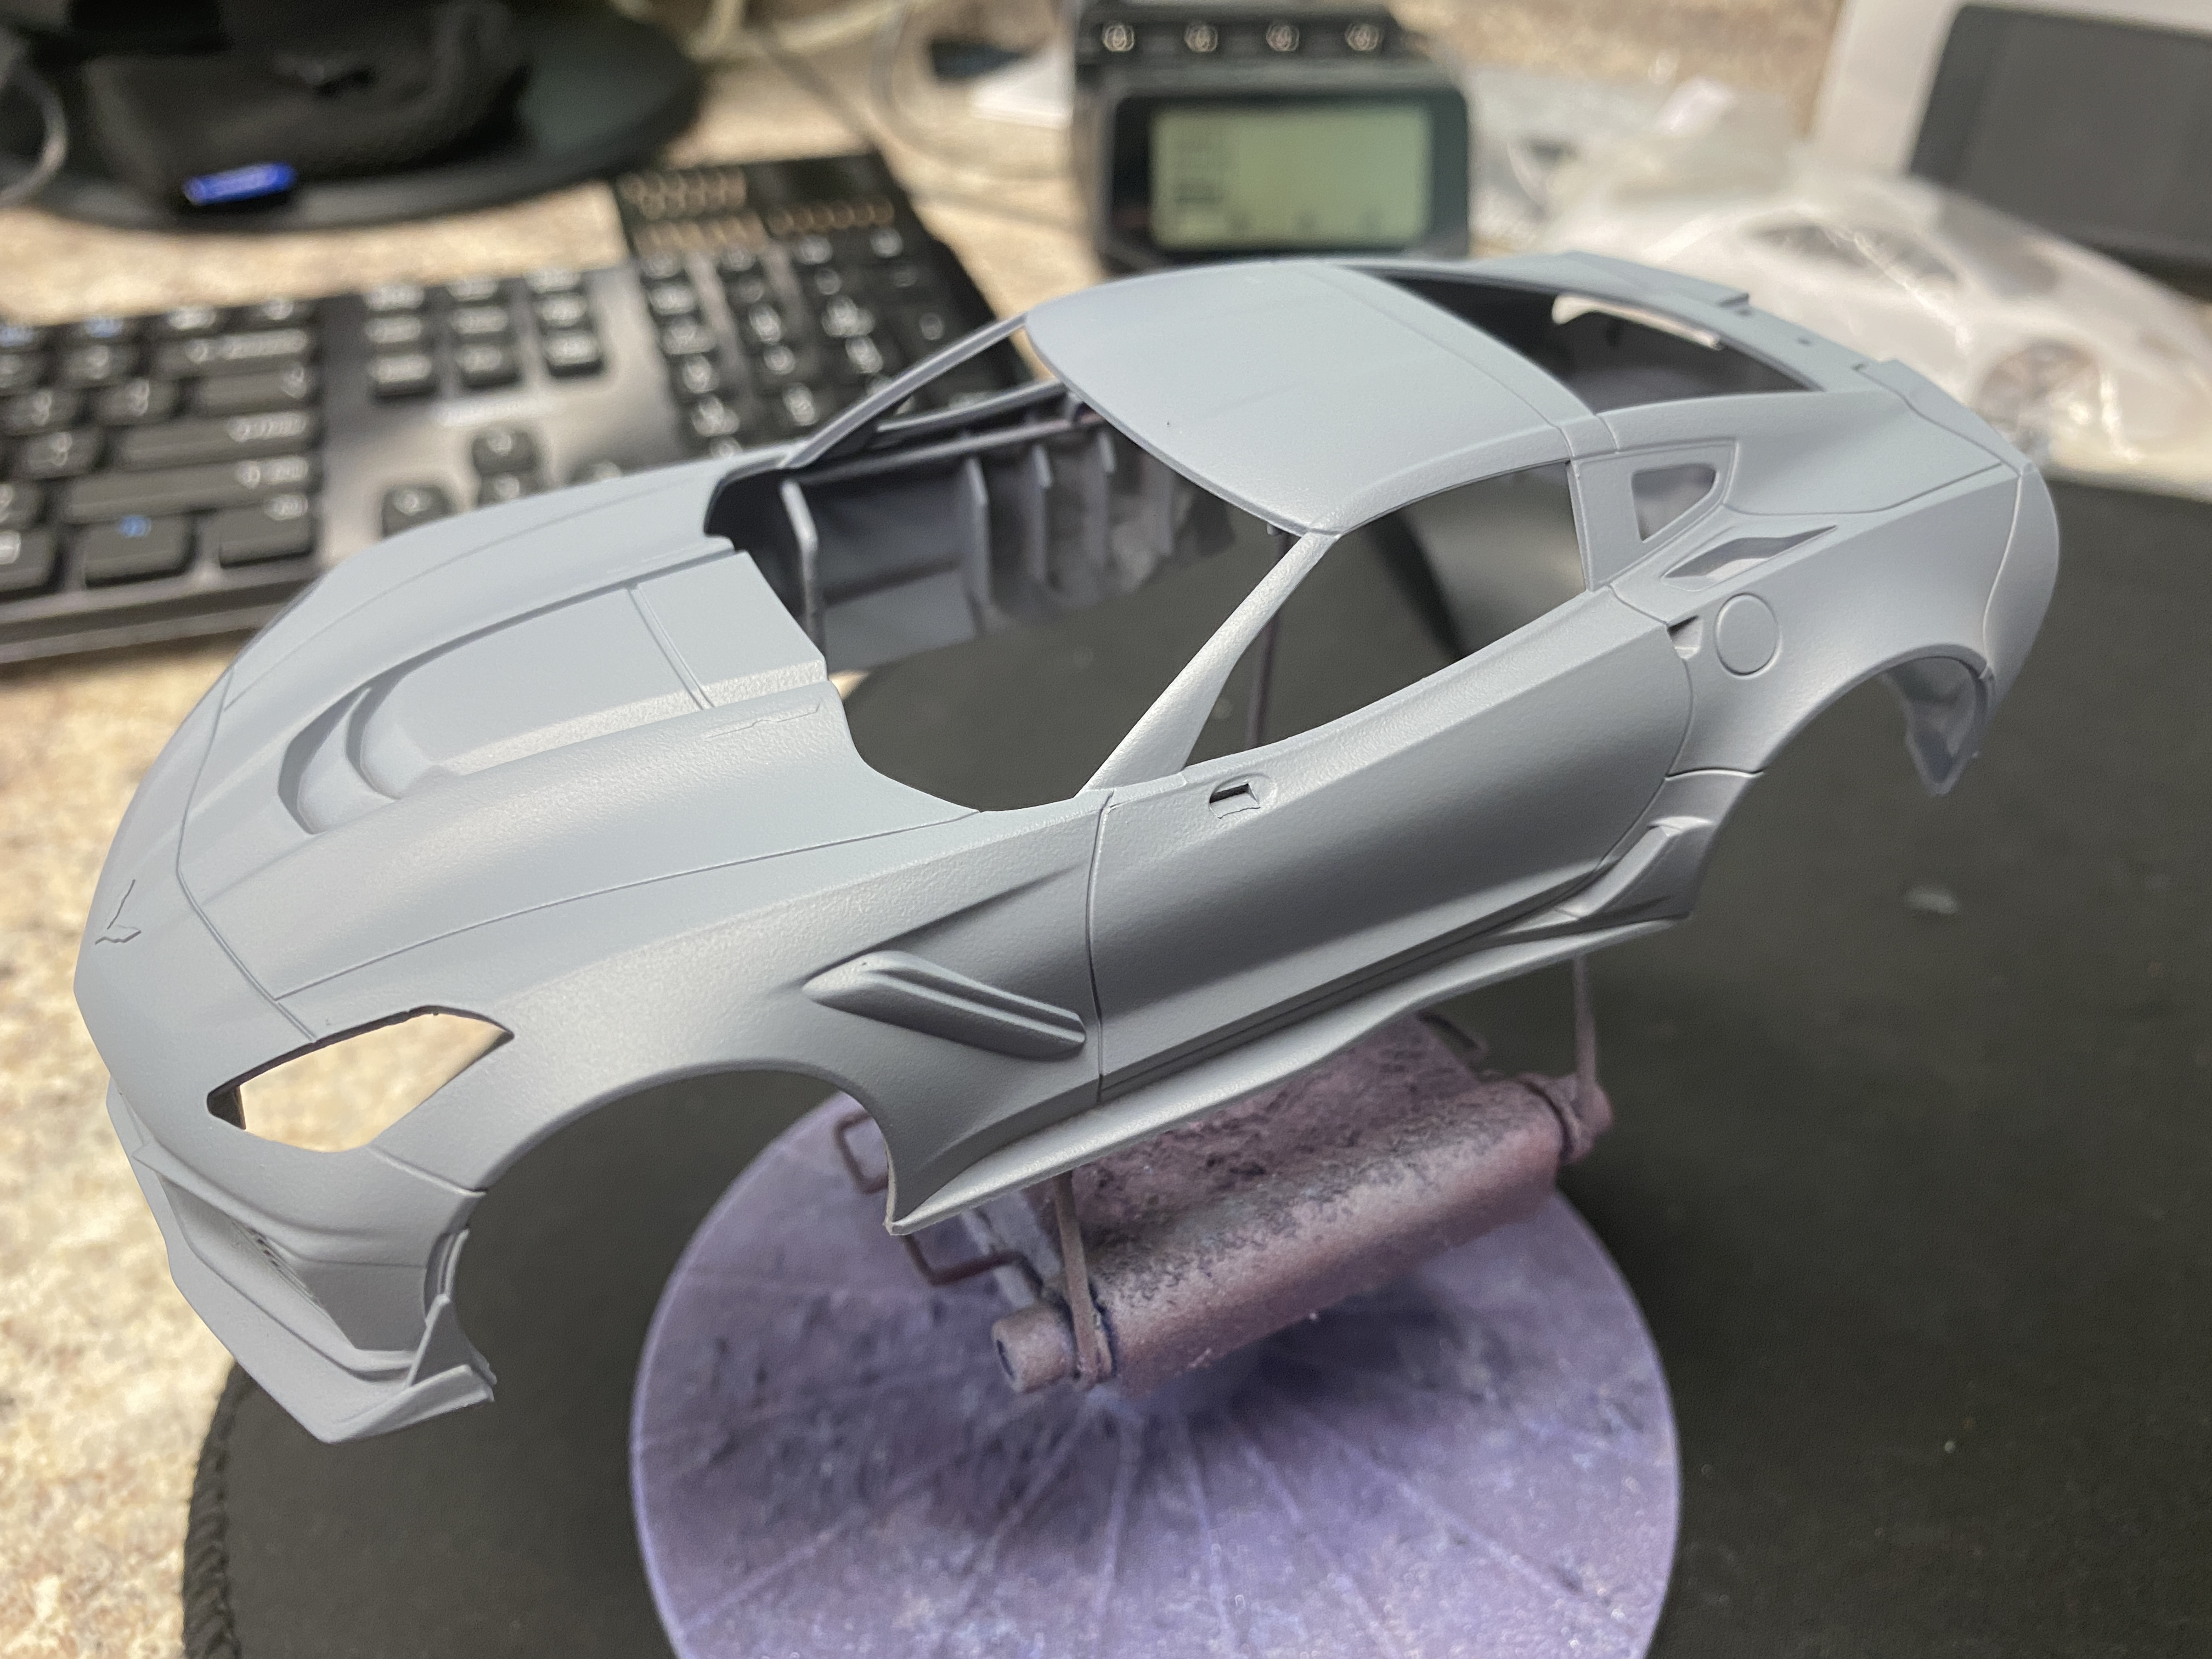
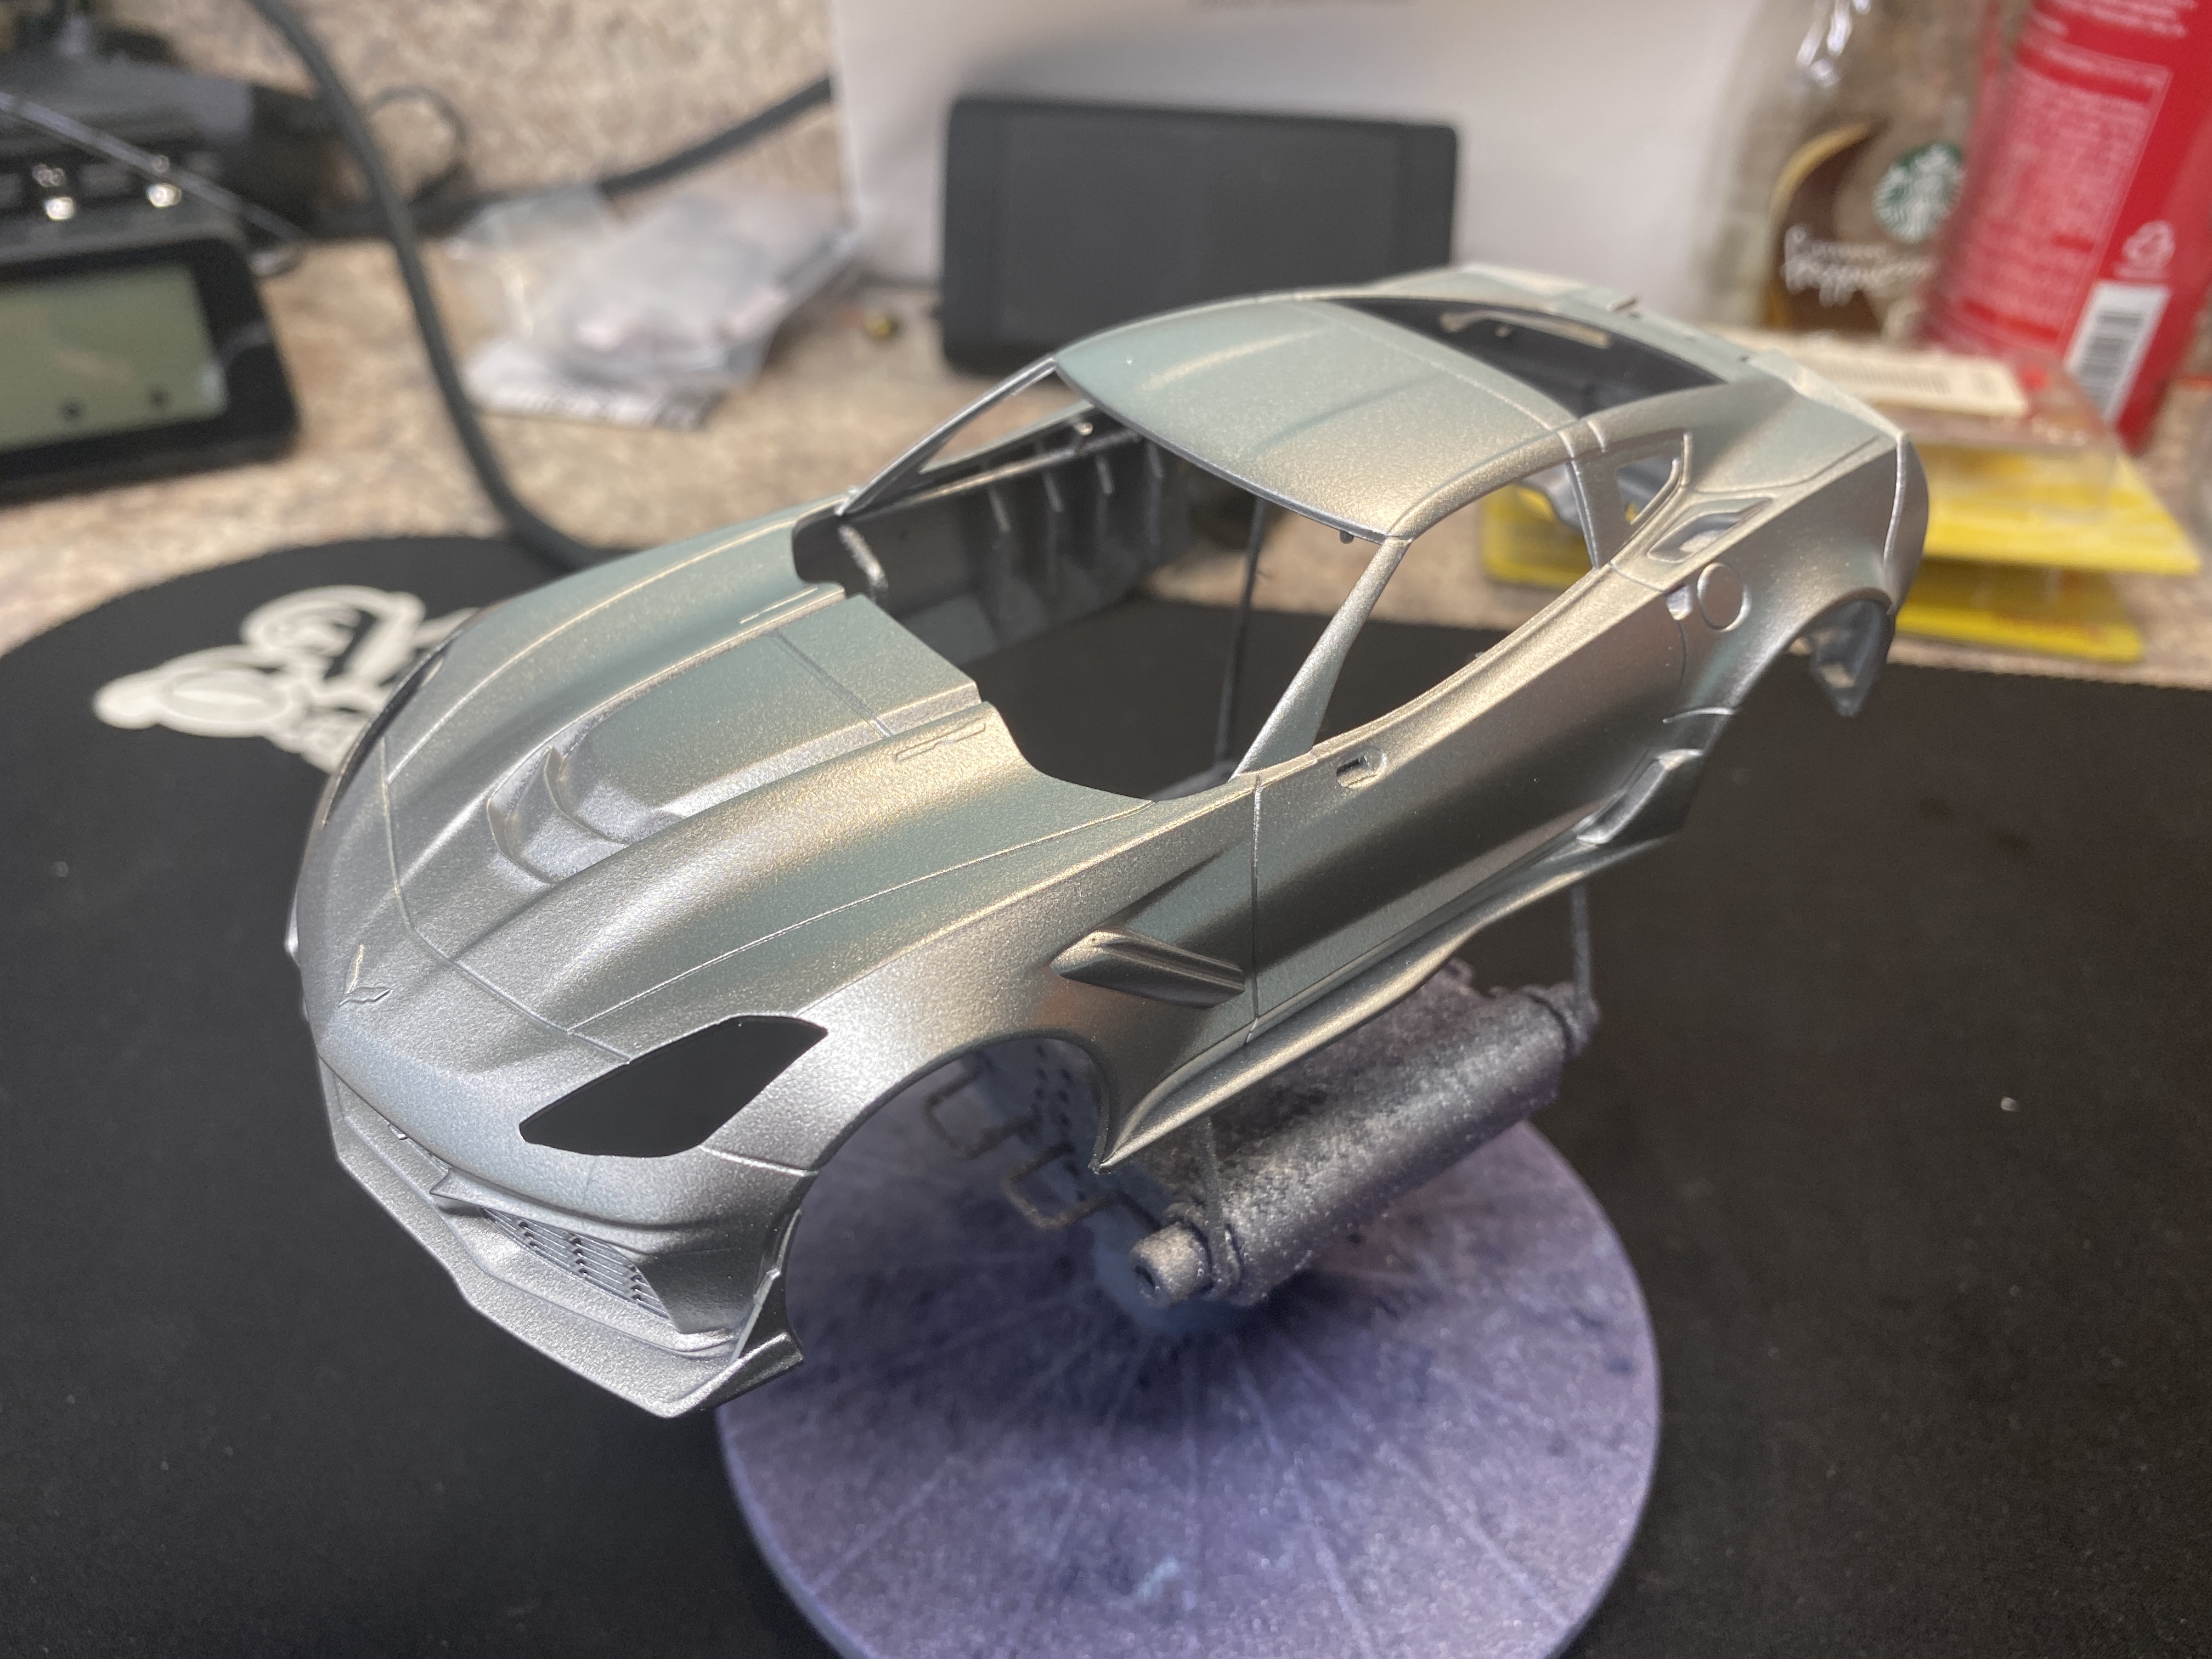
For Project number 9, I decided to paint the Corvette ZR1 White body. This is a mid-motor body and will more than likely go onto the Kyosho Mini-Z MR-03, which is a car that is no longer for sale, as it still uses the brushed motors. I like always plan on putting all of the photos that I take of the car during the painting process.
 |
 |
| Painting Project 9: Figure 1 | Painting Project 9: Figure 2 |
 |
 |
| Painting Project 9: Figure 3 | Painting Project 9: Figure 4 |